How to Brine Chicken
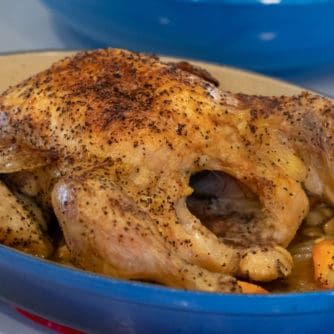
This brine is simple to make and perfect for a whole chicken so that it is moist and juicy! After the chicken is brined it can be roasted, grilled, smoked, and more!

I often get asked how and why to brine chicken. The main thing people want to know about brining is whether or not it really is that beneficial. My answer is always a big YES.
Brining is a great way to ensure that the chicken is moist, juicy and full of flavour.
For years, I never used to brine the chicken I cooked. It didn’t matter if it was a whole chicken, wings, chicken breasts or any other cut. I just didn’t bother brining. The chicken was still very good and plenty tasty.
But, since I have learned the benefits that can be gained by putting the chicken in a simple brine, I have never gone back. I generally brine chicken any chance I get and the meat is moist, juicy and more flavourful than ever!
Are Brining and Marinating the Same?
While it may seem like brining and marinating serve the same function and purpose they are different. Marinating is commonly used to tenderize meat. The meat is soaked in a liquid solution that is often acidic with seasonings and aromatics. While marinating does add flavour, it is generally used for those cheap tough cuts of meat. It is possible that the combination of ingredients in the liquid can serve both a marinating and brining function.
The Benefits of Brining?
Brining, is different than marinating, because the main purpose of a brine is to enhance the flavour and to ensure the meat stays juicy after cooking.
The key ingredient to a brine is salt. As the salt is absorbed into the meat it allows it to retain moisture during cooking. The finished product is more juicy and more flavourful that without brining.
Wet or Dry Brine?
Both methods of brining work great. The main difference is that a dry brine is far more intense and a faster process. The salt and seasonings are rubbed directly on the outside of the meat. It is important to rinse the meat thoroughly afterwards or else it will taste too salty.
A wet brine is similar to dry brining, with the main difference being that lots of water is added and the meat soaks in the brine solution. This is a more delicate process and I actually prefer the finished product. It just takes more time.
Ingredients in the Brine
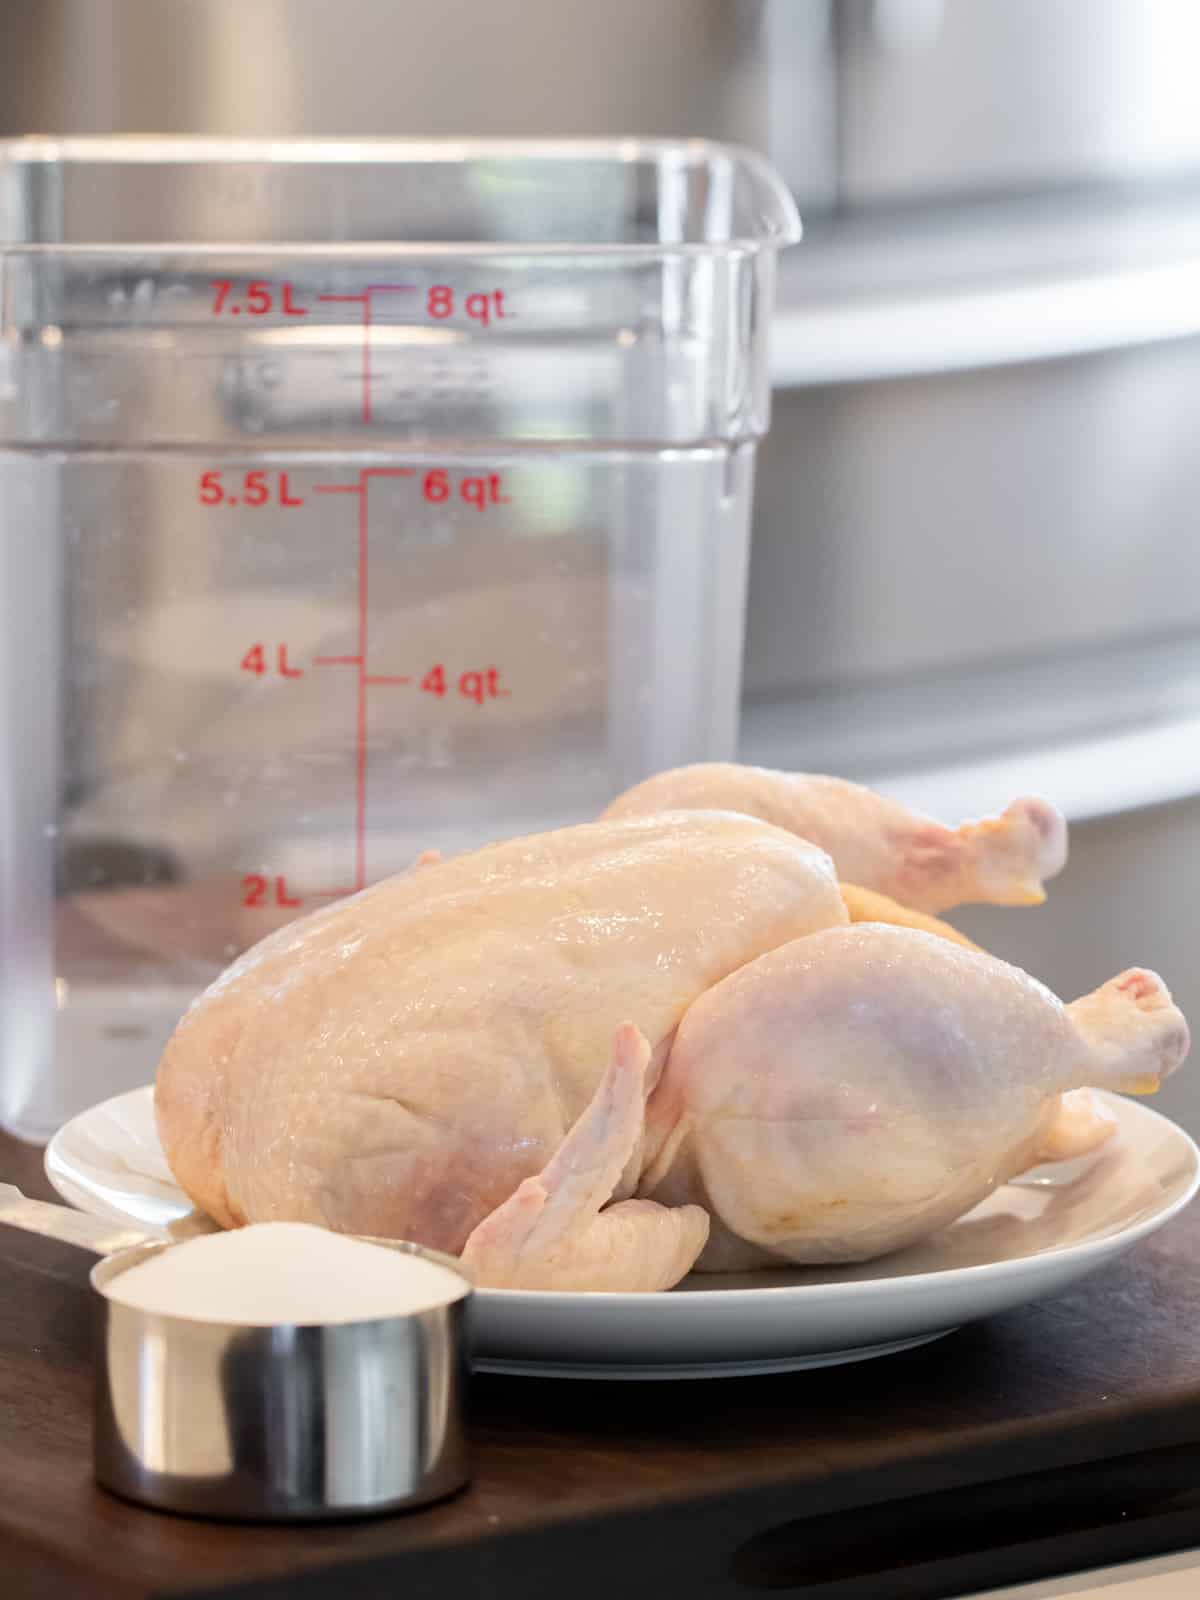
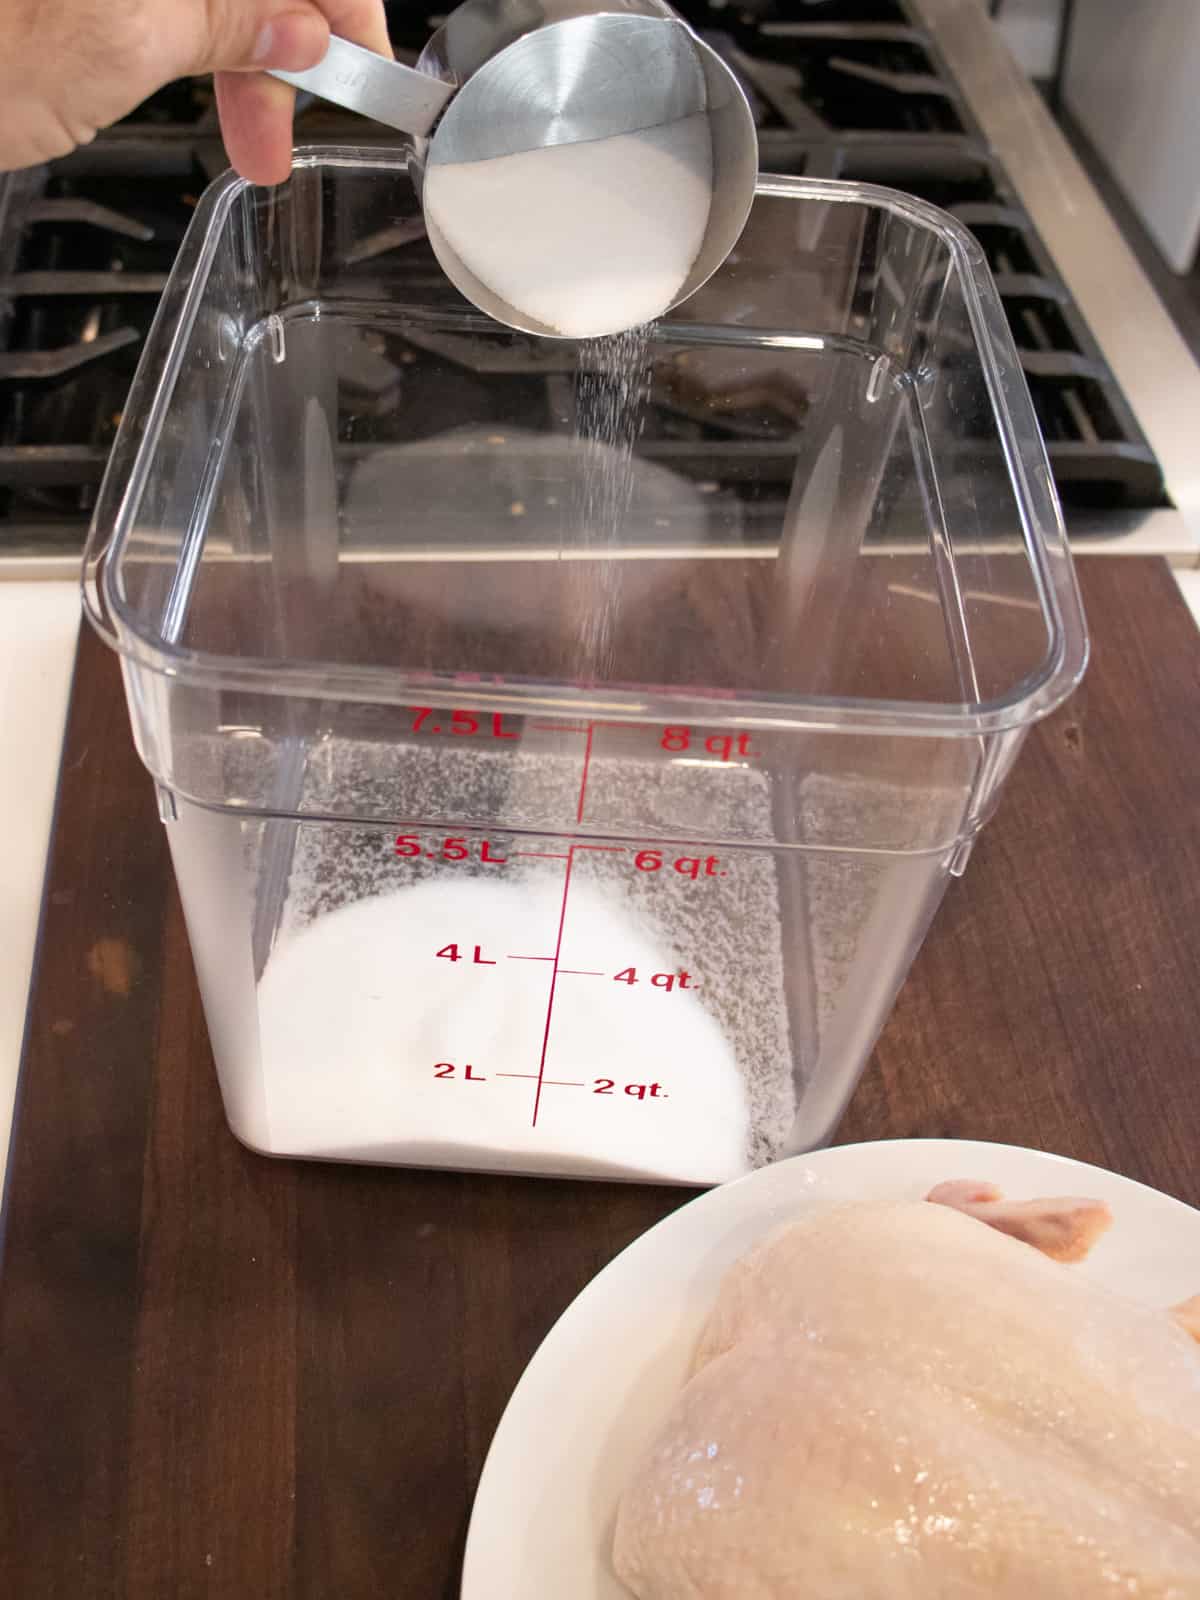
The main ingredients in a wet brine is salt and water. I use a ratio of 1 cup of table salt for every 4 litres of water. You could actually stop with these two ingredients and have a very simple brine.
I like to add a few more ingredients to my chicken brines. Adding a little bit of sugar enhances the flavour and I also find that it helps with browning the skin of the chicken when it is roasted. Instead of sugar, you could also add maple syrup, honey, or other sweetener to add a more unique sweet flavour.
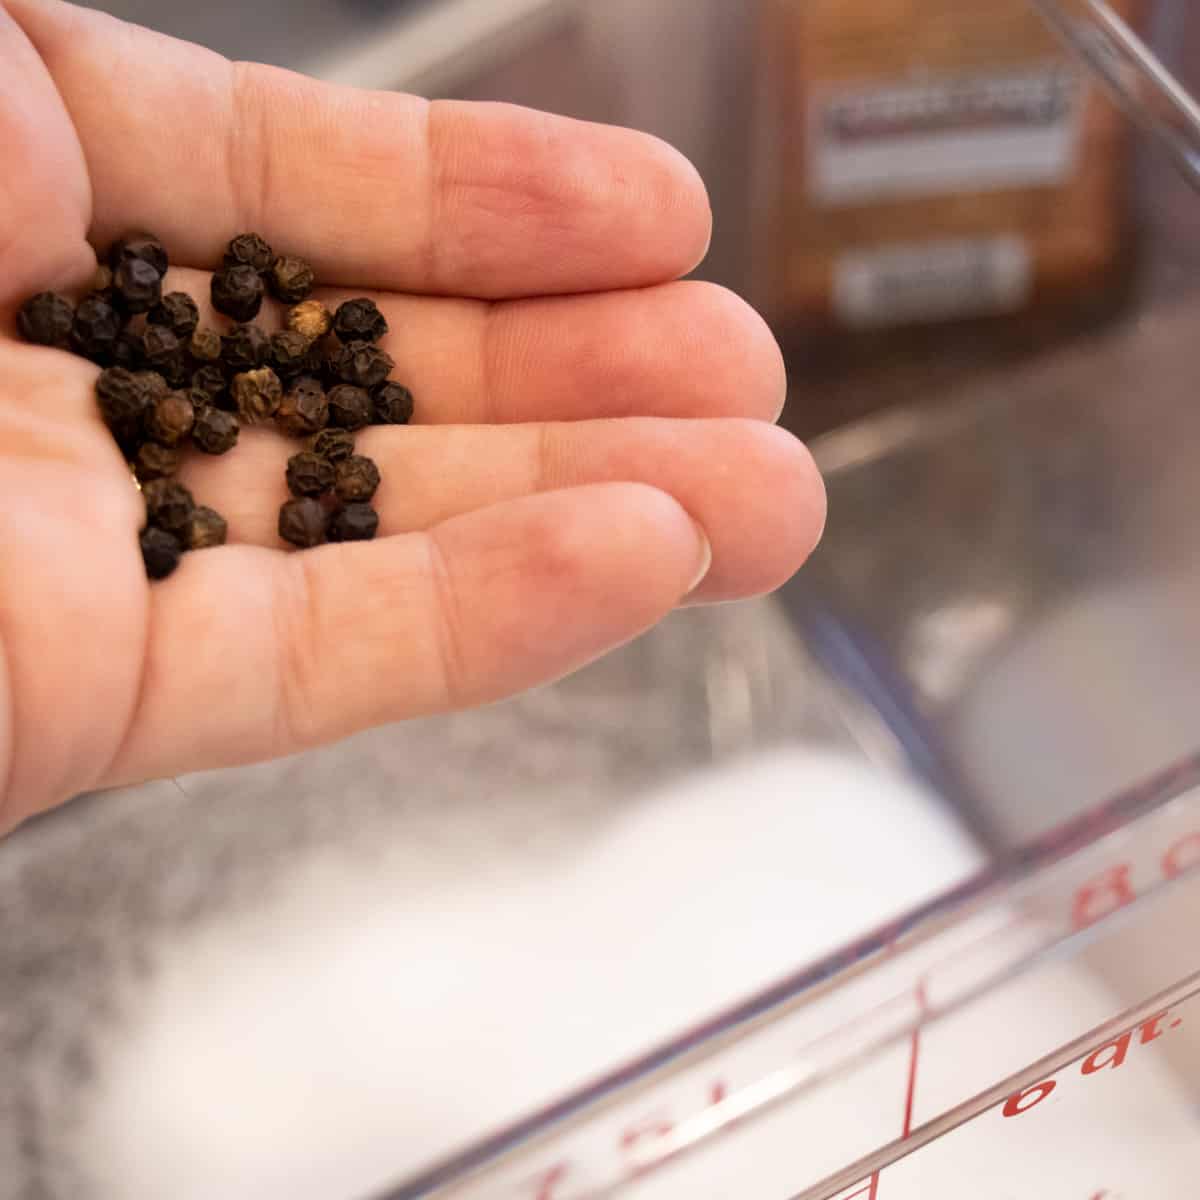
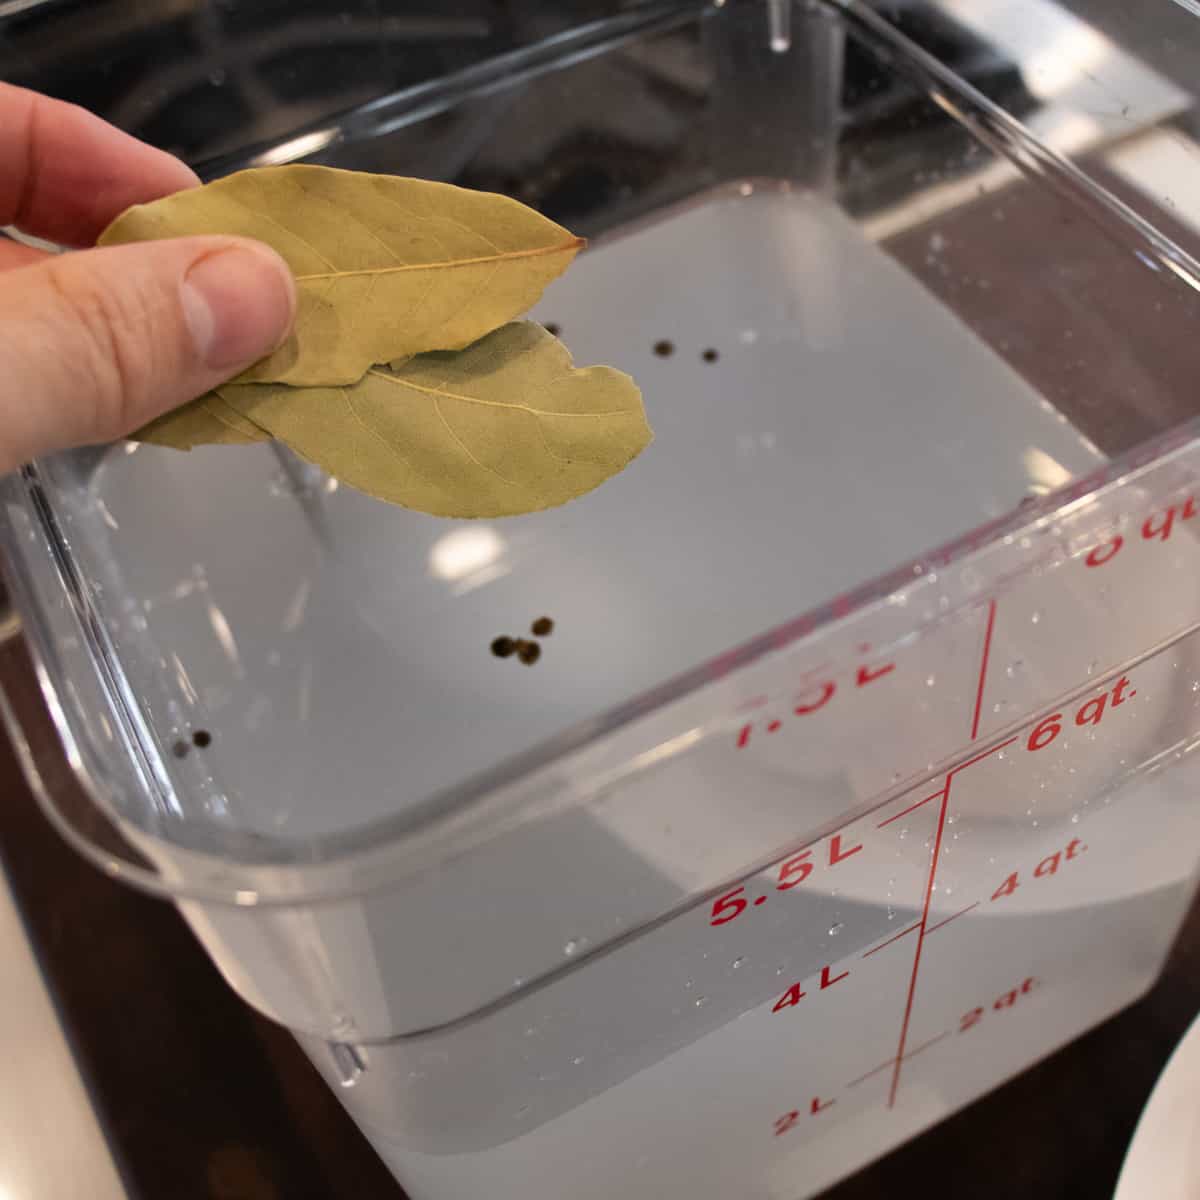
Regarding spices, I typically add a few bay leaves and some black peppercorns. The spices or seasonings you choose to add here could really change depending on the flavour profile you are desiring. The brine in this recipe is very simple, but there are many ways to get creative with different blends of seasoning.
Tips for Brining
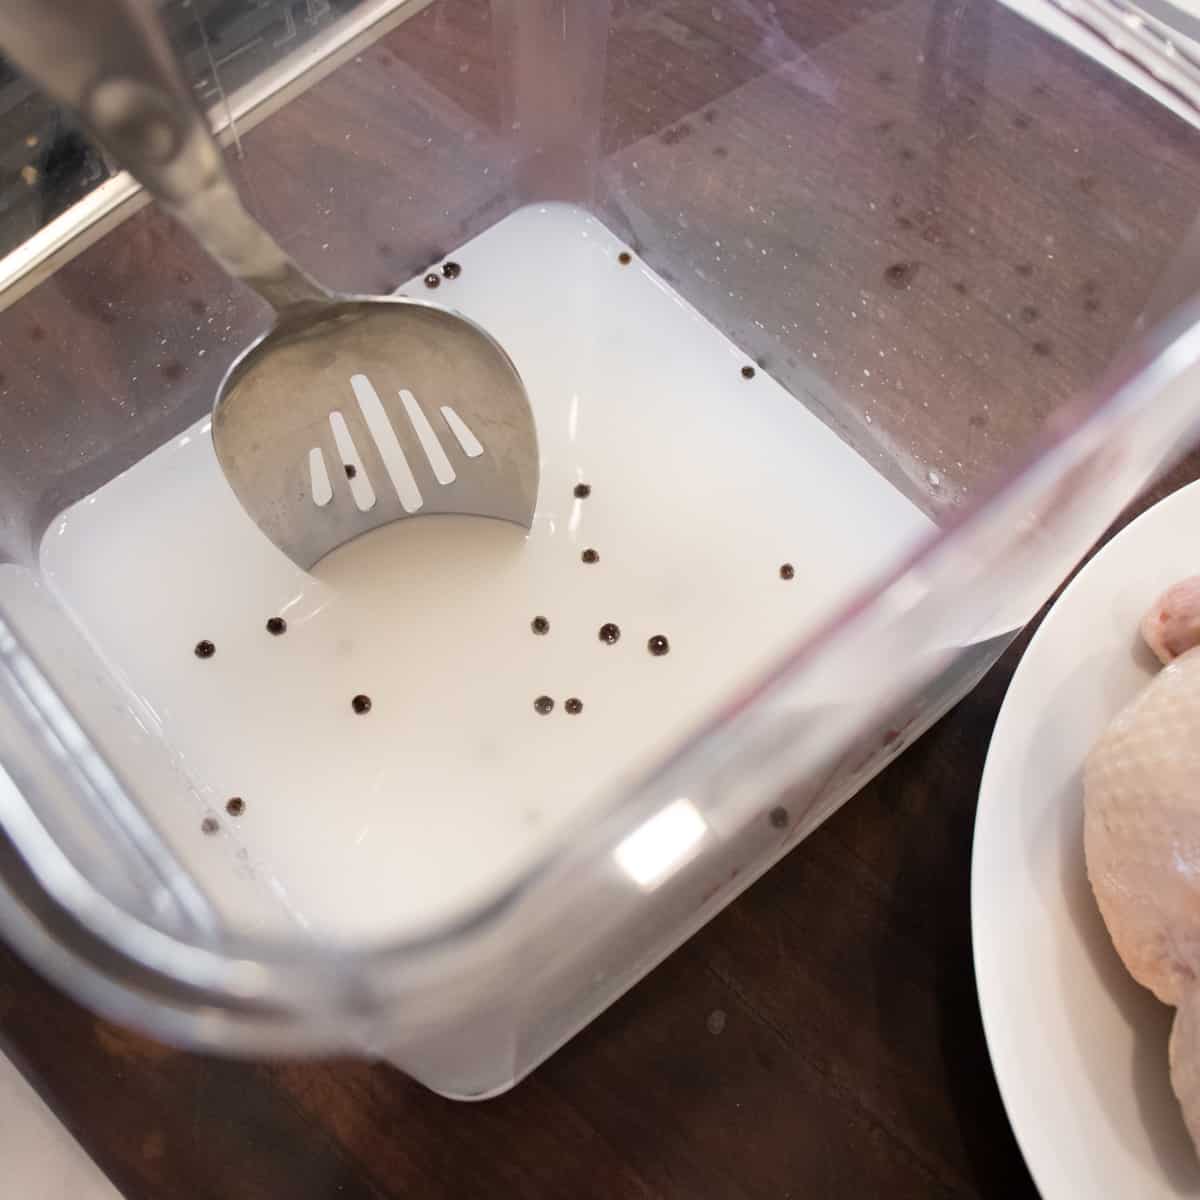
- As I mentioned earlier, I use 4 litres of water. I like to have one litre of water be hot and pour it in first with the salt, sugar and seasonings. The hot water allows the salt and sugar dissolve more easily. Once dissolved, pour in the remaining 3 litres of cold water.
- Typically, the container you are using will be a large size, so you will possibly need to make some space for it to fit in the fridge.
- I typically use table salt for a brine, but it is also possible to use coarse kosher salt. If using kosher salt, use 1 1/4 cups for every 4 litres of water.
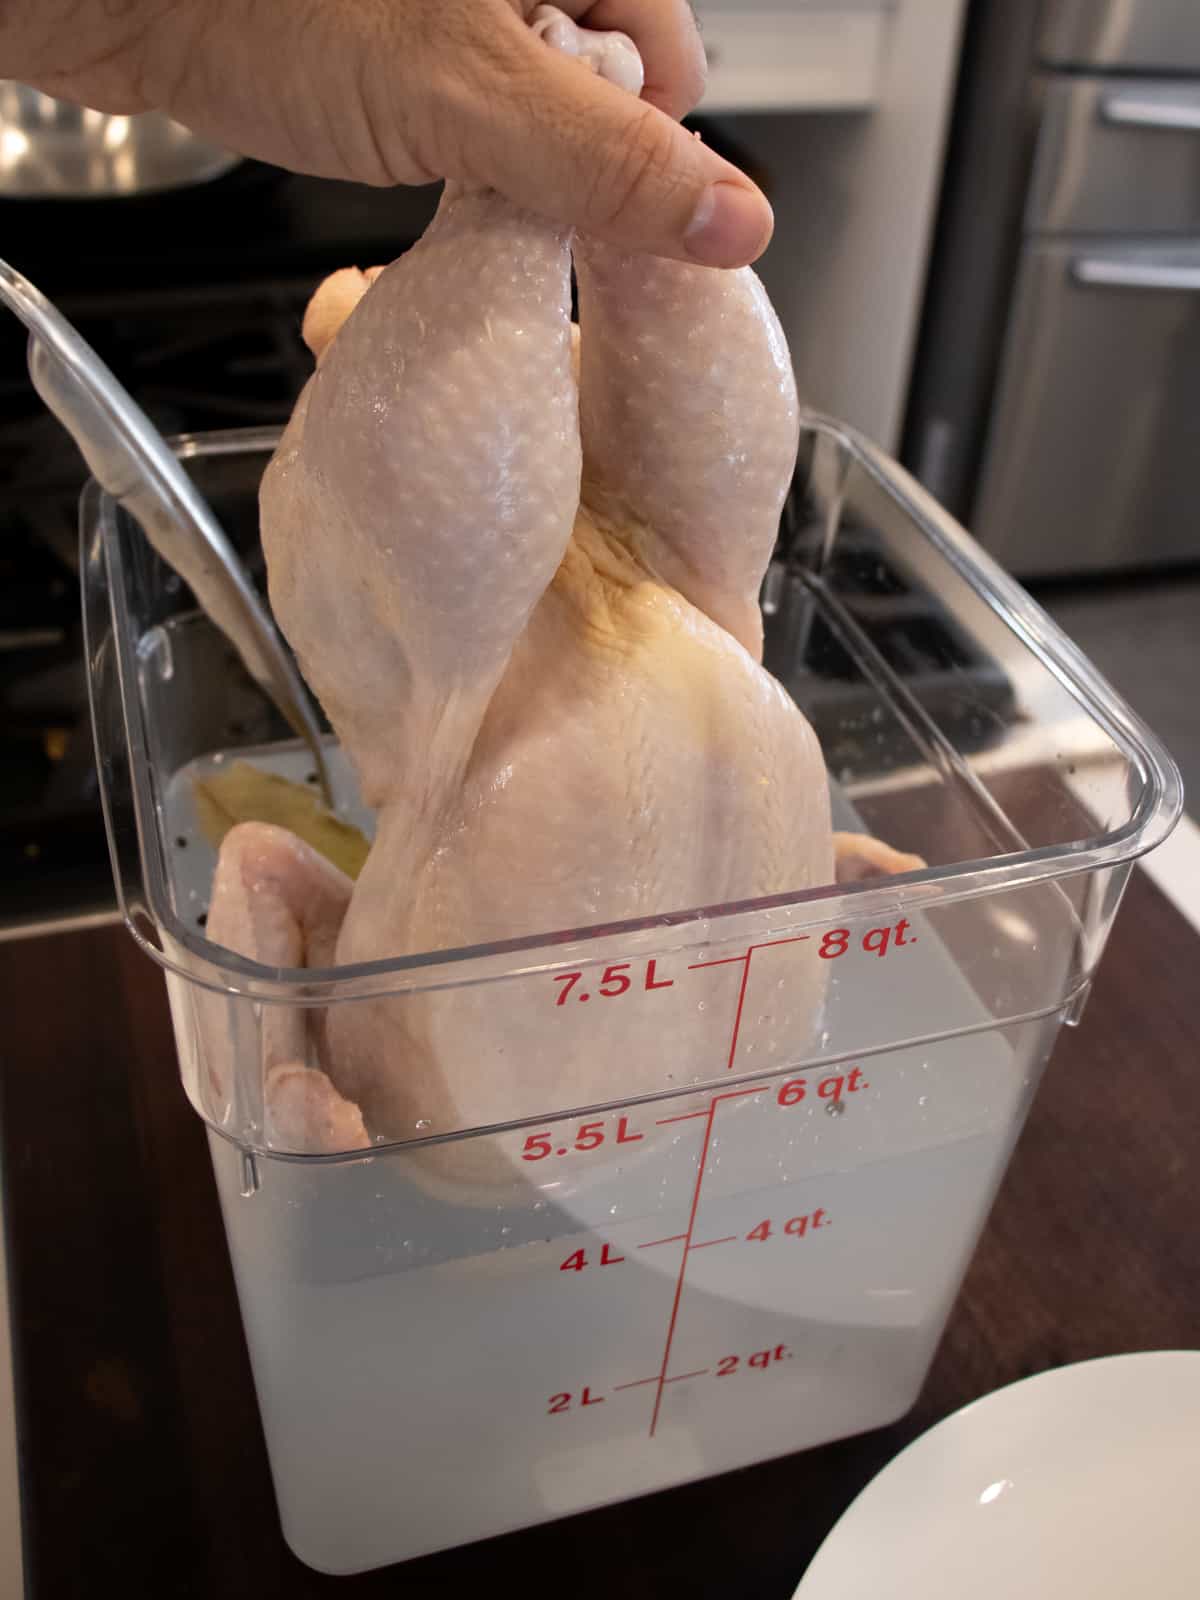
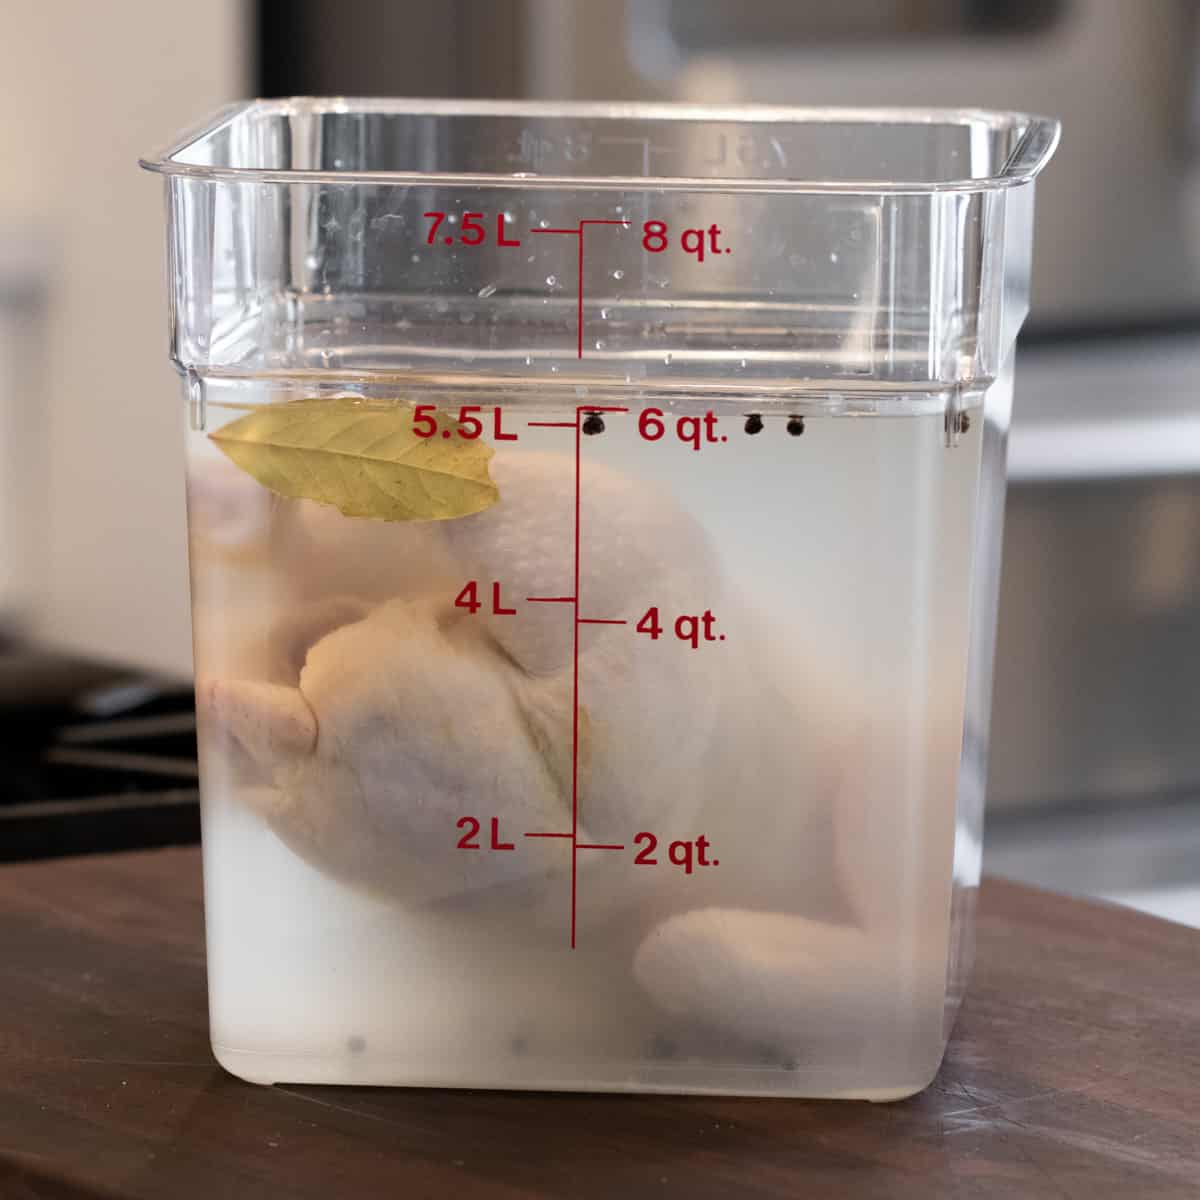
Once the brine is ready, it is time to lower in the chicken. Make sure that the bird is completely submersed in the water.
I use a plastic food storage container for brining. It is great because it is a square shape which makes it easier to fit in the fridge. The measurement levels on the side and the fact it is clear to see the meat are both helpful as well.
If you do not have this, using a standard stock pot will work just as well!
How long to Brine?
Cover the container with plastic cling wrap and place it in the fridge. For a whole chicken, I like to brine for 24 hours. I find this produces the best results and the most juicy finished roasted chicken. If time is tight, you could brine for just 12 hours and still get great results. There have been some times that I put a chicken in the brine early in the morning and roasted it for dinner and it was moist and delicious.
If you decide to brine smaller portions of a chicken, the brining time will be less.
- Chicken wings, drumsticks and bone-in thighs – I like to brine for around 4 hours.
- Boneless and skinless chicken breasts and thighs – 45 – 60 minutes should be a long enough brine.
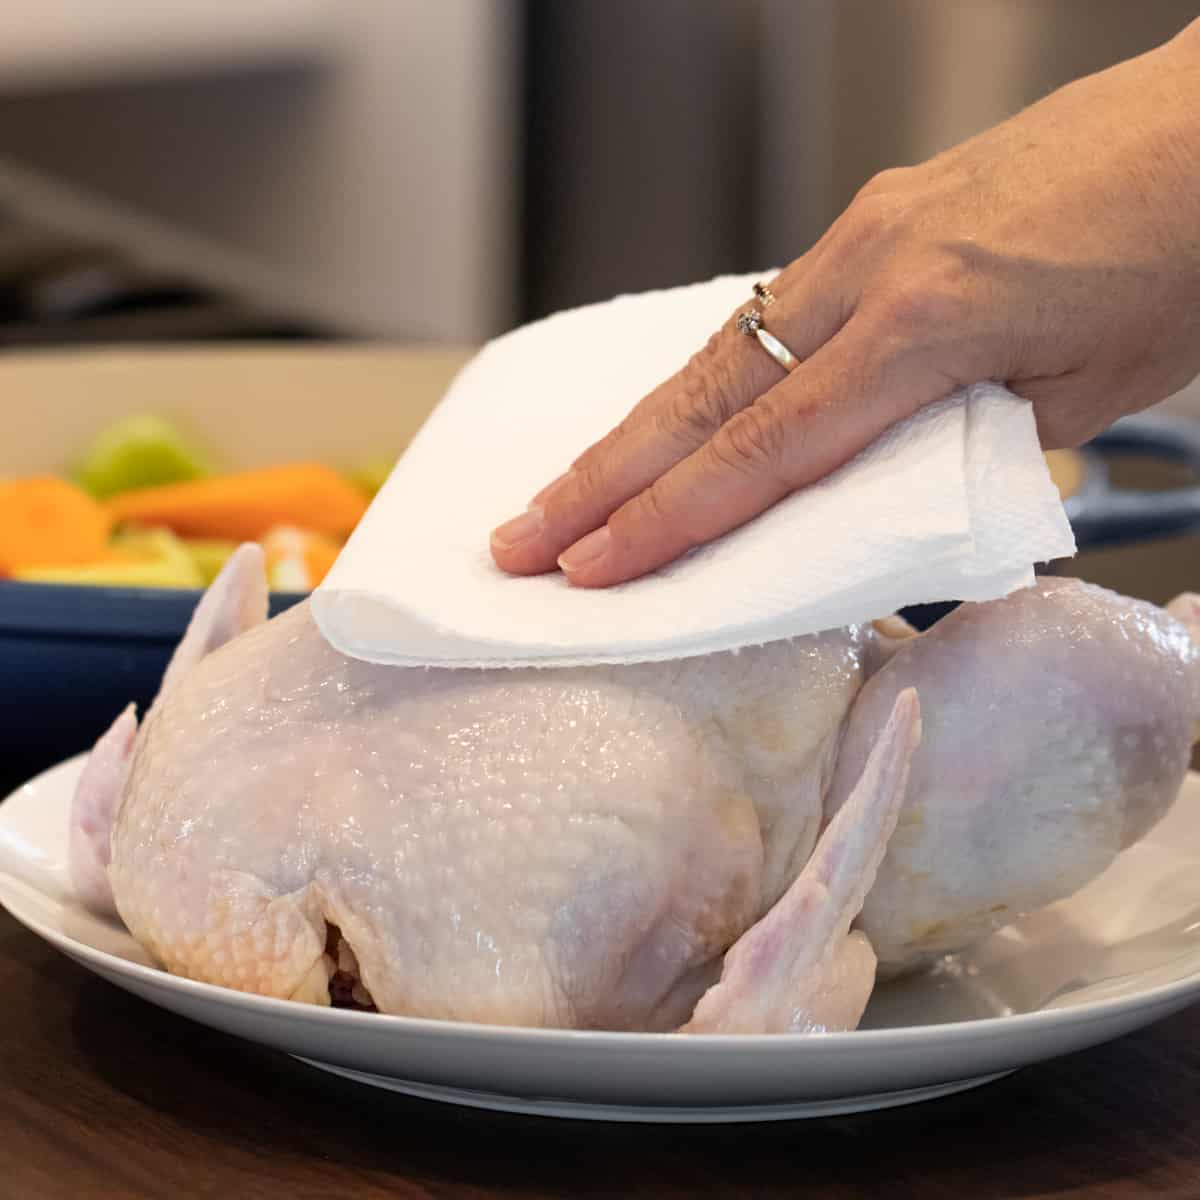
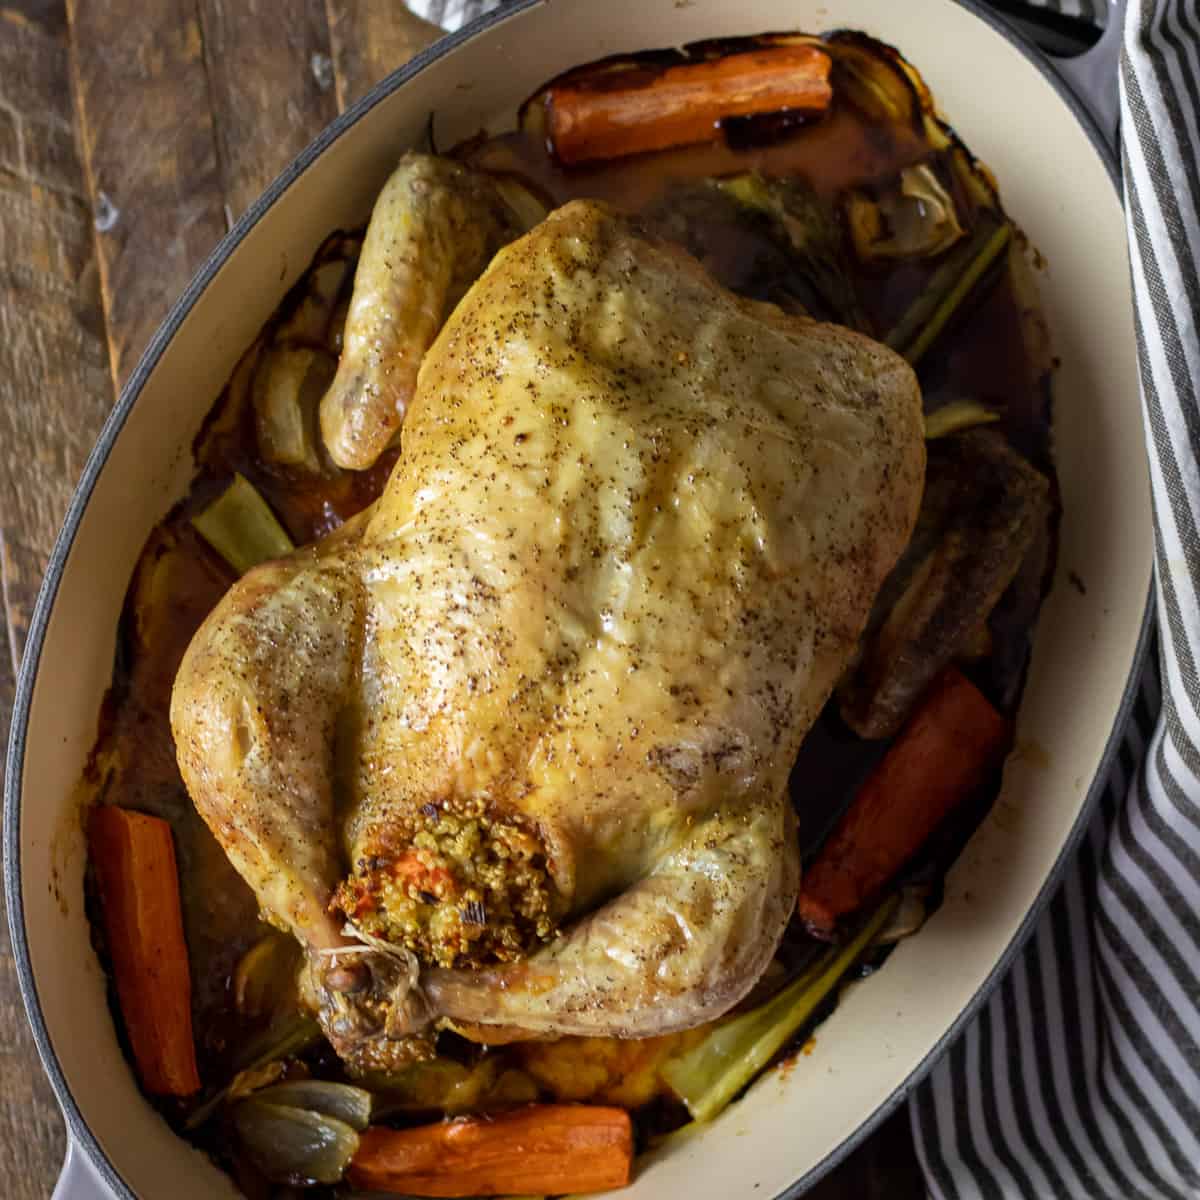
Once the chicken has finished brined, lift it out and rinse the chicken in cold water. Pat it dry with a paper towel and now it is ready to be roasted!
If you are interested in roast chicken recipes , then check these out
- Roast Chicken and Vegetables
- How to Roast a Whole Chicken
- Roast Chicken with Quinoa Stuffing
- How to Smoke a Whole Chicken
This brine will work just fine for a turkey as well. You will just need to make more of the brine to fill a container that will hold a turkey. Check out these instructions for roasting a turkey – How to Cook a Turkey.
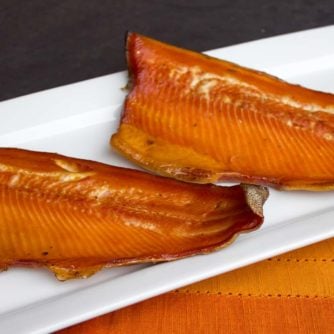
I have used brining for more than just chicken. Here are some of my other brine recipes
How to Brine Chicken

Ingredients
- 1 cup table salt
- 2 tbsp sugar
- 1 1/2 tsp black peppercorns
- 1 litre hot water
- 3 litres cold water
- 3 bay leaves
- 1 whole chicken
Instructions
- Add the salt, sugar and black peppercorns to a large stock pot of 8 quart square plastic food storage container.
- Pour in the hot water and stir until the salt and sugar have dissolved.
- Pour in the cold water and throw in the bay leaves.
- Lower in the chicken and position so it is fully immersed in the water.
- Cover with plastic wrap and place in the fridge for 12-24 hours.