How to Make Bacon – Homemade and Smoked
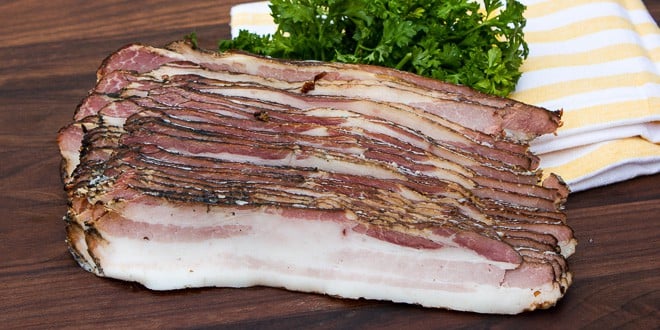
The sizzle of bacon….. oh what a sound!
If there is anything that is truly drool worthy in this world, then it has to be bacon. I absolutely love bacon, and there is nothing like the smell of bacon frying on a skillet. Bacon is great in a sandwich, on pizza, in salad, pasta, and oh so much more. I love wrapping chicken breast with bacon, jalapeno poppers with bacon, and meatloaf with bacon. I could keep going.
I love bacon so much, I wondered why it has taken me so long to make my own bacon, take the photos and share this with my readers. Well, no longer. I have finally delved into the world of making bacon and I will never look back. As good as store-bought bacon is, it is nothing compared to the goodness of making bacon at home. Wow – it is incredible!!!
Cold smoking or hot smoking
There are different ways to smoke bacon – cold smoked or hot smoked. Cold smoking bacon is a much longer process and more closely resembles the bacon you would buy in the store. The smoking temperature for cold smoked bacon is obviously on the lower side, under 100F. Popular temperatures for cold smoking is around 75F.
I used the hot smoking method for smoking the bacon and this happens at a much higher temperature. There is a large range of temperature that people use when hot smoking bacon and it can vary anywhere in and around 175F to 225F.
The Cure
One important part of making bacon is curing it. Curing bacon gives the meat that nice pick color, a unique texture and protects it from any potential bacteria. During the process of cooking pork, there is a danger zone of 40F to 140F and if it takes longer than 4 hours, harmful bacteria can grow and multiply. If the pork gets up to 150F within 4 hours then everything is fine and the meat is safe. This is never a problem cooking pork chops, ribs and more since they come up to temperature quickly. But low and slow cooking, like smoking bacon typically takes longer than 4 hours, so it is essential to provide some way to prevent this dangerous bacteria from growing. Cure #1 is made with a mixture of salt and sodium nitrate. Sodium nitrate, when mixed in the meat or coated on the meat, preventing bacteria from growing. This is used for making and curing ham, kielbasa, and more. This is perfect for making bacon and is an essential part of the bacon making process.
There are many different names for cure #1, including Prague Powder #1, Instacure, pink cure and more.
The Pork Belly
When purchasing a pork belly, try to get one that is even in both thickness and shape. This makes slicing the finished bacon easier and helps to produce even and consistent bacon slices.
Pork bellies vary considerably in weight and I have purchased them anywhere in the range of as low as 3.5 pounds and as high as 8 pounds. The weight does not really matter as you add the amount of cure, sugar and salt relative to the weight of the belly. Also, the smoking time of the bacon varies depending on the weight, with a heavier pork belly taking longer in the smoker. Personally, I like them around 4 pounds. They provide a quicker smoke time and the smaller size fits in my meat slicer much better!
Cure Mixture
There are 3 ingredients for the mixture that will coat the pork belly and cure it. The amount varies depending on the weight of the pork belly.
- Kosher salt – 0.35 ounces per 1 pound of pork belly
- Brown sugar – 0.25 ounces per 1 pound of pork belly
- Cure #1 (Prague Powder #1) – 1 tsp for every 5 pounds of pork belly
Weigh the pork belly and then, in a separate bowl, measure out the amount of salt, brown sugar and cure needed. Use a fork to make sure that the mixture is well mixed. Set the bowl aside until needed.
If you are smoking more than one pork belly, measure out this mixture separately for each belly. This is very important!
Prepping the Pork Belly
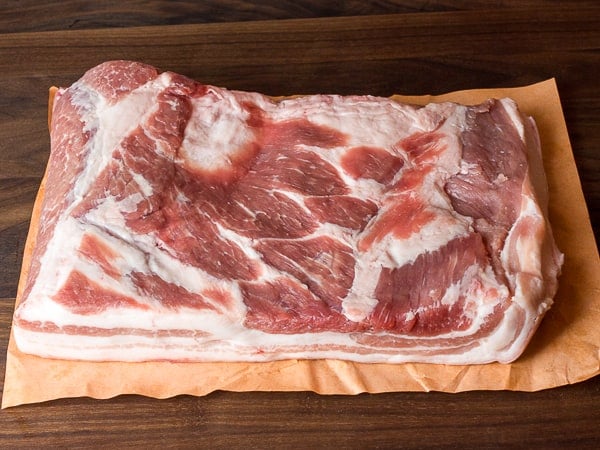
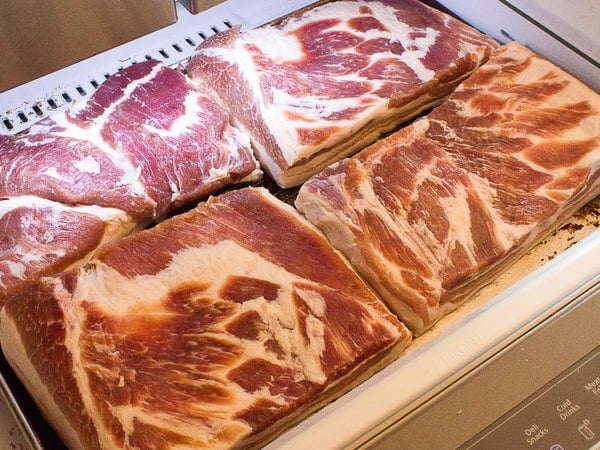
Here is a pork belly that is about 4 pounds in size. I was pleased with the shape and thickness of the belly, although the left side was a little thicker.
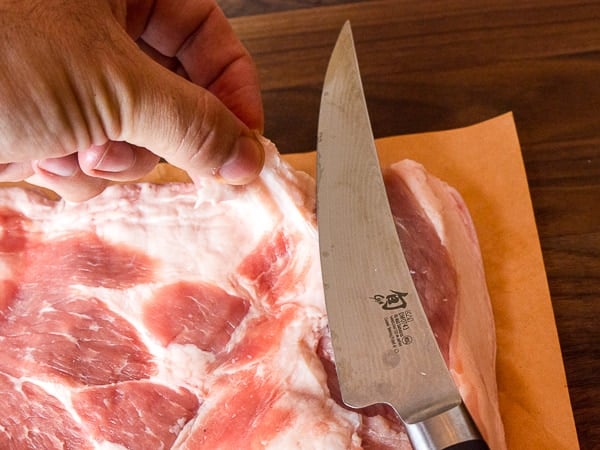
Trim the meat side of the belly to remove any loose pieces of fat. Also check to see if there is any layer of membrane. Sometimes, the butcher cuts the belly in such a way that there is a layer of membrane covering a portion of the meat side. It is best to carefully remove this so that the cure and smoke can better penetrate into the meat.
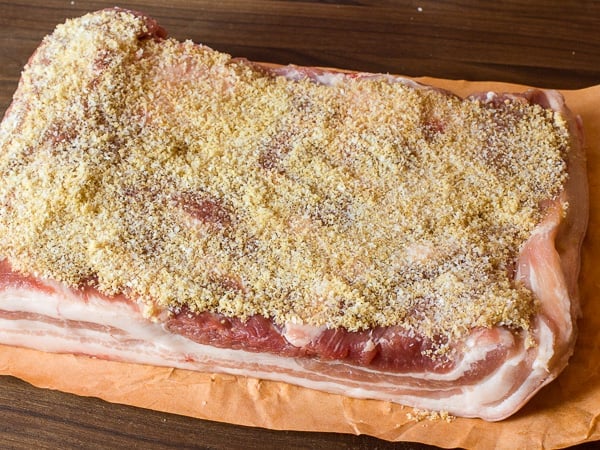
Use a fork to sprinkle the the cure mixture (kosher salt, brown sugar and cure #1) on the meat side of the belly. Try to cover all of the meat side and make sure to use all the mixture that you measured out, based on the weight of each pork belly.
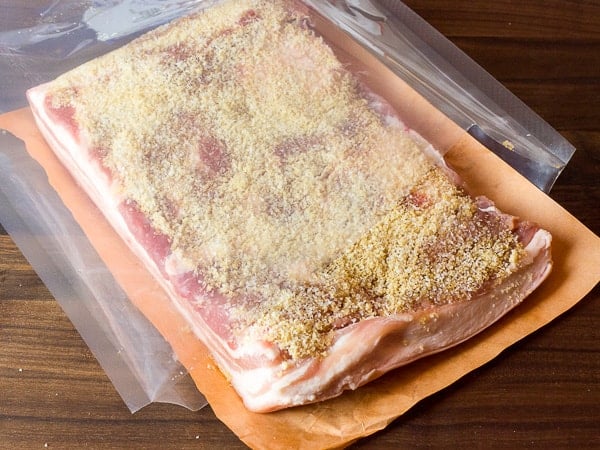
Slide the pork belly into a freezer bag or foodsafe vacuum sealer bag. Sliding it in the bag while on butcher paper or parchment paper makes it easier as it prevents the meat from sticking to the bag. Pull the paper out of the bag. Remove as much air as possible from the bag and seal it.
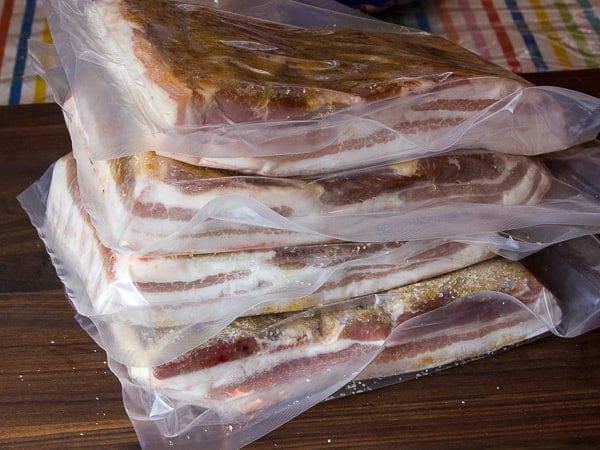
Here you can see that I prepped up 4 pork bellies with the cure mixture and bagged them all up. I did each one individually to ensure the proper amount of cure went on each pork belly.
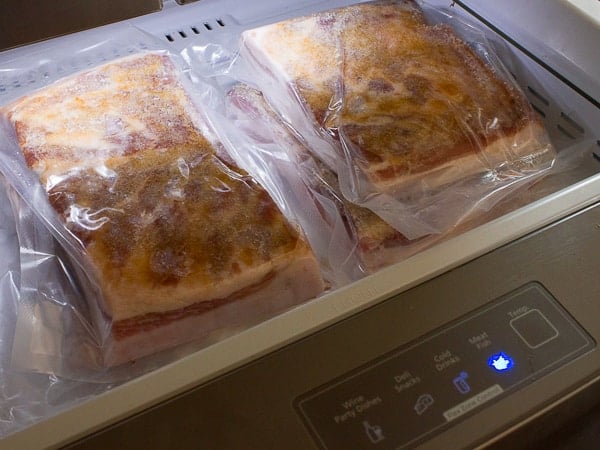
Place the pork bellies in the fridge so that they can cure for 4 days. Turn them over each day to ensure that the cure coats each side and that the belly is properly cured.
After the bellies have been in the fridge, curing for 4 days, they are ready to be rinsed. Remove them from the bags and thoroughly rinse them under cold water for a couple minutes each.
Place the pork bellies on a rack and put them in the fridge for around 8 hours. This dries the outside of the pork bellies to help the smoke be absorbed into the meat.
After the the pork bellies have been drying in the fridge (I let them go overnight), get them ready to go in the smoker.
Smoking the Pork Bellies!
Now, comes the fun part!! Since this is a hot smoke for the bellies, the temperature is on the higher side. I set the smoker to be in the 200-225F range. I have found that as long as it stays in that range, the bacon comes out great. The temperature may drop initially when the pork bellies are added to the smoker, but it should bounce back fairly quickly.
There are many different wood choices that work great for smoking bacon. Personally, I like the fruit woods like apple and cherry. I find that they give a nice sweet smoke flavor to the bacon. Other great choices include maple, hickory, oak and pecan.
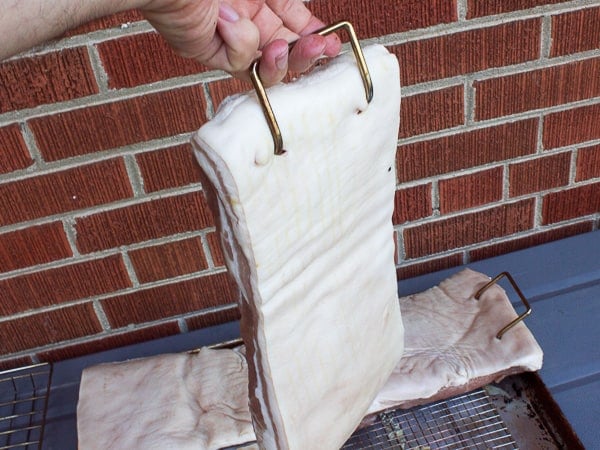
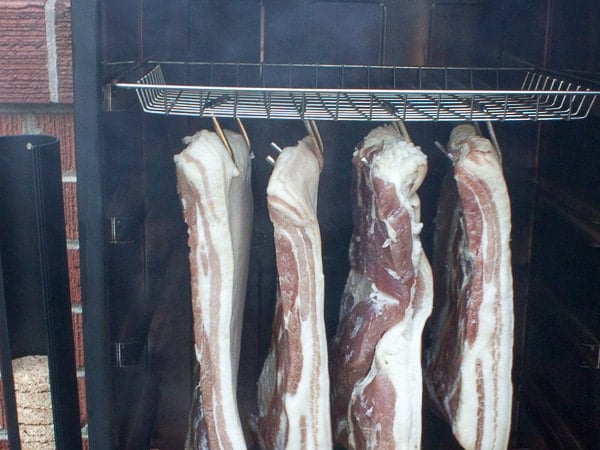
When hanging the pork bellies in the smoker, make sure that they are not touching each other or the sides of the smoker. I am able to fit 4 pork bellies in my smoker comfortably. There is no set time for the smoking, as the doneness of the bacon is determined by the internal temperature of the pork bellies. The best time to remove the pork bellies from the smoker is when they reach an internal temperature of 150-155F.
The best thing to use is a digital thermometer that has a probe attached to a cable. Then the probe can be inserted into the belly and the cable can lead through the vent of the smoker so that the digital display can be outside the smoker. This is great as it allows you to monitor the temperature of the meat, without opening the door. The best place to put the temperature probe is in the upper portion of one of the middle pork bellies as they tend to come up to the target internal temperature last.
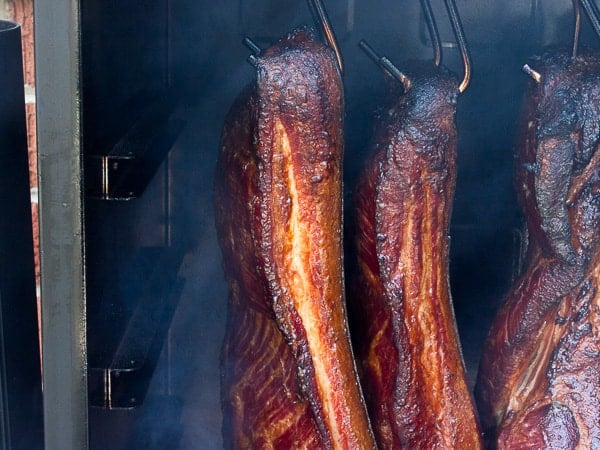
Above is what the pork bellies look like after they reached 155F and it took just over 4 hours for the 4 pork bellies to come up to that temperature. I also have an instant read thermometer and I checked all over the pork bellies to ensure that the temperature was reached everywhere.
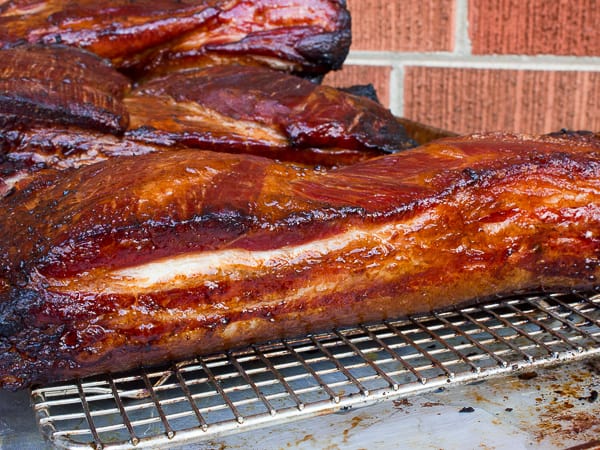
Let the bacon rest for about an hour or so. This lowers the temperature and makes it easier to remove the skin/rind of the belly.
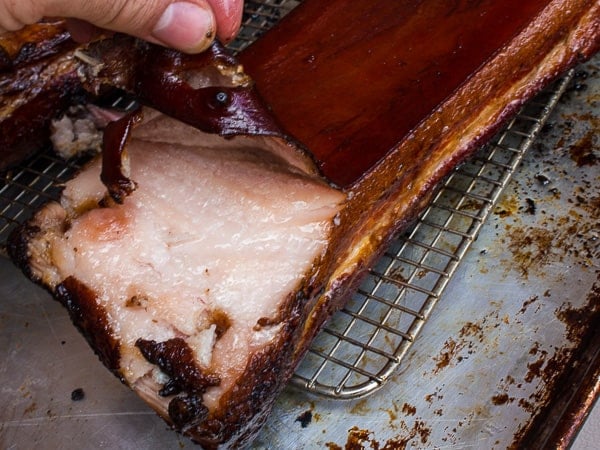
Flip the bacon so that the skin side is on top. Use a knife to cut around the skin, so that you can get a grip. Start to pull up the skin, removing it from the rest of the pork belly. If it resists, use the knife to slice it away.
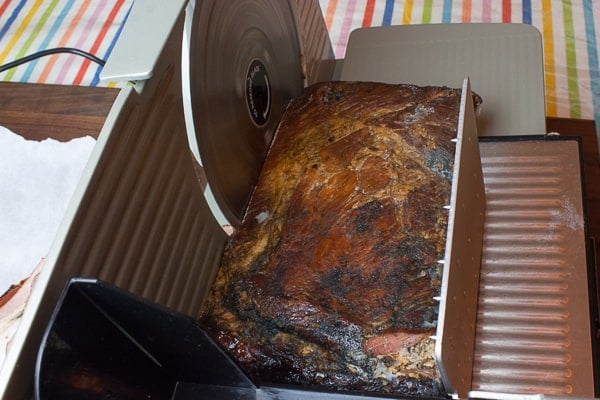
Now the bacon is ready! If desired, you can cut it and eat it right away! If you want to slice it up, using a meat slicer, it is best if placed in the freezer for 1-2 hours. Wrap them in plastic wrap and place in the freezer. This helps them firm up for much smoother slicing.
After the bacon has been in the freezer for a couple hours, it is ready for slicing. Set the slicer to your desired thickness and run it through the slicer.
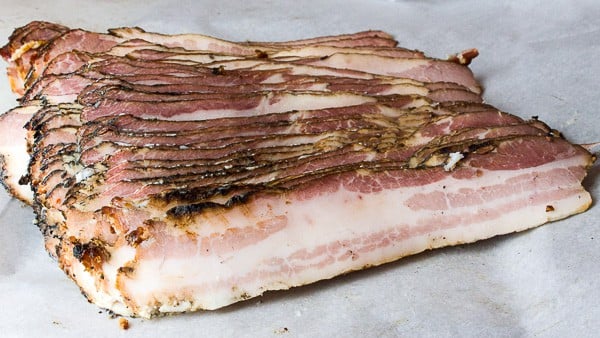
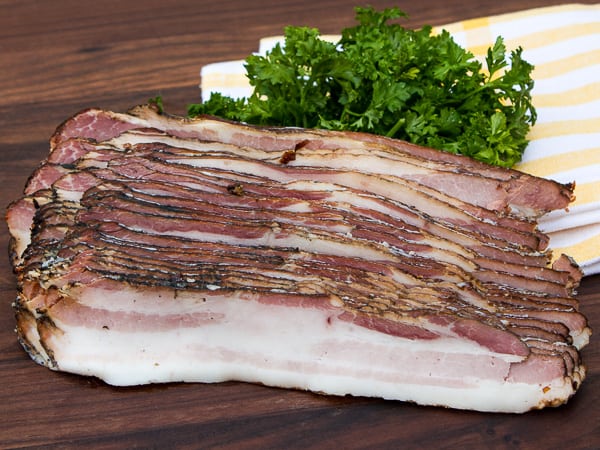
It is best to lay the bacon slices together in a staggered fashion. This allows them to be separated easily. I package them up in 1/2 pound portions and wrap them in parchment paper. They can then be placed in freezer bags or vacuum sealed bags and placed in the freezer.
This bacon can be used as you would store-bought bacon. Fry it up in a skillet and you will be amazed at how incredible it smells.
And the taste… wow is it amazing!

