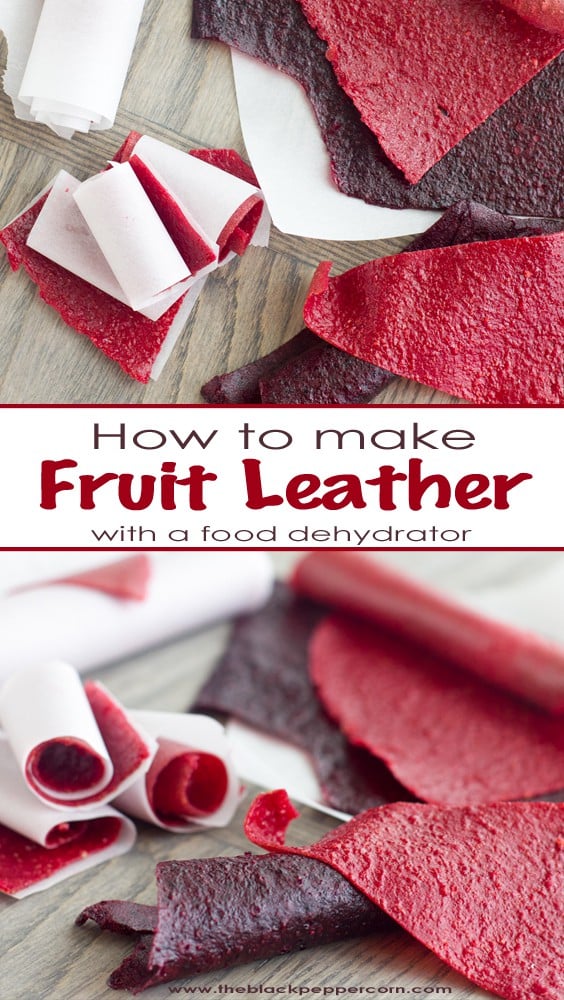
How to Make Fruit Leather
I have three kids and it seems like I am constantly making school lunches. One of my big frustrations is looking in their lunch boxes after school. There is a regular occurrence that takes place. The treats, or sweeter type snacks, are eaten but the fruit is ignored and still in the lunchbox. The kids never have a problem eating the granola bars, cookies, crackers etc. But, it seems that there is always an excuse as to why the fruit was not able to be eaten. They get clever sometimes, sharing stories about how they did not have time during their lunch, how there was some relationship drama with friends, or how another student got into trouble and they were distracted.
The truth is, they don’t enjoy the fruit – and this is a normal reality with kids. To combat this, I have learned how to make my own DIY fruit roll-ups, aka fruit leather. Store-bought fruit roll ups are either full of sugar or fairly pricy (if they are the good stuff), so I decided that it is time for me to make my own!
I have the Salton VitaPro Food Dehydrator and it works great for making fruit leathers!
Fruit leather is very simple to make with food dehydrator! You can use one fruit at a time or you can mix and match. Be aware that the drying time does vary with different fruit so if you start playing around with different combinations you might notice different lengths required.
Some of the fruit that I have tried and just love are: raspberries, strawberries, peaches, blueberries, apples, apricots and mango.
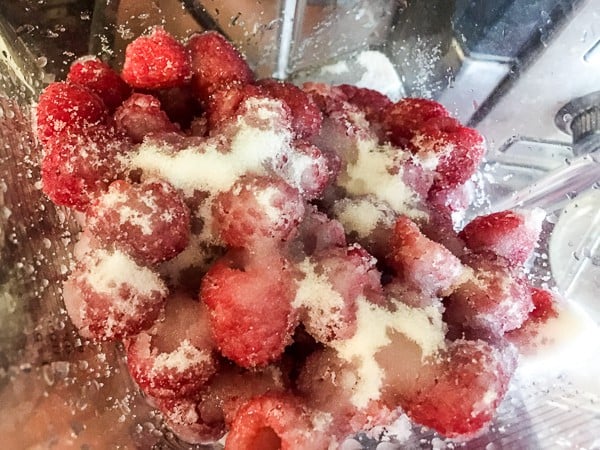
Dump the 2 cups of fruit in the blender and then add the sugar. I use 3 tablespoons of sugar for 2 cups of fruit. If you want a sweeter fruit leather, you can add more and if you don’t want any sugar you can omit it as well. Personally, I find fruit like raspberries can be quite tart and they benefit from a little bit of sugar.
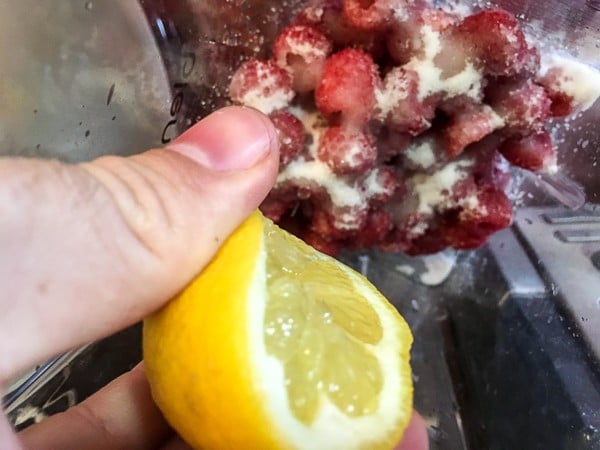
Squeeze the juice of half of a lemon into the blender jar. Make sure that none of the seeds fall in.
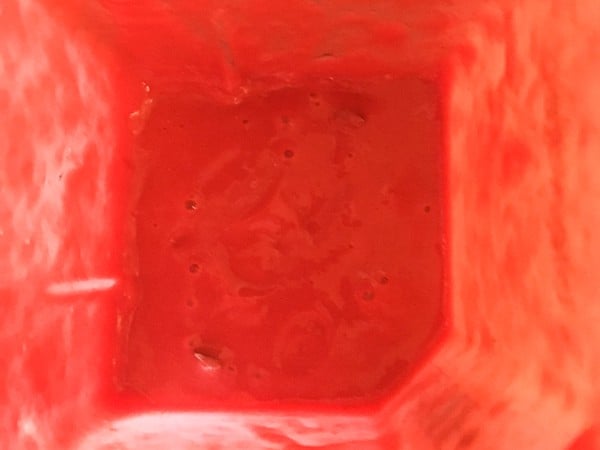
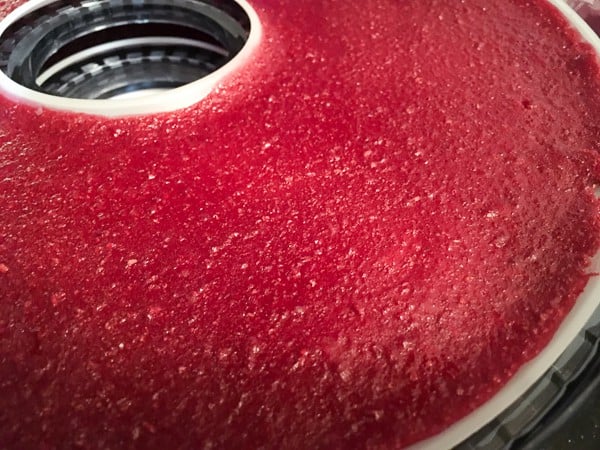
Blend the fruit until it is pureed and smooth. I blend it on high for a minute or two and it is well pureed by that time as seen in the picture above.
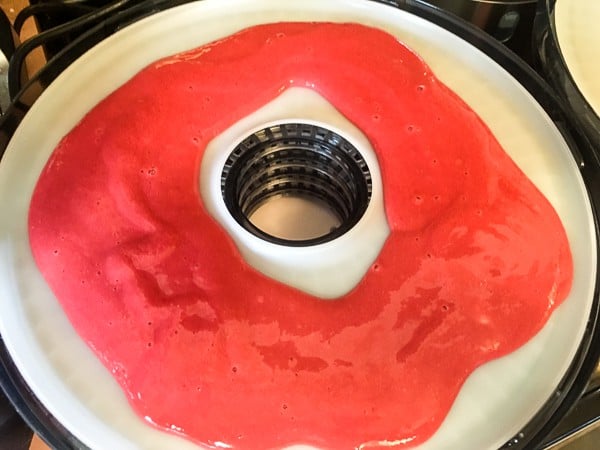
Spread the fruit puree on the fruit tray of the food dehydrator. If desired, you can cut some parchment paper to size and lay that on the tray and then spread the fruit on the parchment paper.
The nice thing about parchment paper is that the dried fruit does not stick and peels up easily.
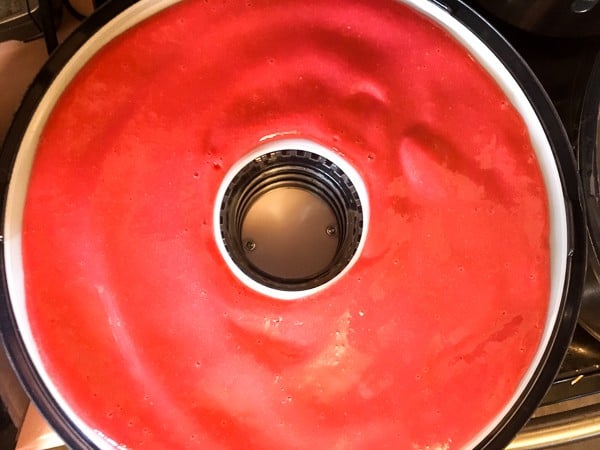
Lay the tray in the food dehydrator. You can make multiple layers if you want. Since the dehydrator is going to be running for a number of hours, it does make sense to do multiple layers of fruit. You could have each layer be a different type of fruit as well. Kids like the variety!! The Salton dehydrator has 5 layers, so it is possible to make lots of fruit leather in now drying session.
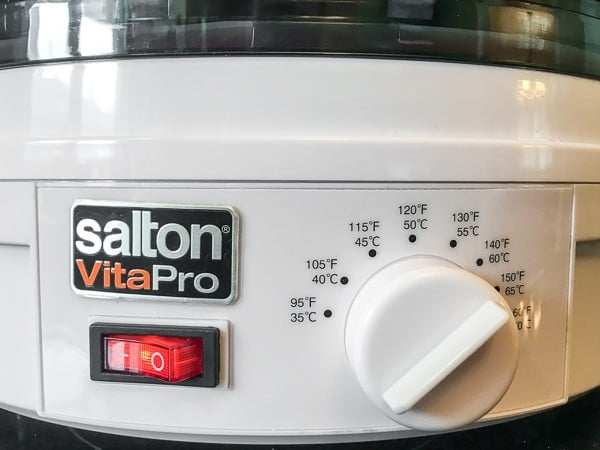
Set the food dehydrator to 140F (60C). Place on the lid and let the machine do the work, and trust me – it does take a long time. Since I work from home, I often start it once the kids have gone to school and it is done at some point in the evening.
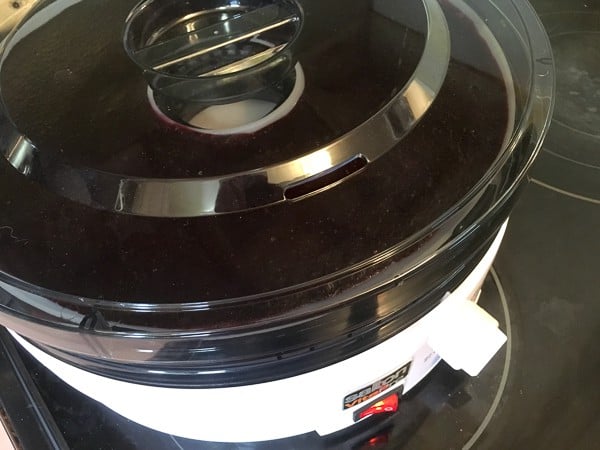
Don’t lift off the lid too many times. Just like a slow cooker, I find that the more you lift off the lid, the slower the drying process takes.
The fruit roll ups are done when they look like leather. This can take anywhere from 4-12 hours. I usually find that it is somewhere in the 8-10 hour mark.
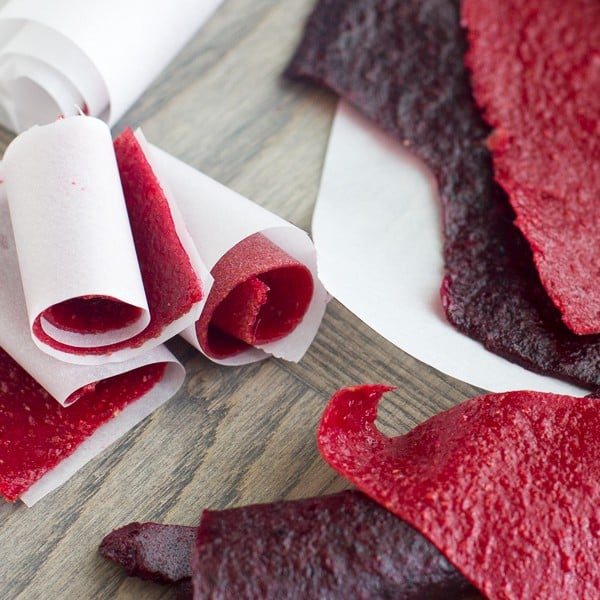
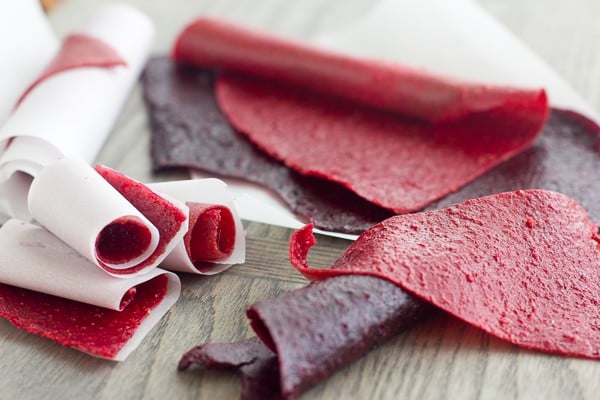
The fruit leather should have a deep bold colour and not be sticky to the touch. If you touch it with your finger and it feels sticky, then it still needs some more drying time.
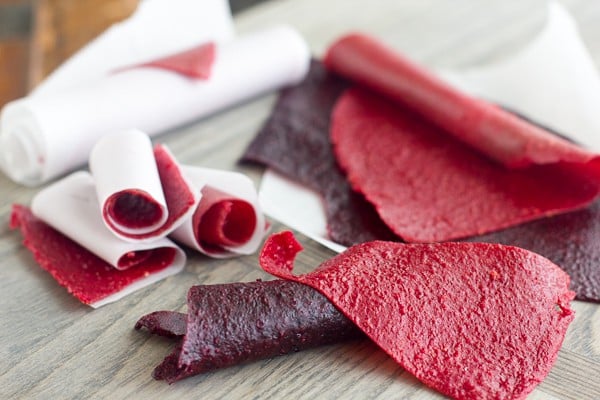
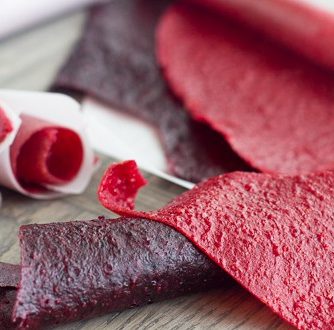
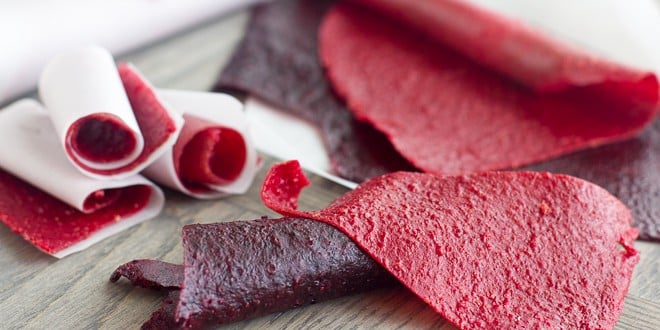
The best way to store the fruit leather is to cut them into strips and roll them up in parchment paper. That way, they do not stick together.
I cut them into lunch portion sizes. That way, when I am packing lunches, I can quickly take them out and place them into the kids lunch containers.
Since I have started packing these in the kids lunches, I have never found one come back. The kids love them and tell me they are often the first thing they eat. One of the kids even said that their friends are jealous and want to try them!
I love making these because, not only do the kids love it and see it as a treat, I am happy because they are eating fruit.
Fruit Leather Recipe in a Food Dehydrator - How to make DIY
Ingredients
- 2 cups fresh fruit (raspberries, strawberries, blueberries,
- 3 tbsp white sugar
- 1/2 lemon, juiced
Instructions
- Blend the fruit, sugar and lemon juice until well blended and smooth.
- If desired, line the food dehydrator fruit tray with parchment paper. Spread the fruit mixture evenly across the fruit dehydrator tray.
- Put on the lid and set the food dehydrator to 140F (60C).
- The dehyrating time varies depending on the fruit and can be anywhere from 4-12 hours. It is done when the fruit is leather and no longer sticky to the touch.
- Cut into individual portions and roll up in parchment paper. Store in the fridge in an airtight container. You can also keep them in the fridge if you make multiple batches.
Disclaimer: Salton provided me with the VitaPro Food Dehydrator. They did not pay me for this feature and the views expressed and opinions are my own. This article contains affiliate links.