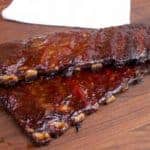
Smoked Ribs using the 3-2-1 Method
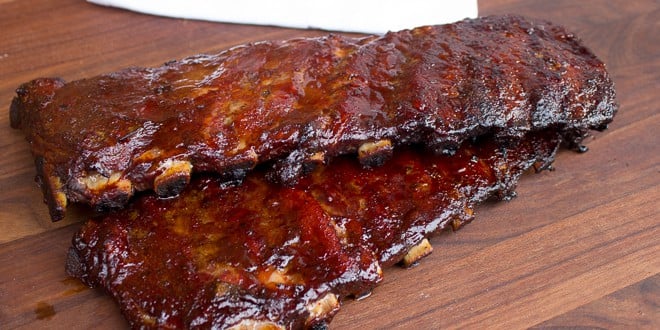
3-2-1 ribs. I always wondered when I first got my smoker what it meant to smoke ribs 3-2-1 method. There is no food that screams summer to me than a rack of smoked pork ribs. I want them to be coated with rub, smothered in sauce and smoked to perfection. Also, they need to be tender and juicy!
Ribs, if cooked improperly, can result in tough meat that has to be ripped off the bone. If cooked the right way, ribs can be tender juicy and fall of the bone delicious! This method, often called 3-2-1, is easy and generally fool proof. It creates ribs that are so tender that you can pull the meat off the bone with your fingers.
3-2-1 Ribs Method
3
This first stage is the stage where the ribs are smoked for 3 hours. Set the smoker is set for 225F to create a low and slow smoke. Make sure the ribs are generously coated with a good BBQ rub. Here is a recipe for my rub which is great on ribs! 3 hours of smoking is the recommended time for pork spare ribs. If you are smoking back ribs you may want to smoke them for just 2 hours. Any more and you may find it dries the ribs out a bit too much. I have used hickory, apple, cherry, alder and maple woods with this method of smoking ribs. My preference is hickory or apple although the ribs taste wonderful with any of those types of wood. Before I got a smoker I used my gas grill to simulate smoking. It can work somewhat but it does not generate near the level of smoke in the unit. Also sometimes it is difficult to get a gas grill to have a consistently low temperature like 225F. Directions for using a gas grill are below.
2
The second stage is where the meat tenderizes. If you like your ribs to be fall off the bone tender then make sure you do this step. Wrap the ribs tightly in foil. This steams the ribs and the result is tender juicy ribs. Just before closing each rack of ribs in the foil, put a little bit of beer or apple juice in with the ribs. This helps the steaming process. Put the ribs, wrapped in foil, back in the smoker for 2 hours at 225F. My smoker can function as an oven and so, for this stage, I turn off the smoking element in my smoker and actually just bake them in the smoker at 225F for the 2 hours. Some people continue to smoke for these 2 hours as well. It is also possible to use an oven for this stage.
1
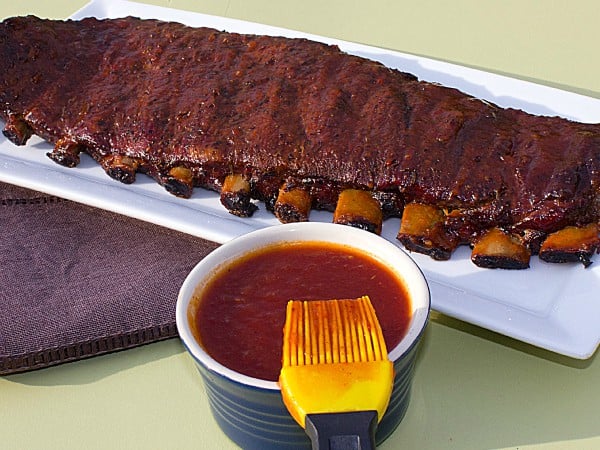
This final stage is when you sauce the ribs. Make sure you use your favourite BBQ sauce and liberally coat the ribs on both sides. Then back in the smoker set for 225F for 1 final hour. Again, it is possible to use an oven for the last hour. Personally, I like to smoke them for the final hour. It creates a wonderfully smokey flavour in the BBQ sauce. The result is tender ribs that have a full on smokey flavour with so much seasoning in the rub and sauce. This 3-2-1 method is easy and guarantees that you will have ribs you will never forget!
Some great BBQ rub recipes
Some of my BBQ sauce recipes
For those interested in what smoker I have, it is a Bradley Electric Smoker with 4 racks. You can see the link to it at the Amazon store to the right. I highly recommend it. It is set-it-and-forget-it easy!
Prep the ribs first!
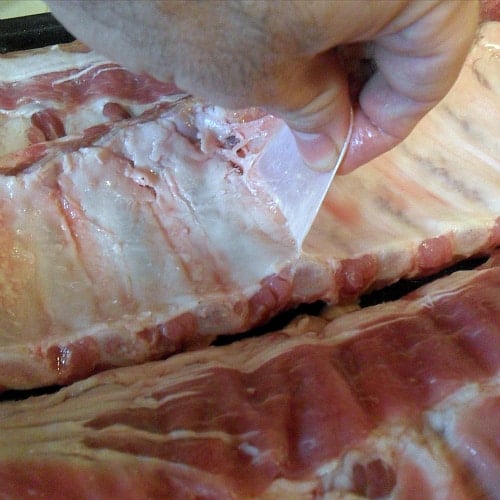
Peel off the membrane on the underside of the rack of ribs.
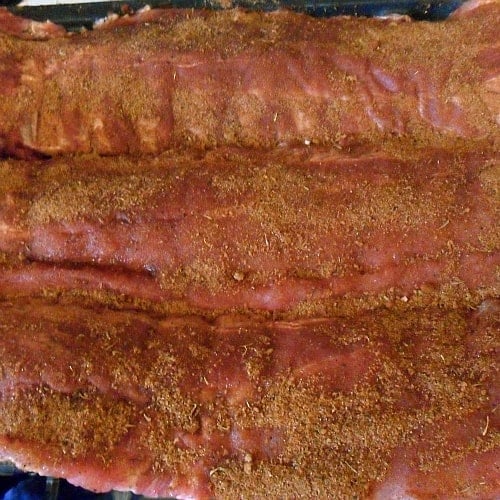
Generously rub the BBQ rub on the the ribs before smoking. Let the rub penetrate in the meat for an hour or as long as you can before smoking it.
Step 1: The 3 in the 3-2-1
Smoke the ribs in a 225F smoker for 3 hours. If you do not have a smoker, there are directions below for simulating a smoker with your gas grill.
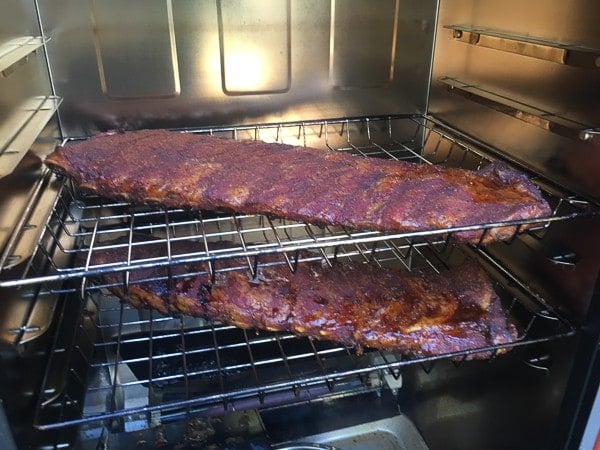
Step 2: The 2 in the 3-2-1
This second stage is where the meat gets super tender. The ribs get wrapped in foil and this essentially steams them which causes the connective tissues to break down and the meat to tenderize.
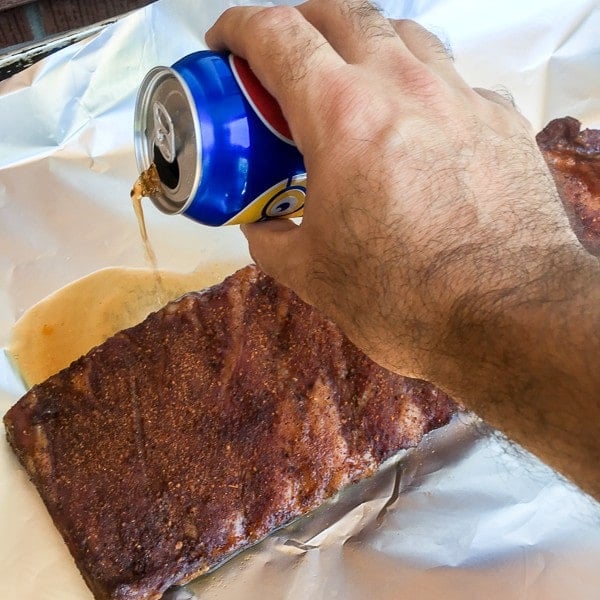
If desired pour a little bit of liquid in with the ribs. I usually use about 1/3 cup for each rack of ribs. You can use beer, pop or juice. They all work great!
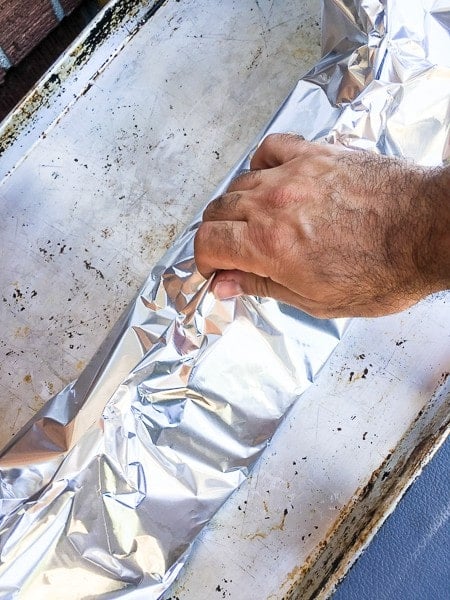
Wrap the ribs with foil and continue to cook at 225F for 2 hours. If you are cooking back ribs, you may want to only cook for 1 hour. Side ribs need the 2 hours, but I have found that back ribs turn out just as well cooking for just 1 hour in this second step.
Step 3: The 1 in the 3-2-1
Sauce the ribs with your favourite BBQ sauce and smoke at 225F for a final hour.
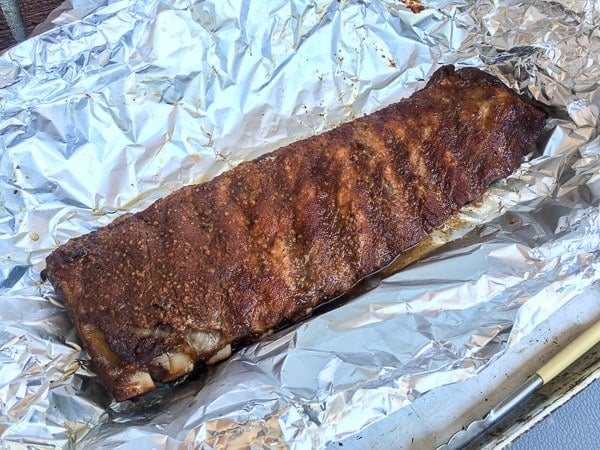
Open up the foil and you will see the steam escape. This process tenderizes the meat and you will see how the meat is pulling away from the rib bones.
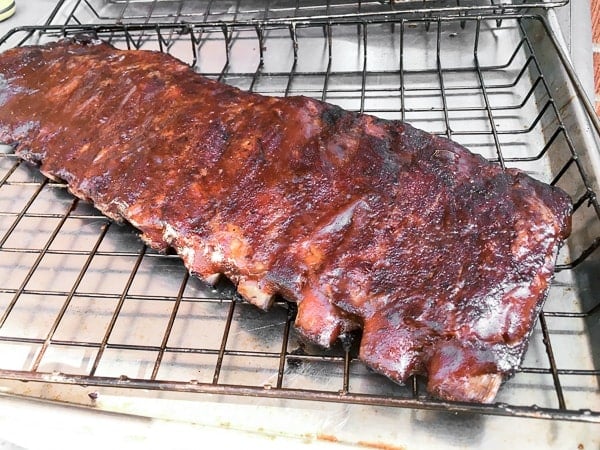
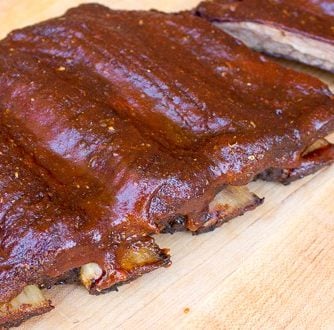
Gently lift the ribs out of the foil. Be careful as they can fall apart cause they are so tender. Place the ribs back on the smoker rack and brush with your favourite BBQ sauce.
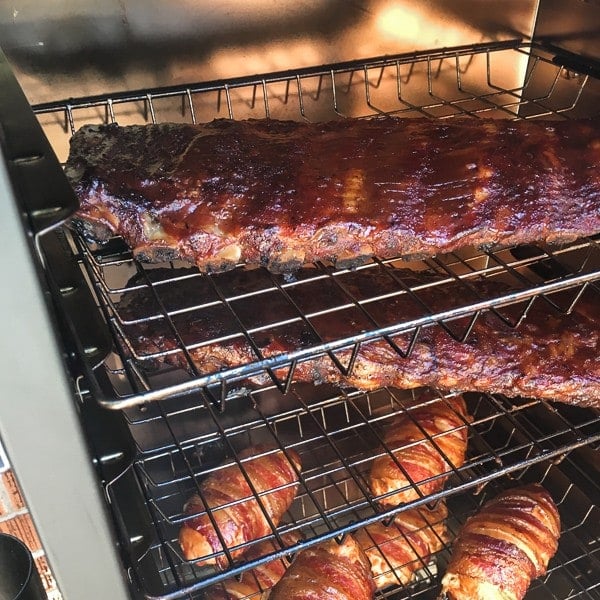
Place the ribs back in the smoker for the final hour!
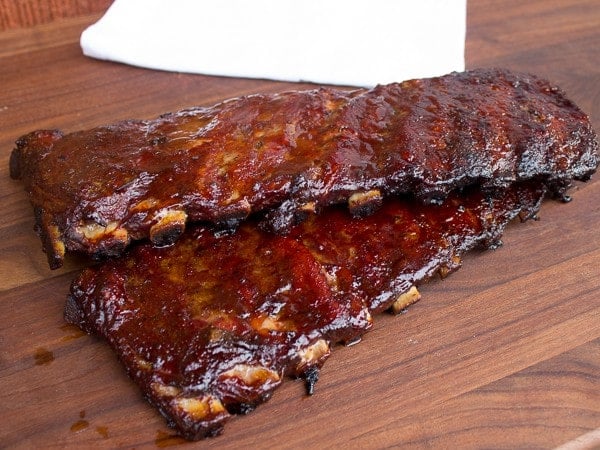
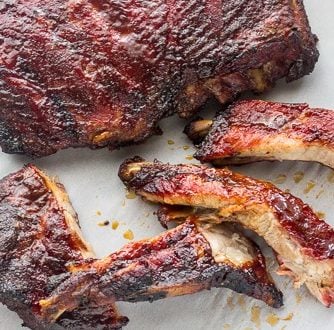
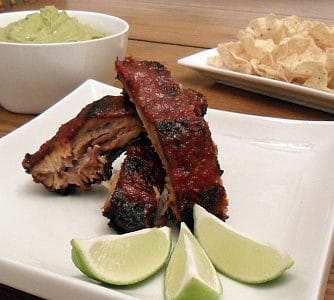
These ribs are full of flavour and incredibly tender. Once you take them out of the smoker, you can cut and divide them up and serve them immediately!
If you want another recipe for smoked ribs check out: Honey Sriracha Smoked Pork Side Ribs
Smoked Ribs using the 3-2-1 Method
Ingredients
- 2 racks pork ribs
- 1 cup Steve's BBQ rub
- 1/2 cup beer, pop or apple juice
- 1 1/2 cups BBQ sauce
Instructions
- Peel the membrane off the back of each rack of ribs. Generously rub the BBQ spice rub all over the ribs.
- These are directions to smoke the ribs in a smoker.Set the smoker to 225F and use your wood of choice (I use hickory and apple most often). Place the ribs in the smoker and smoke for 3 hours if they are spareribs and 2 hours if they are back ribs.
- After the ribs have been in the smoker for 3 hours, take them out and wrap each rack with aluminum foil. Pour a 1/4 cup of beer, pop or apple juice with each rack of ribs. Fold over the foil and pinch all the edges to ensure that it is sealed well to allow steaming.
- If your smoker can function as an oven (like Bradley smokers) place the ribs wrapped in foil back in the smoker for another 2 hours. It is also possible to use an oven for this stage. Have it set for 225F and bake them for 2 hours.
- After these 2 hours, remove the ribs carefully from the foil. Generously coat the ribs in your favourite BBQ sauce. Put them back in the smoker set for 225F for 1 final hour. It is also possible to use the oven for this stage.
Notes

