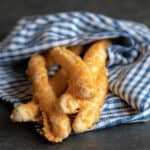
Cheese Breadsticks
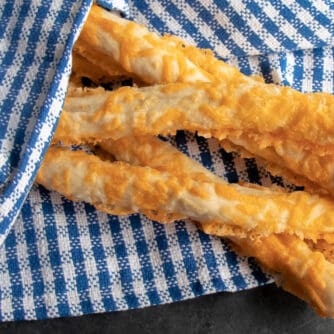
Fresh homemade breadsticks that are coated in crusty grated cheese. These are simple to make and perfect alongside a warm bowl of soup or chili!
Years ago, I used to work at a local convenience store that made some fresh baked goods. One thing that the store would bake was cheese breadsticks. I loved working in the back and making these breadsticks. The aroma of fresh baked breadsticks throughout the store was amazing and they would sell so easily. To this day, any time I am in a store or bakery that sells fresh cheese breadsticks, I just have to buy one!
There is no need to go to a bakery to get cheese breadsticks and with this recipe, you can bake them fresh right at home. These breadsticks are cheesy and crusty on the outside while also being soft and fluffy in the middle.
This recipe super easy and will make 12 cheese breadsticks. They are ideal for an after school snack, to eat while watching the game, or just to have available in the kitchen for any time someone in the family gets a little hungry. These are also awesome for an on the go snack, whether it is while driving on a road trip, a picnic or something else.
I love bread with cheese and here are some more breads and biscuits with cheesy goodness!
- Cheese and Garlic Pull Apart Bread
- Cheddar and Chive Biscuits
- Seafood Stuffed Monkey Bread
- Cheddar and Jalapeno Scones
How to Make Breadstick Dough
The first part of making breadsticks is preparing the dough. In the past, I have used bagged frozen pizza dough that I purchased from the supermarket. While that worked fine, I have since been making my own bread dough and I find that both the taste and texture of the breadsticks are far superior.
If you are looking for more information and tips for making bread dough, check out this link Artisan Bread.
After the dough has risen and doubled in size, punch it down and knead it with your hands for 30-60 seconds. Divide the dough into 12 equal sized portions.
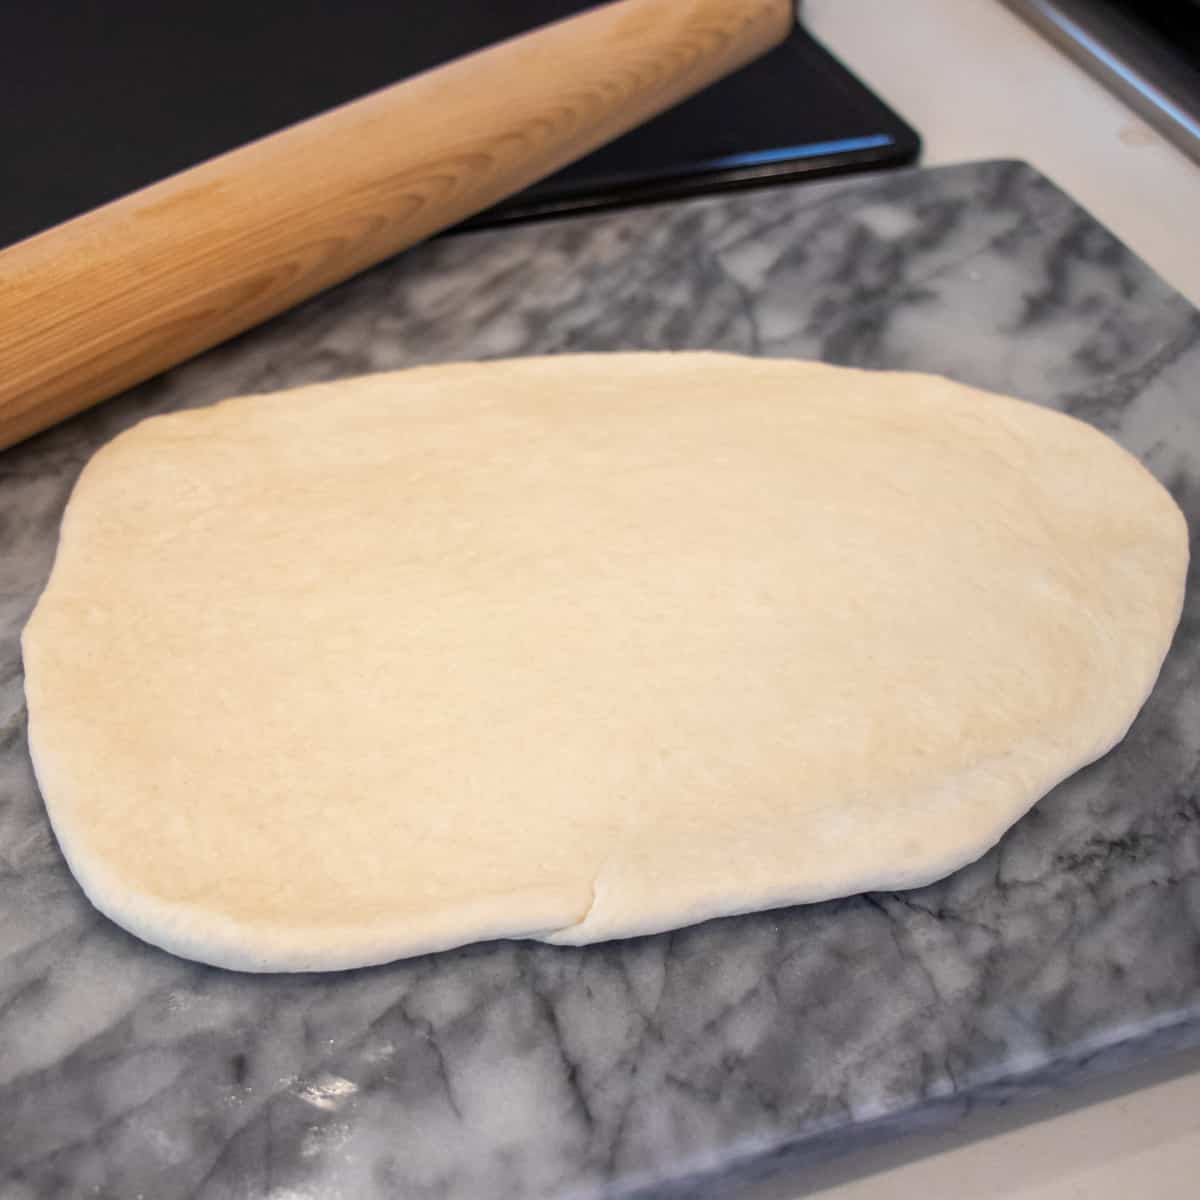
Time to Roll the Dough
Roll the dough into a large flat oval about 1/2 inch thick. Depending upon the size of the area that you are able to roll the dough, you might need to divide it into smaller portions. I have a marble rolling surface and I find that if I divide the dough in half, I can roll it perfectly to the size I need.
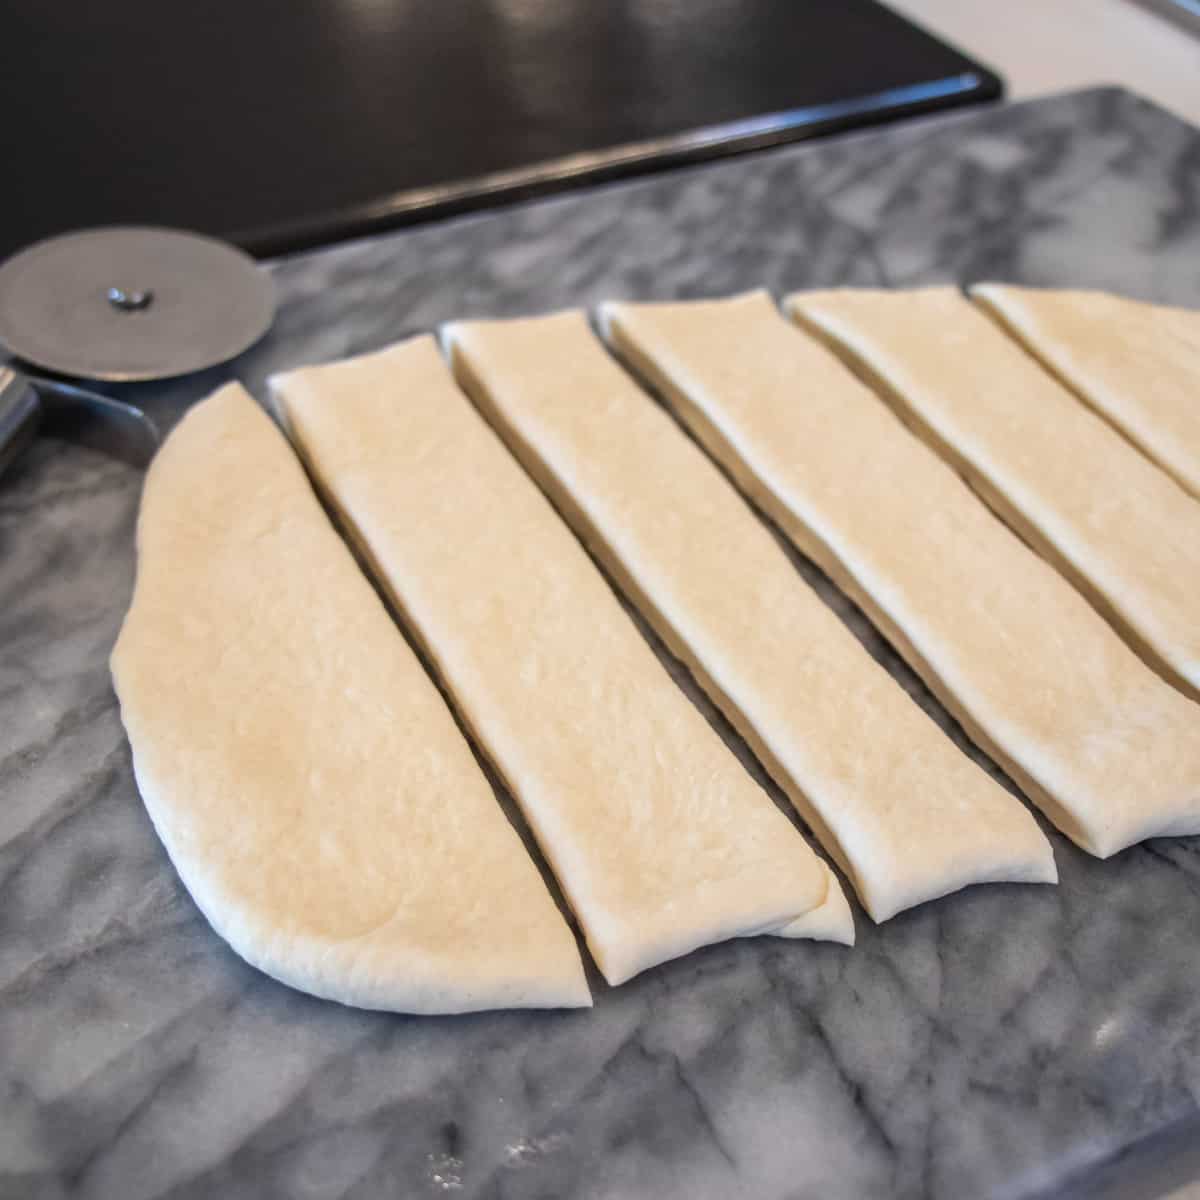
Once rolled, cut the dough into equal sized portions. I use a pizza cutting wheel and it cuts the dough very easily.
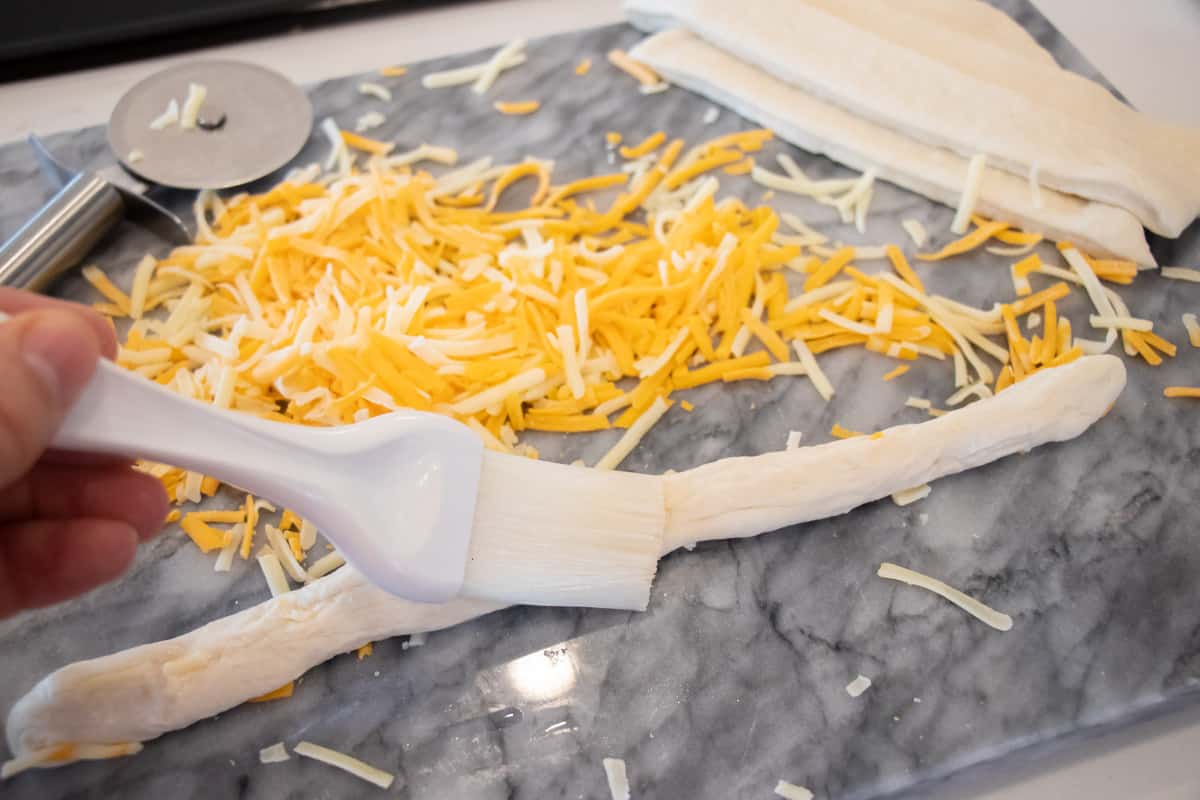
Take one portion of the dough and roll it into a breadstick shape that is 12-14 inches long. Lightly brush it all over with water.
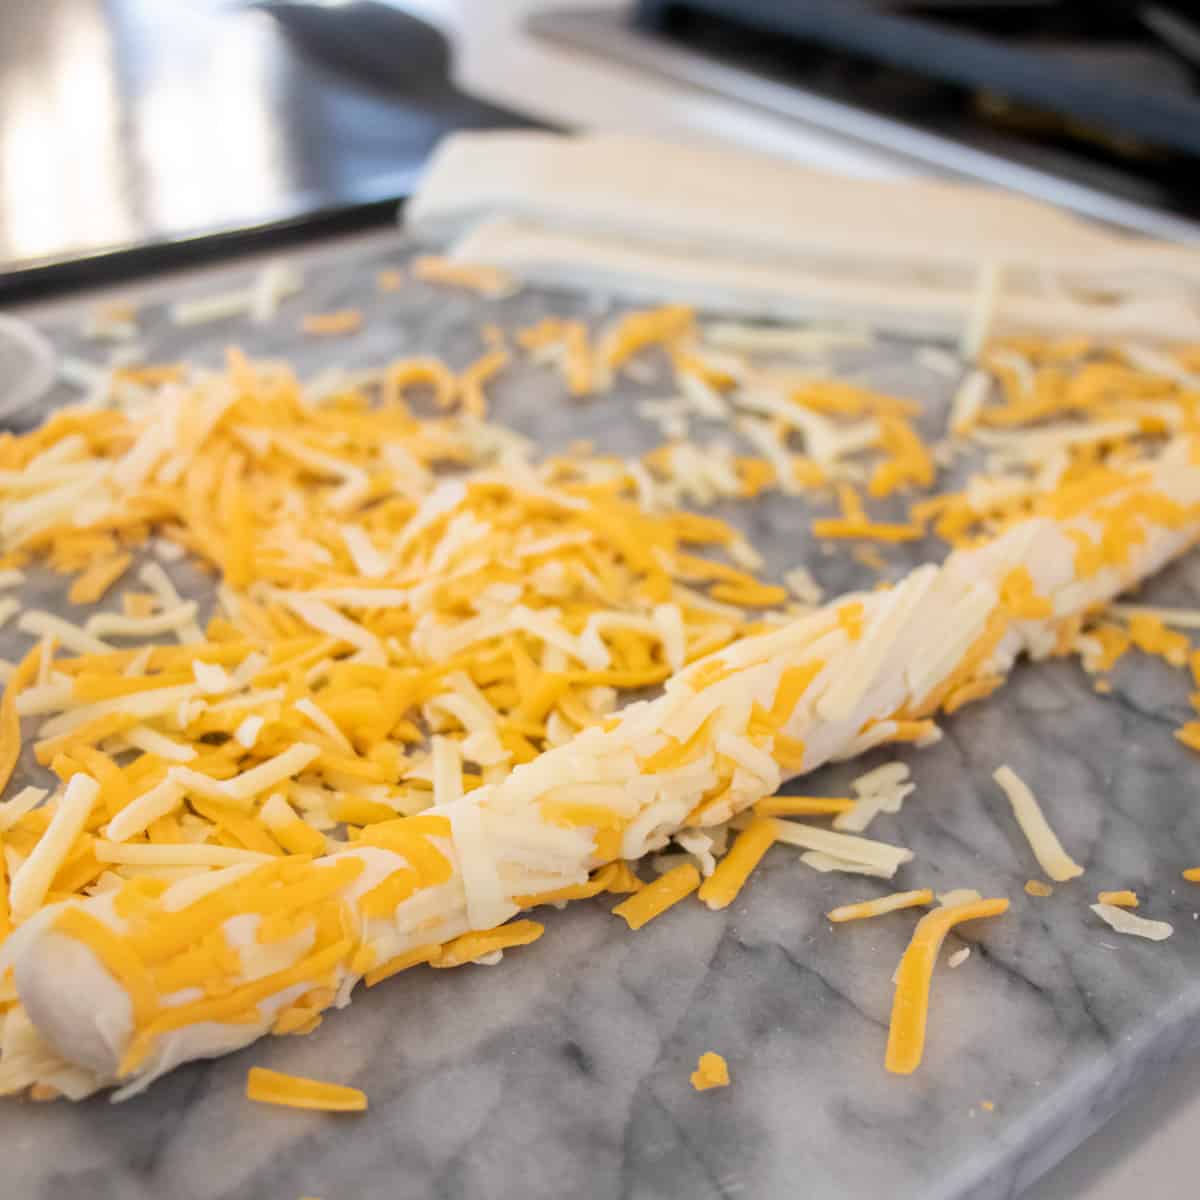
Roll the breadstick dough in grated cheddar cheese. The first couple times I made these breadsticks, I did not brush them with water before rolling them in the cheese and the grated cheese would not stick to the dough. Brushing them with water lightly works great to get the cheese to stick to the outside of the breadstick.
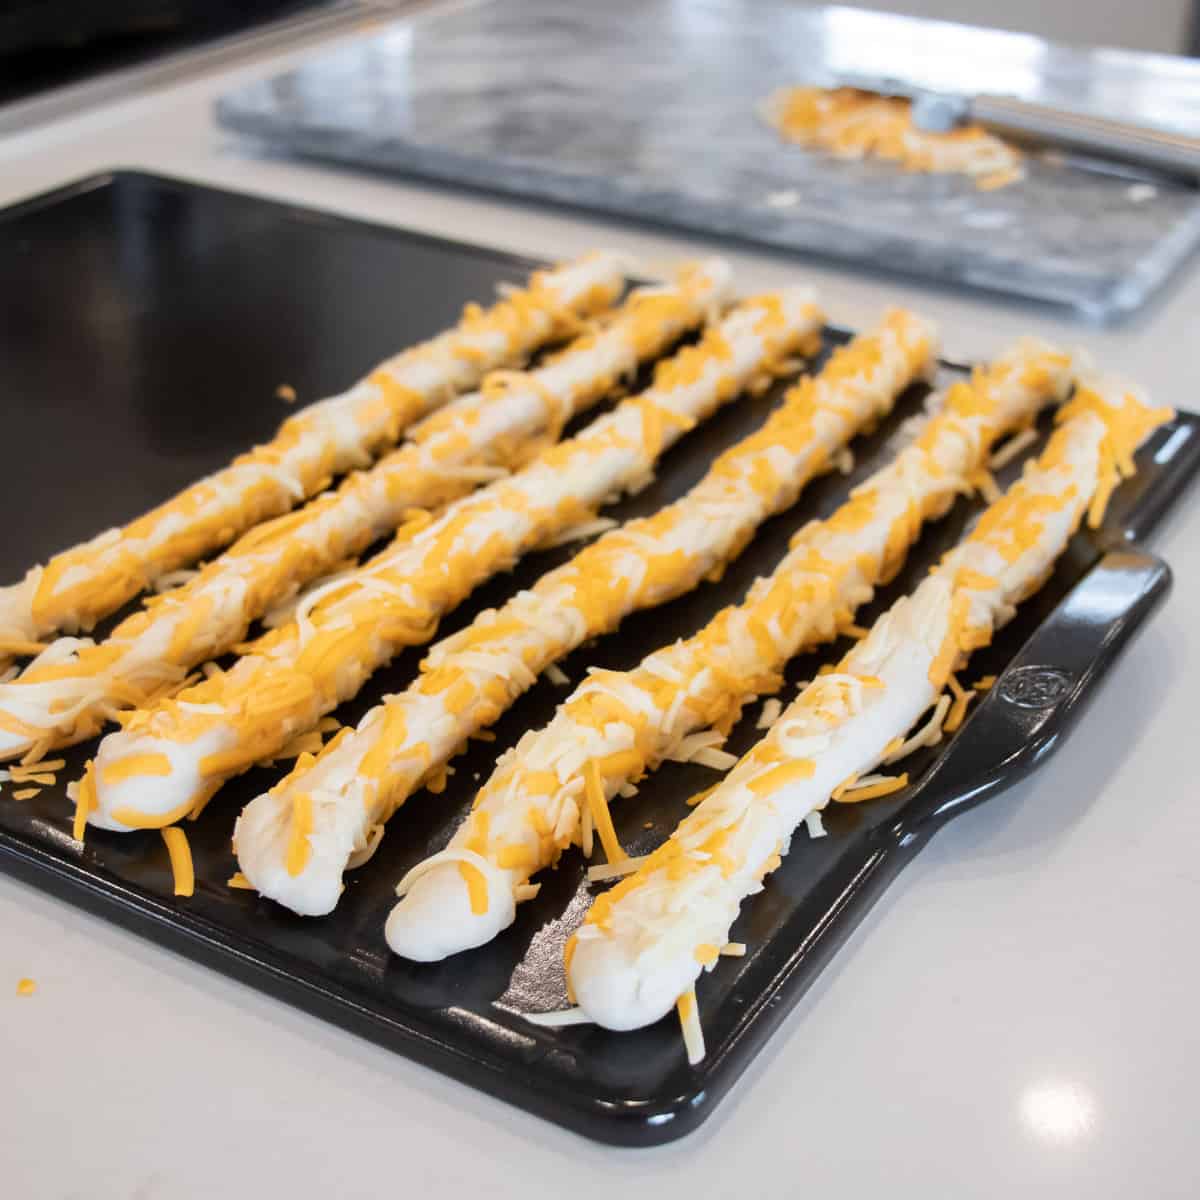
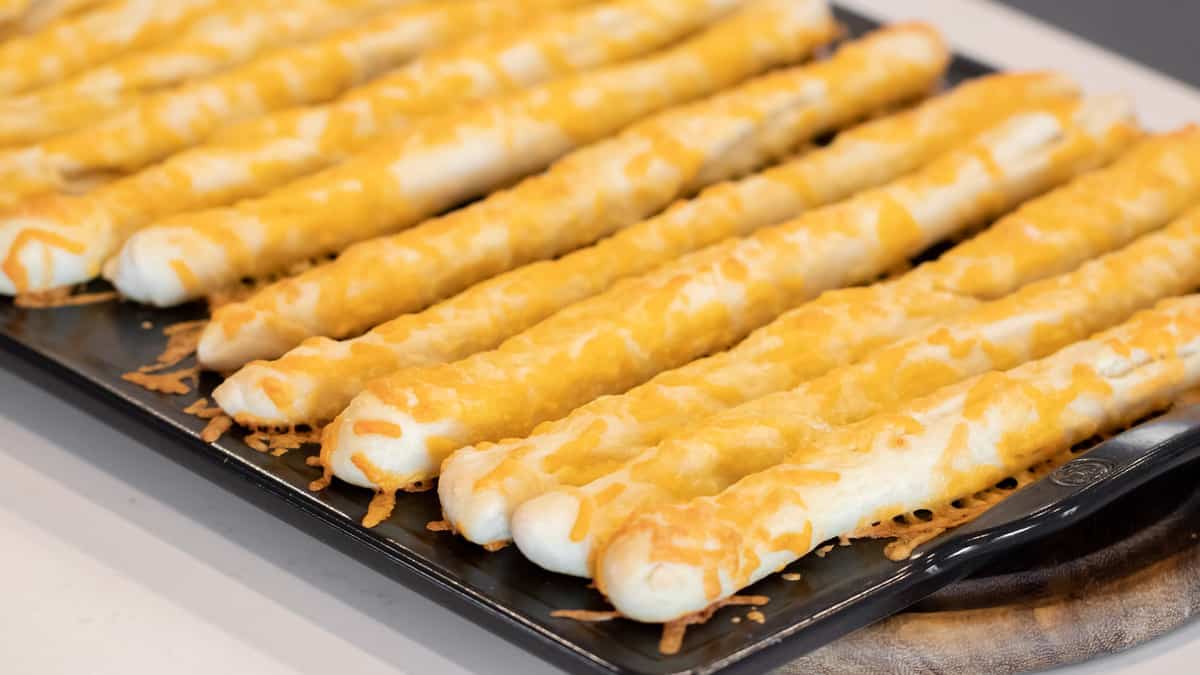
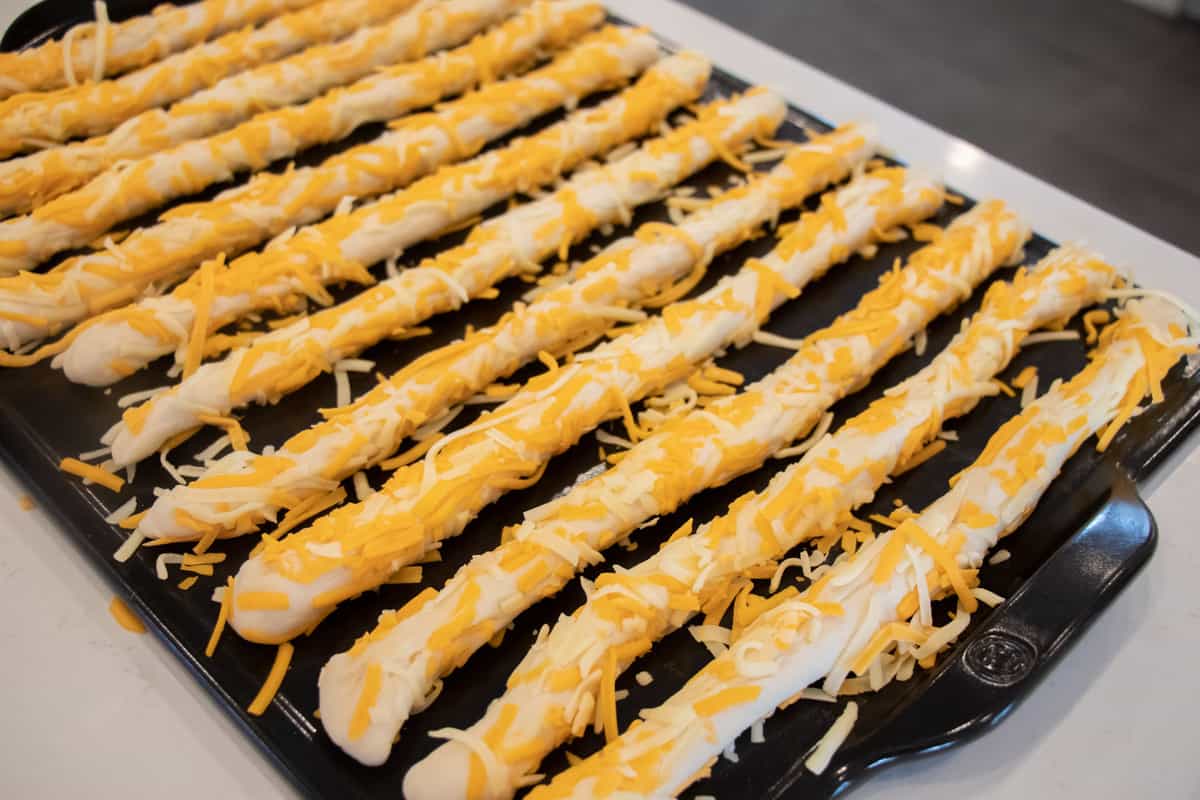
Place the rolled breadsticks on a baking sheet or stone. With the remaining dough, make 11 more breadsticks and place them side by side, about 1 inch apart.
How Long to Bake Breadsticks
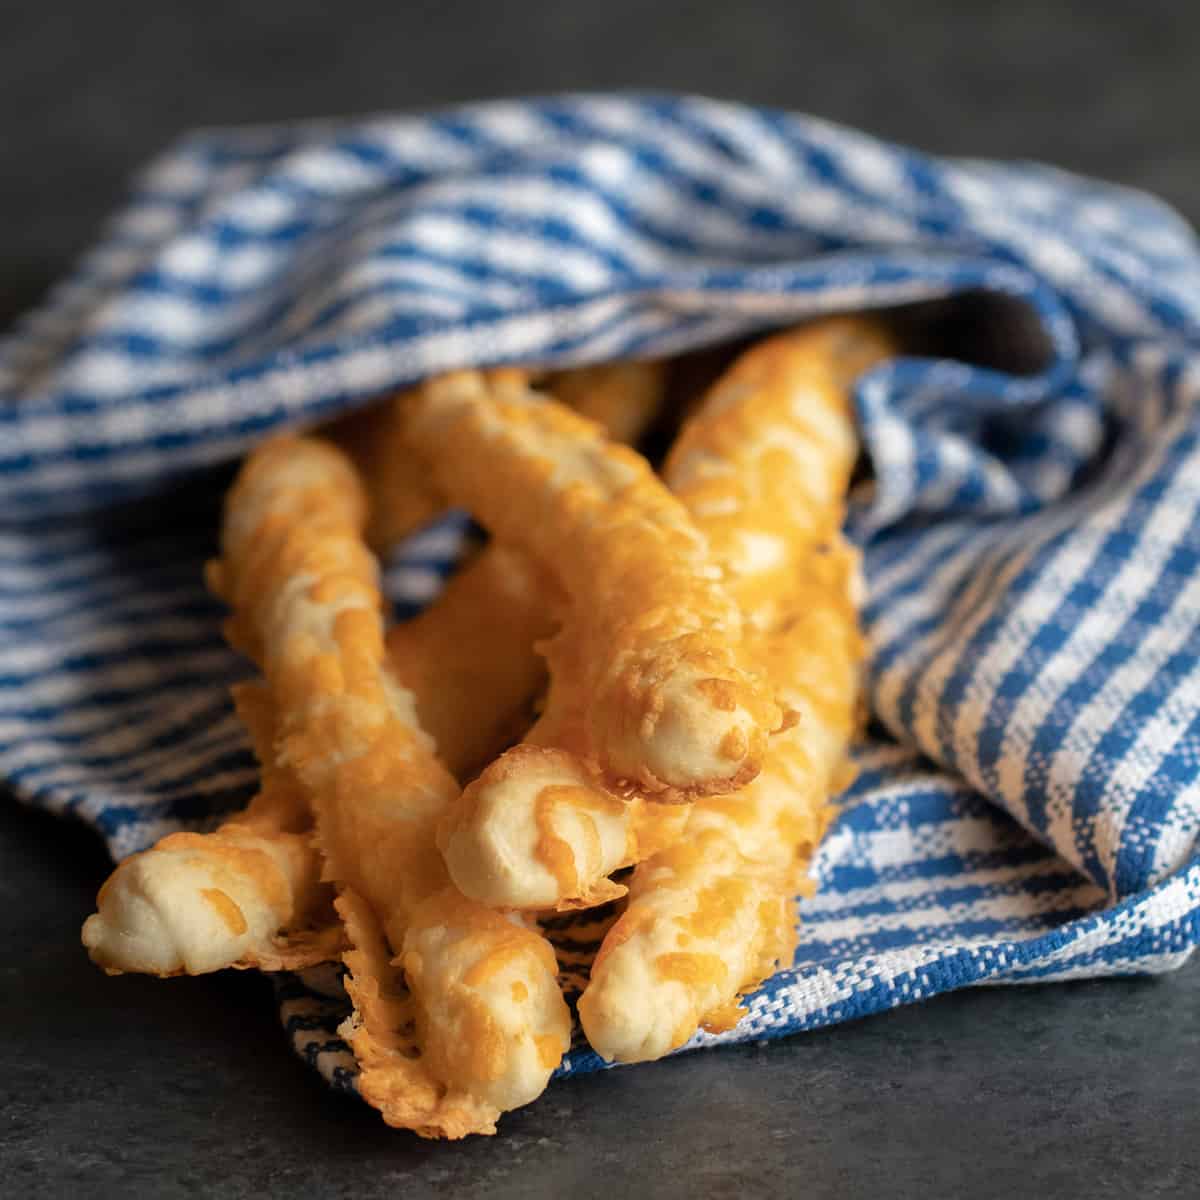
Bake the cheese breadsticks in a 425F oven for 15-18 minutes. The breadsticks should be just starting to brown and the cheese bubbling.

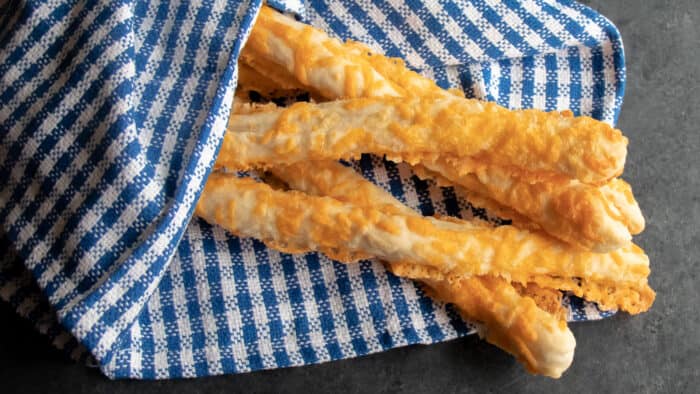
Take the breadsticks out of the oven and let them rest a few minutes before serving. These breadsticks are so delicious and definitely best served warm. We also enjoy dipping them in pizza sauce. So good!!
Recipes to Serve with Breadsticks
Here are some delicious soups and chili recipes that are perfect alongside these homemade cheese breadsticks.
- Chicken Corn Chowder
- Homemade Chicken Noodle Soup
- Beef and Beer Chili
- Beef Barley Soup
- Classic Pork Stew
Cheese Breadsticks
Ingredients
- 2 tsp dry active yeast
- 1 cup water 95-105F
- 2 tsp salt
- 2 1/2 tsp sugar
- 3 1/4 cups flour
- 2 cups grated cheddar cheese
- 2 tbsp water for brushing
Instructions
- Stir to dissolve the yeast in a bowl with the warm water. Set aside for 5 minutes.
- Stir the salt and sugar with the flour and dump into a stand mixer bowl.
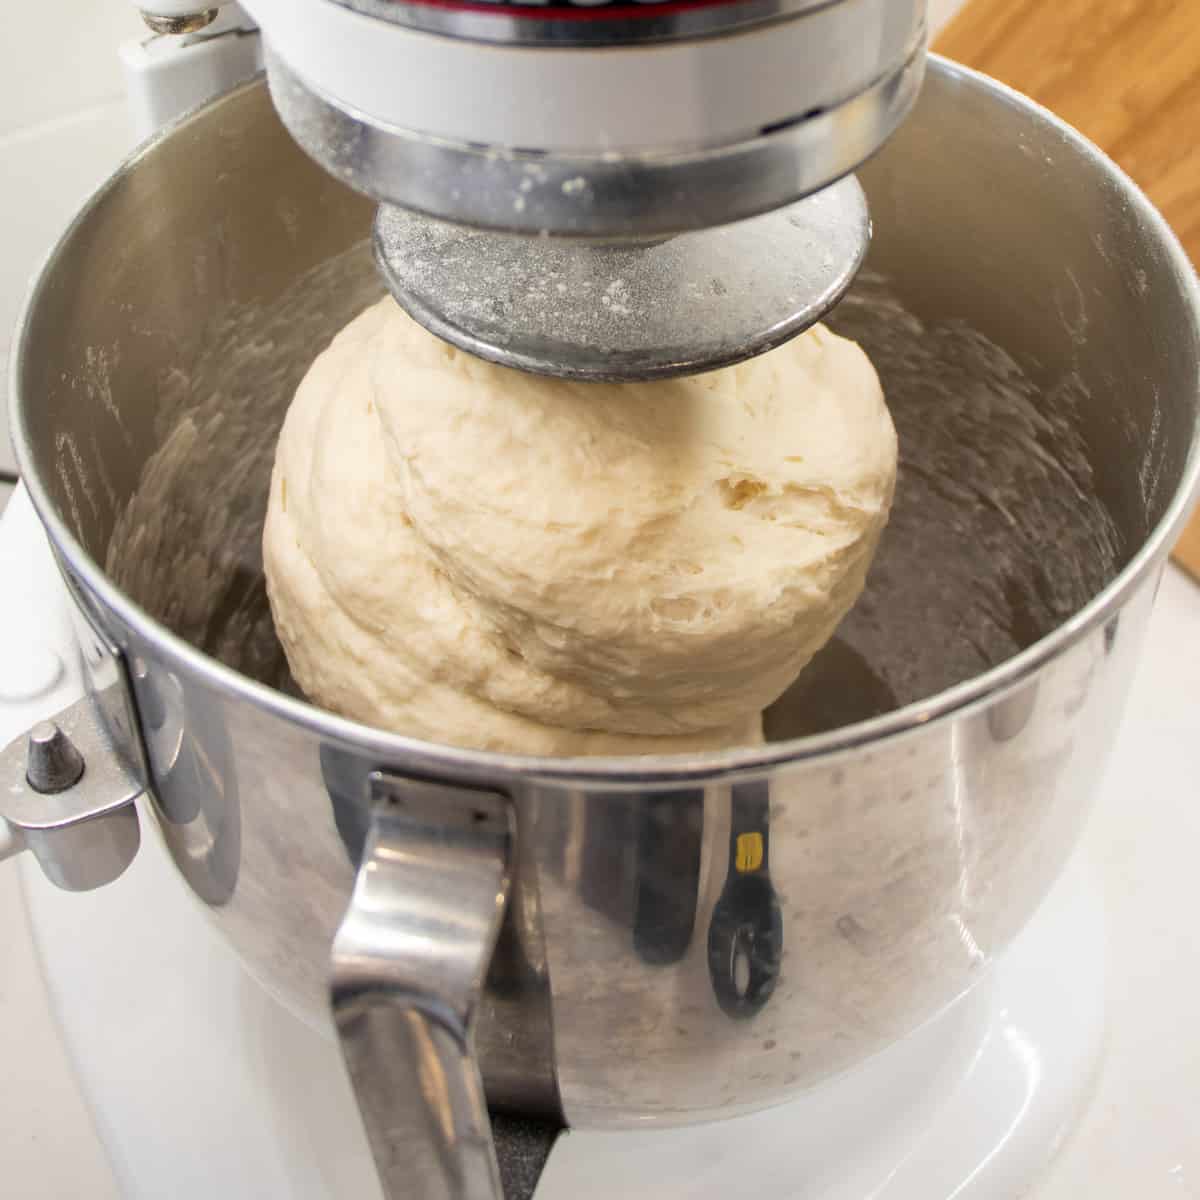
- Using the dough hook, turn on the stand mixer to low speed. Slowly pour in the water and yeast mixture. Continue to let the stand mixer knead the dough for about 5 minutes. The dough should come away from the bowl and not be sticky/tacky to the touch.
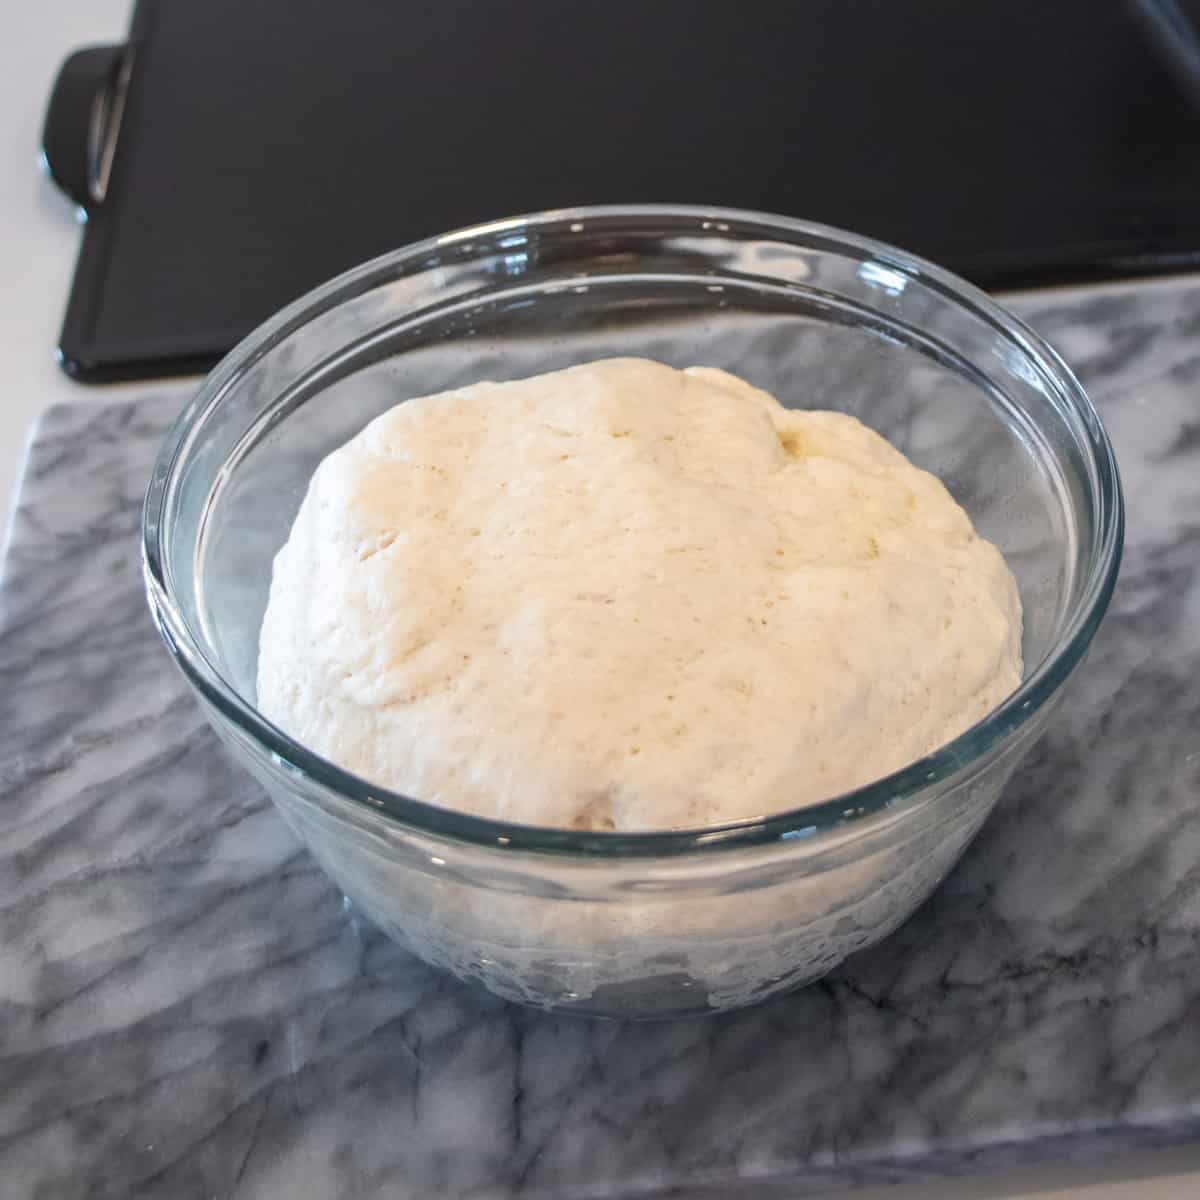
- Grease a large bowl with oil. Shape the dough into a ball, place in the bowl and flip so all sides are coated in the oil. Cover the bowl with plastic wrap. Put the bowl in a warm place with no draft and let rise until doubled in size, about 90 minutes.
- Punch the dough down and hand knead it for about 30 seconds. Divide the dough into 12 equal portions.
- Roll one portion into a long breadstick about 12-14 inches in length. Brush the breadstick with water. Roll the bread stick in grated cheese so that a bunch of cheese sticks to the outside of the breadstick. Place the breadstick on a large baking sheet or stone. Do this with the remaining portions of dough. Place the breadsticks side by side on the baking sheet approximately 1 inch apart.
- Bake in a 425F oven for 15-18 minutes or until the breadsticks are baked through and the cheese is bubbly and just starting to brown on top. Remove from the oven and let rest for a few minutes before serving.
Nutrition
Per serving: