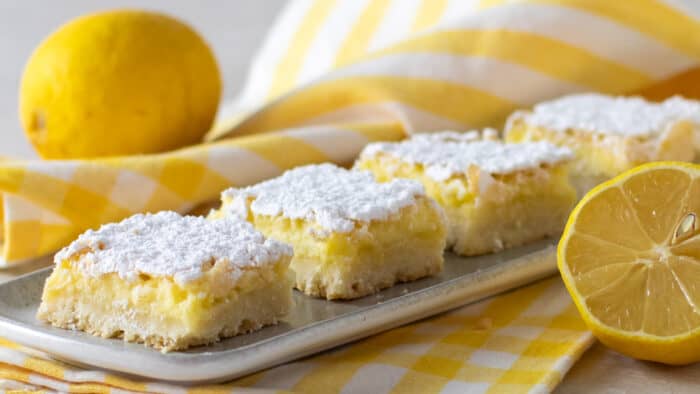
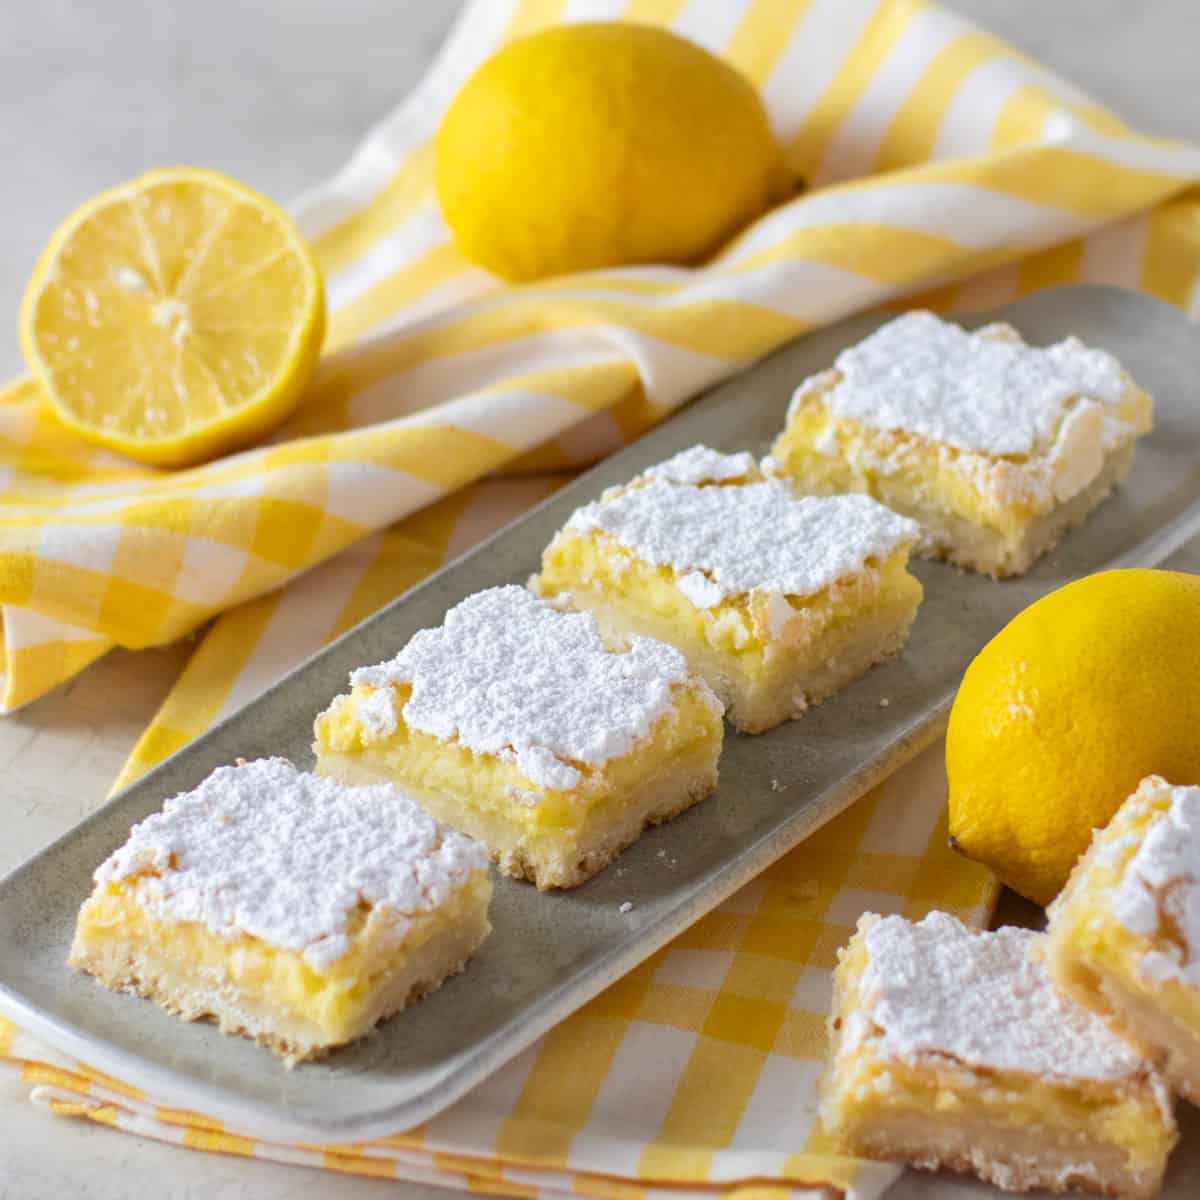
Lemon Bars
A sweet and tangy dessert that has a shortbread base and a lemon merengue type filling. Great for holidays or any other time of the year!
There are many different types of square that I have on this website. But, these lemon bars are easily one of my favourite and most popular anytime I bring them to an event or gathering. These squares are great for holiday baking like Christmas or Thanksgiving. They are also perfect with a cup of tea or coffee as a mid day treat!
What Makes Lemon Bars So Good?
- Sweet and Tang – Lemon bars are sweet, but they are also nice and tangy from the lemon. This blend of sweet tang makes every bite and experience to remember.
- Buttery Crust: The crust of lemon bars is made with a buttery shortbread base. While the lemon meringue type filling is the star of these squares, it is the classic shortbread type base that holds these bars together.
- Lemony Goodness: The use of both lemon zest and lemon juice in the filling contributes to an intense citrus flavour. Every bite is packed with the sweet and tangy taste of the creamy lemon filling.
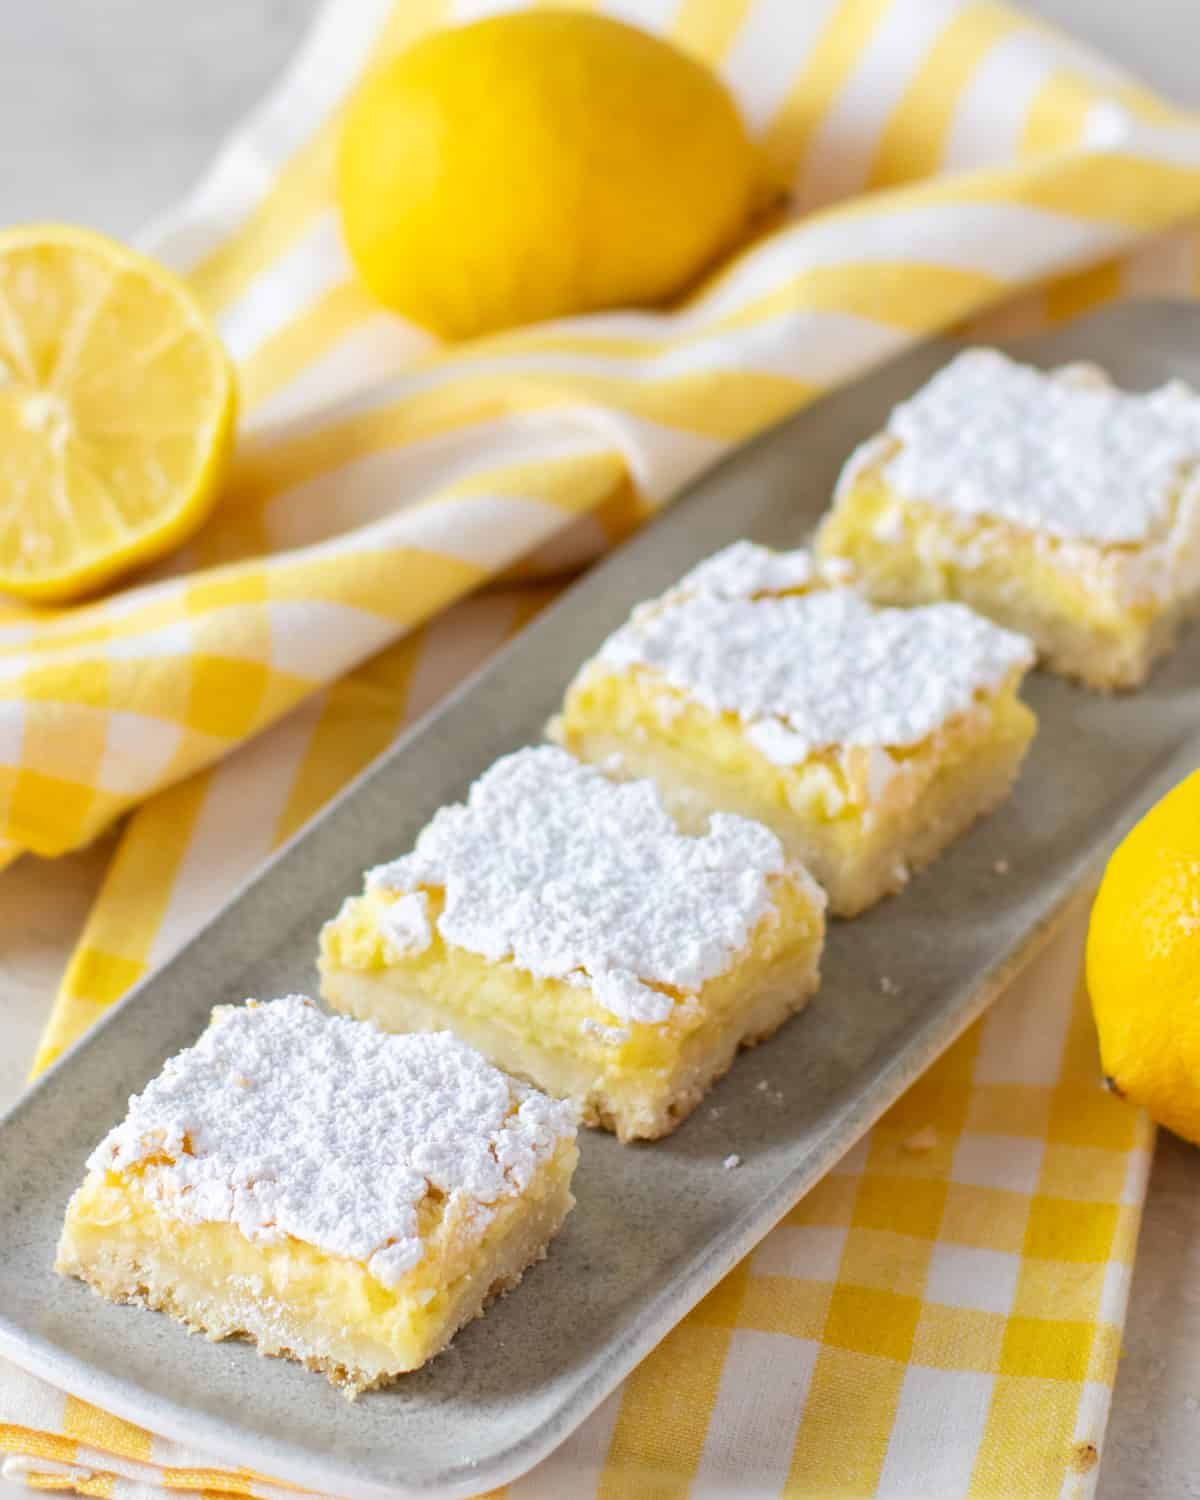
- Texture Contrast: Lemon bars often have three distinct textures. The crust is buttery and crumbly, while the filling is creamy and almost gooey. Then on top there is the thin crystallised sugary layer.
How To Make Shortbread Base
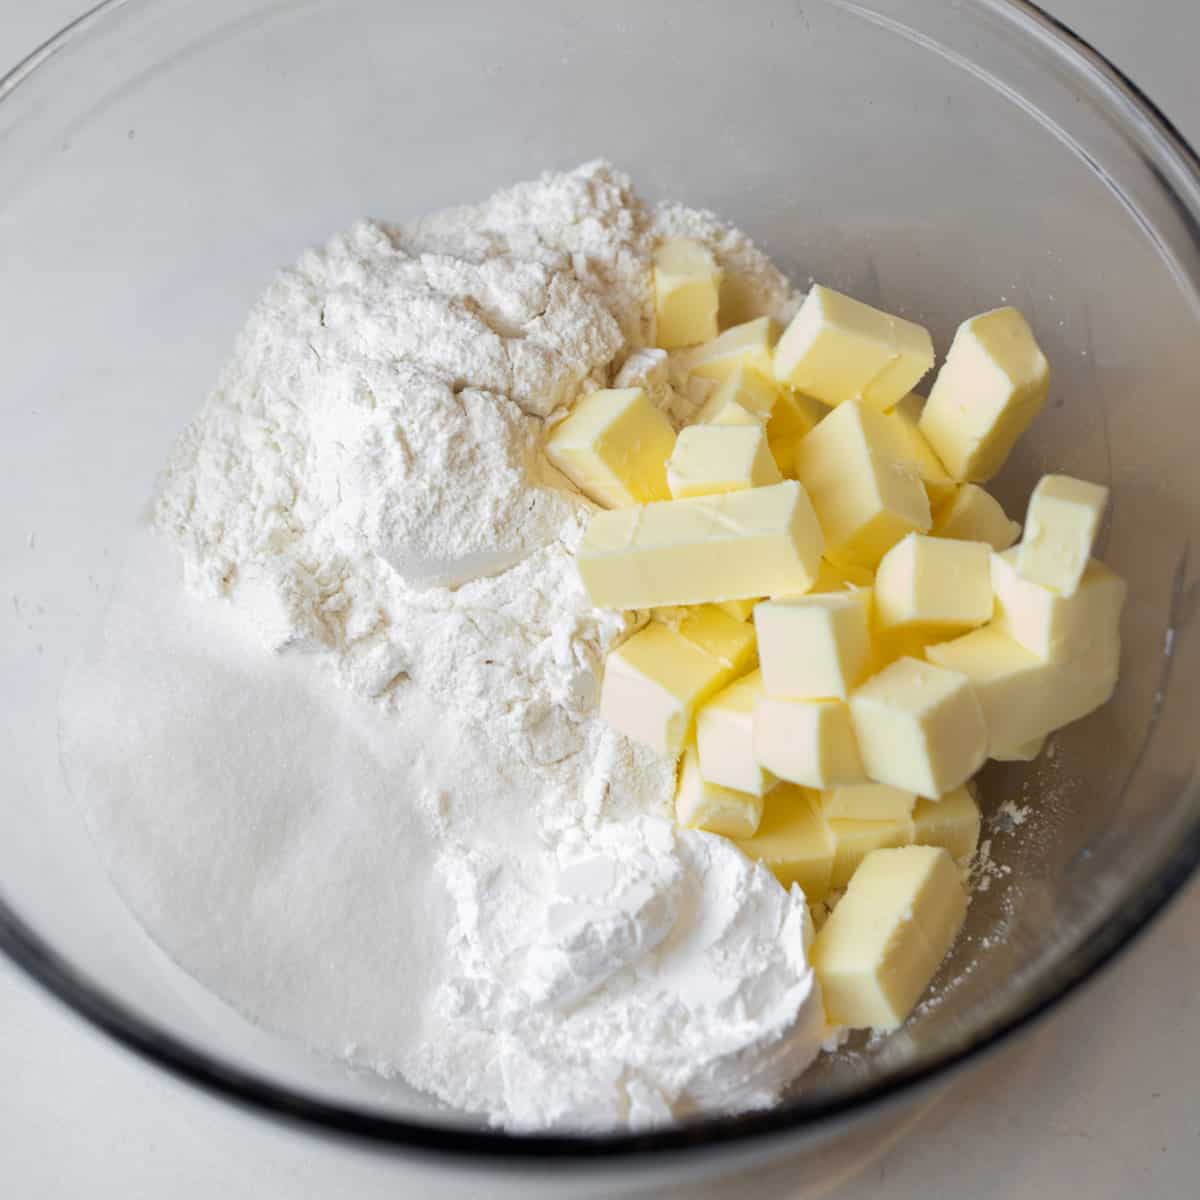
The first step in making these lemon bars is to prepare the base. The bottom layer of this dessert is essentially a shortbread cookie base and uses flour, icing sugar, white sugar and butter. Mix the dry ingredients in a bowl and add the butter.
Cold and Cubed Butter! Keep the butter chilled in the fridge until you are ready to make the shortbread base. Also, I find cutting the cold butter into smaller cubes, makes working it into the dry ingredients much easier.
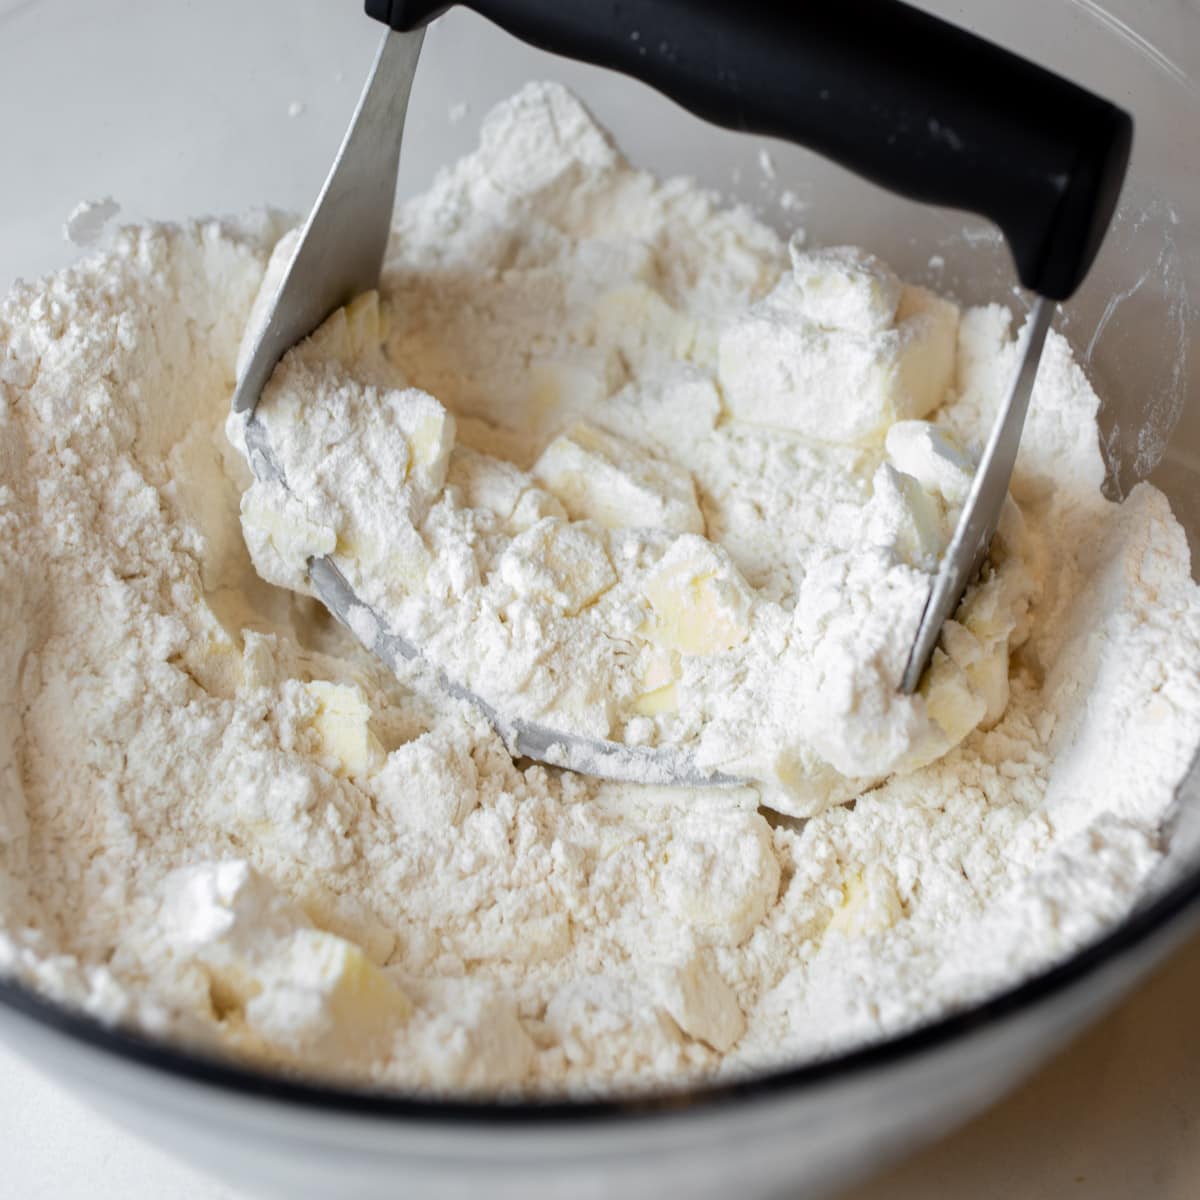
Cut In The Butter
It is now time to cut the butter into the flour. This is the same technique as if you are making scones, biscuits or shortbread cookies. Use a pastry cutter if you have one, or you could also use two knives. This method cuts tiny little bits of butter worked throughout the shortbread cookie base. Then when it bakes the butter melts creating tender layered cookie base.
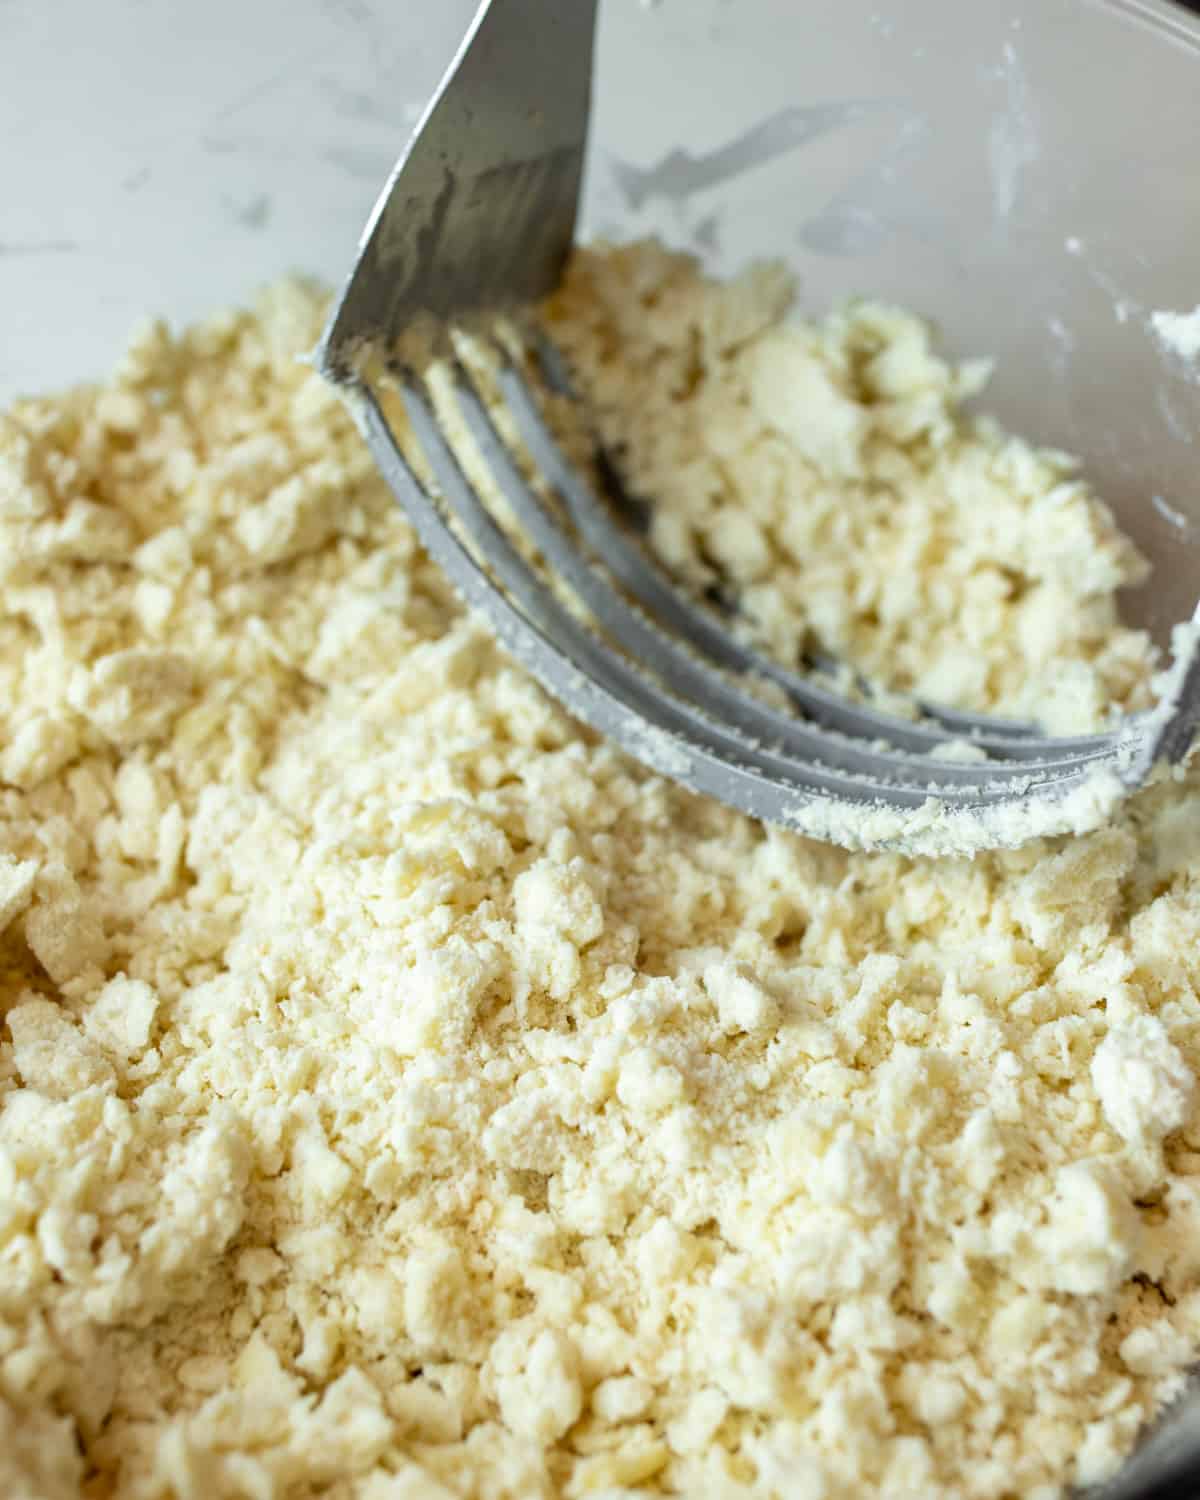
Keep doing this until the butter is the size of tiny little beads. The flour mixture should have a crumbly consistency, and you should still be able to see little bits of butter all through the mixture.
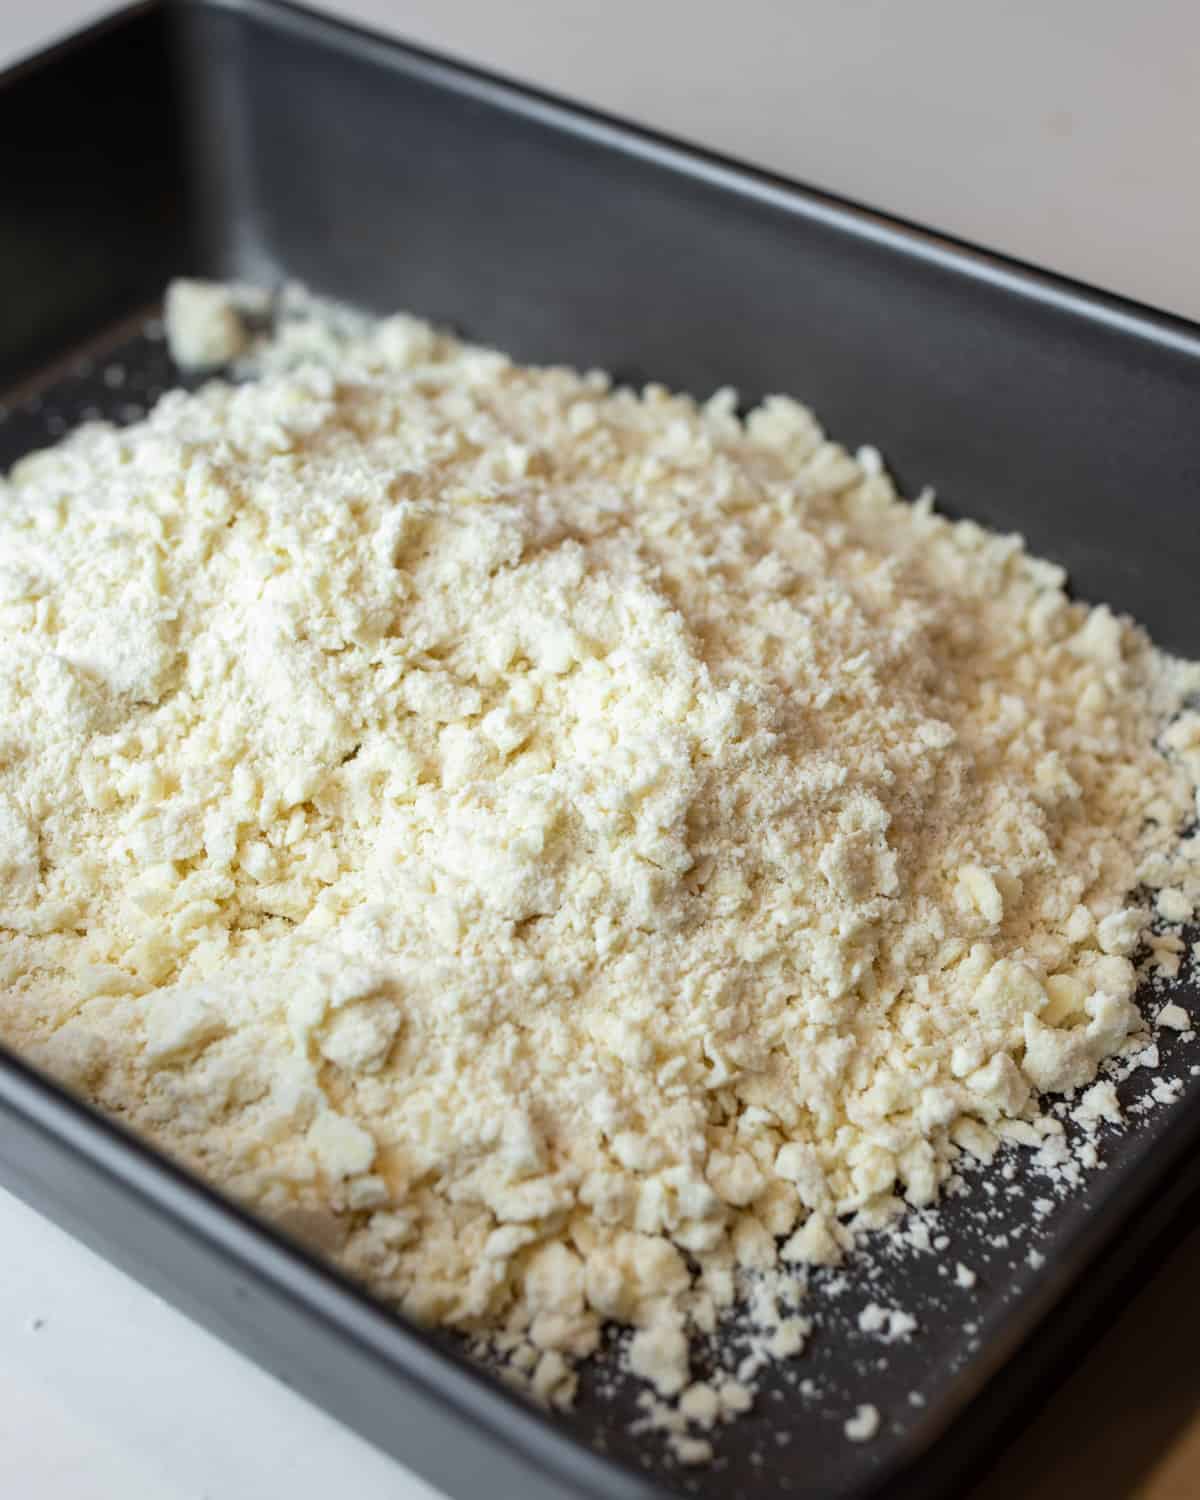
Spread the crumbly mixture across the base of a 13×9 non stick rectangular baking pan. Press the shortbread mixture into the baking dish so that it is an even layer across the bottom.
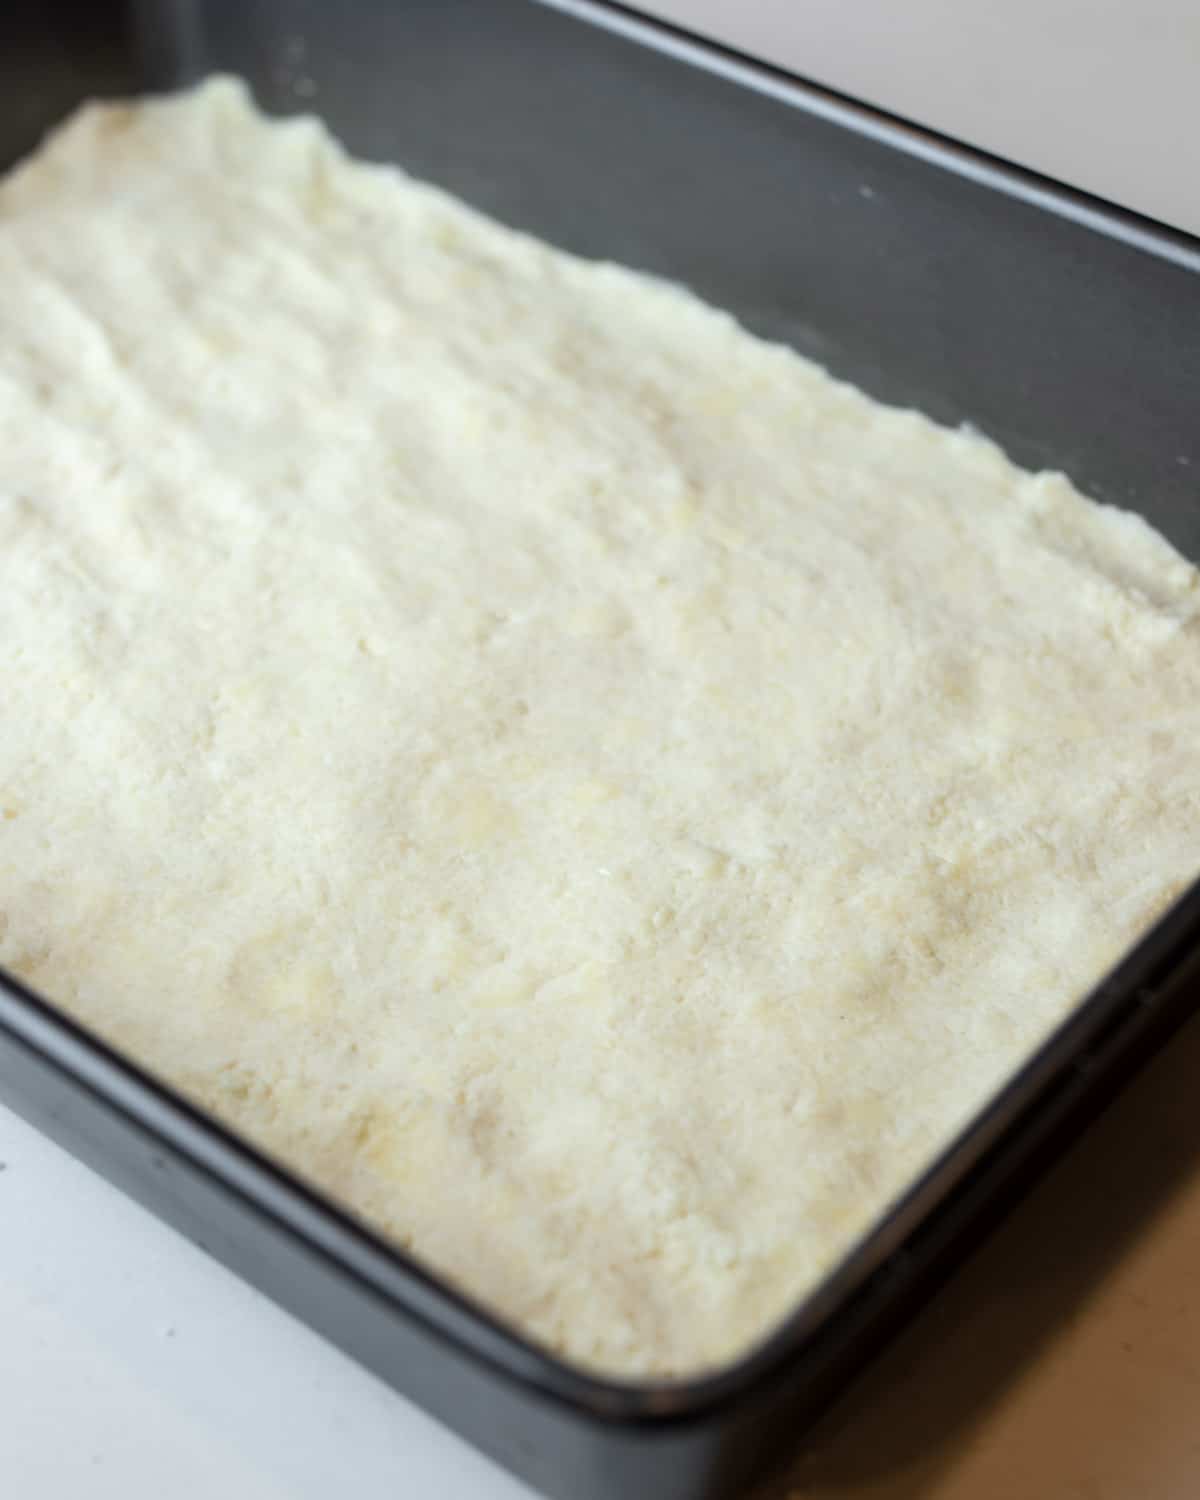
Bake The Bottom Layer
The base of the lemon bars needs to be pre-baked before the lemon filling is poured on top. Once the shortbread crumb is pressed evenly into a baking dish it is ready to go in the oven. Bake in a 350F oven for 18-20 minutes.
How To Make The Lemon Filling
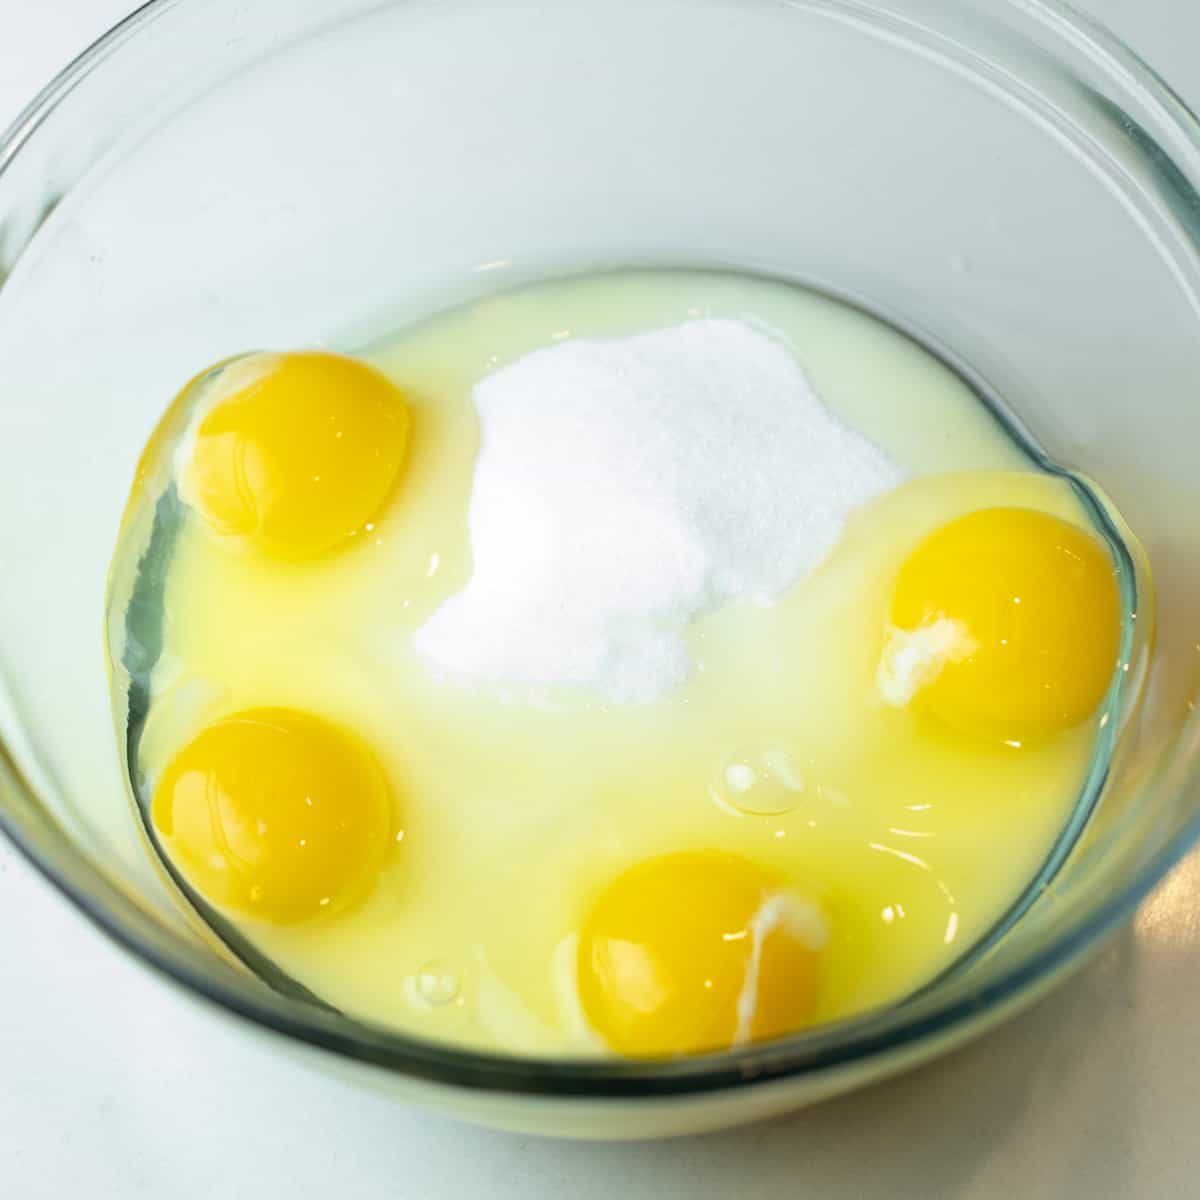
While the shortbread base is in the oven, you can make the lemon curd filling. Start by adding the white sugar and eggs into a medium sized mixing bowl.
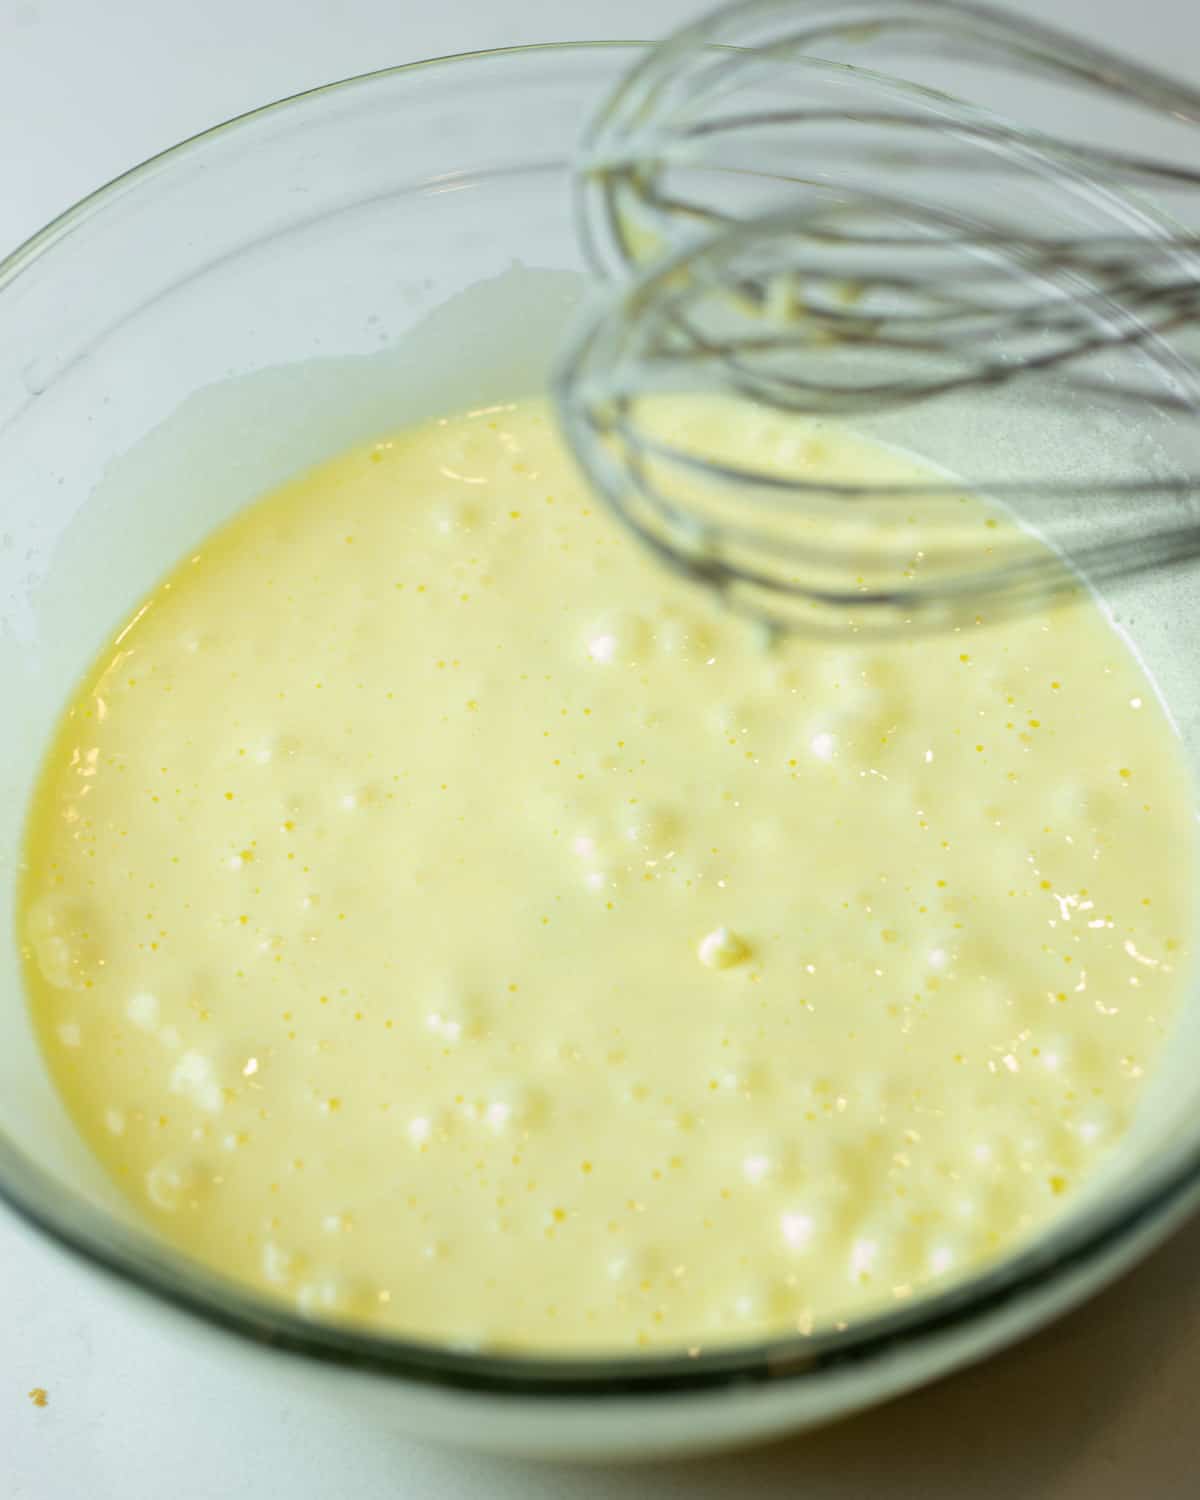
Beat with an electric mixer on high until smooth. I like to use whisk attachments for the mixer as I find that it makes it smooth, creamy and airy.
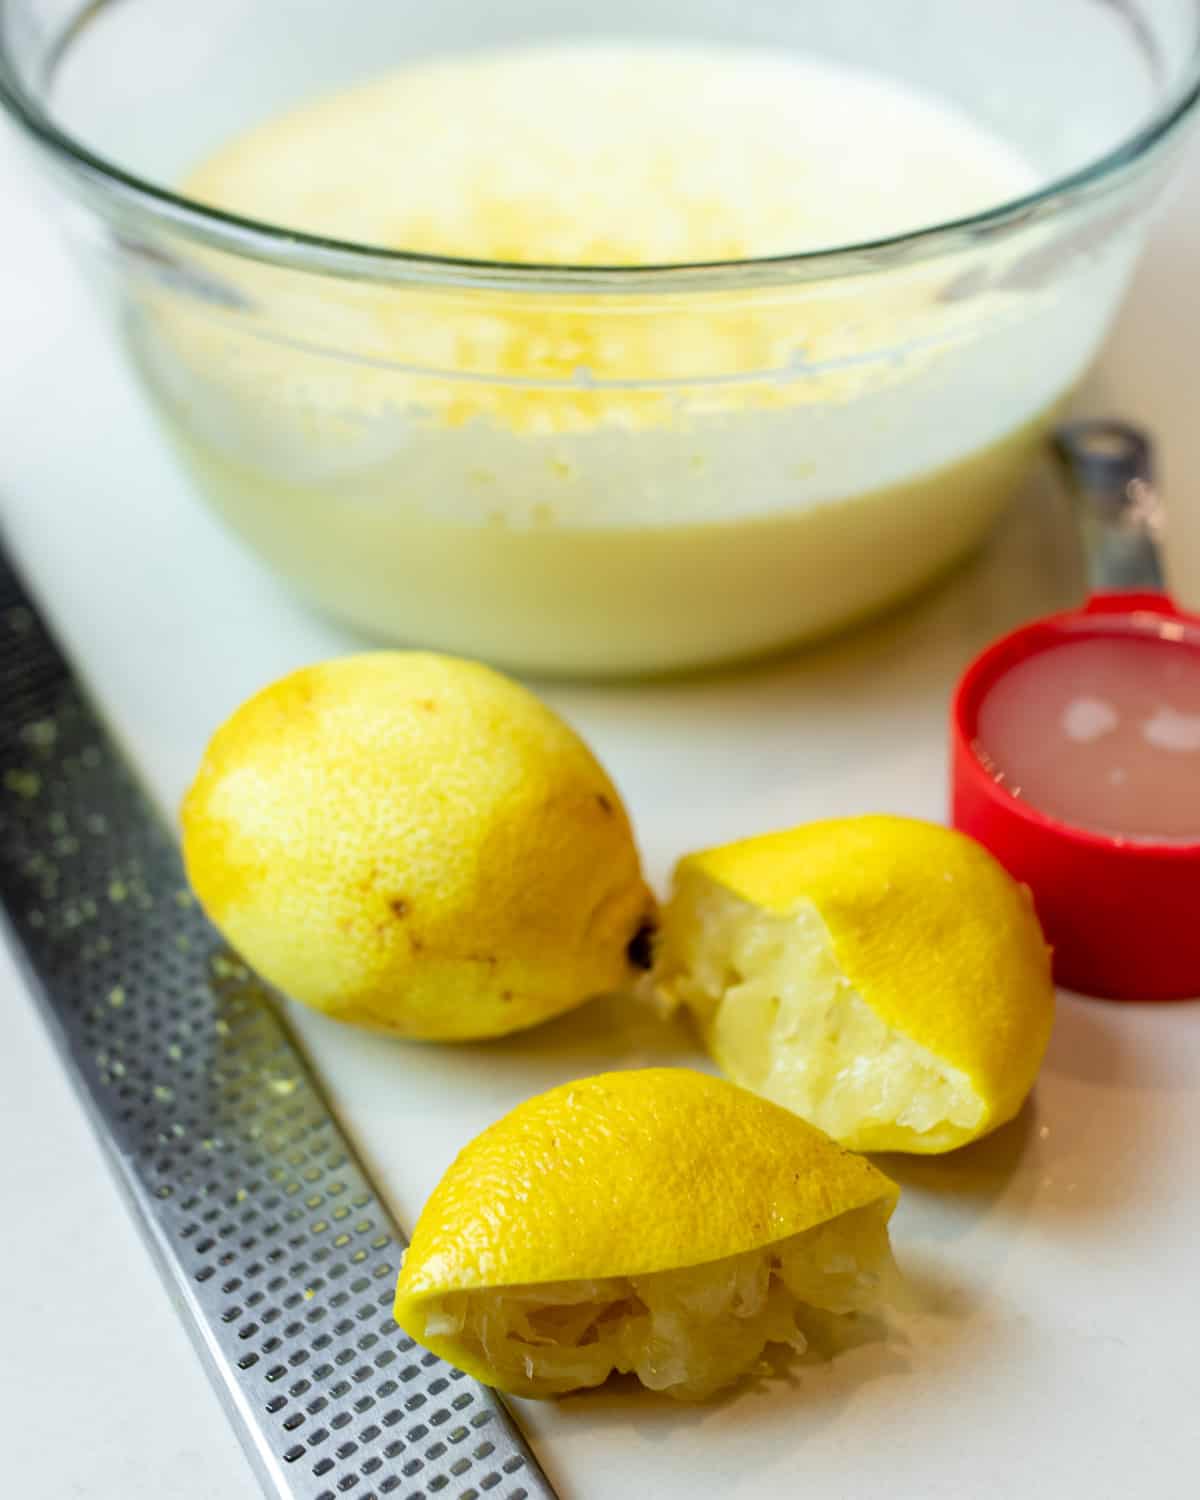
How To Zest A Lemon
Now it is time to add the lemon flavouring. To do this, I add both lemon juice and lemon zest. This gives the curd filling a bright and bold lemon flavour. To zest the lemon, make sure to use an actual zester, like a microplane. Using a traditional grater will get too much of the rind and can be bitter. Rub the lemon across the zester and it easily creates the zest. The aroma is so fresh!
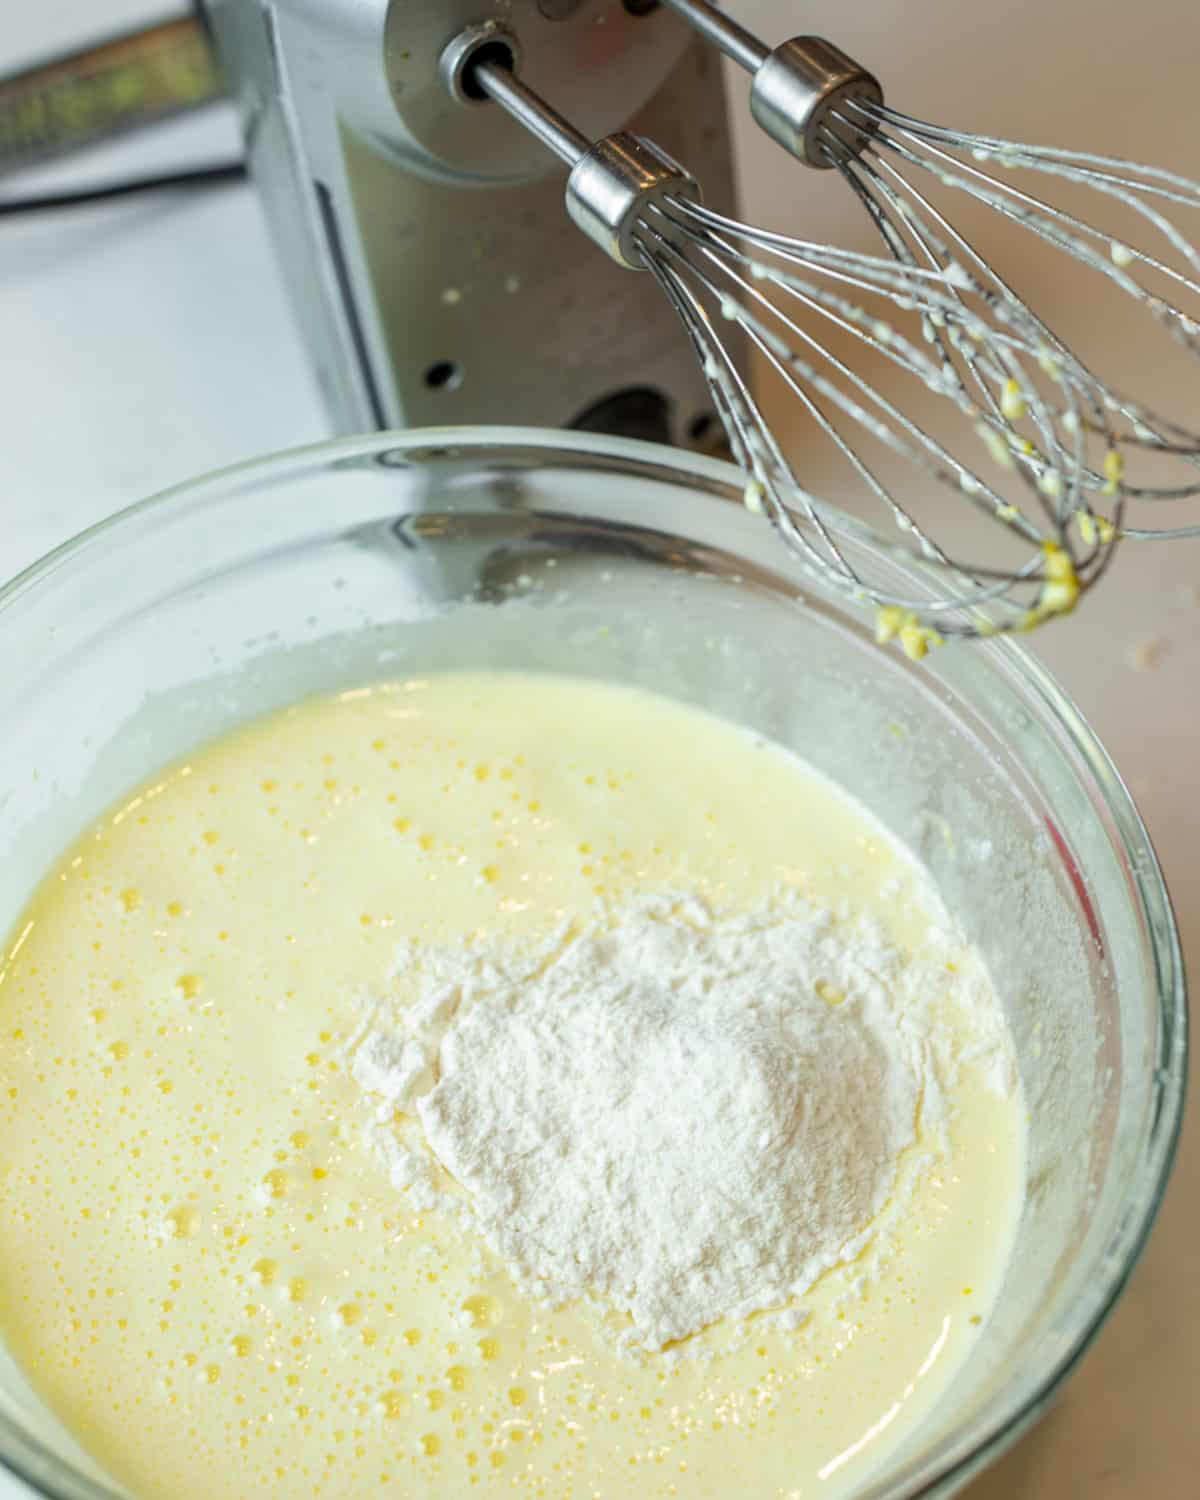
Expert Tip! In a separate bowl, whisk the flour and baking powder together. This ensures that the baking powder is evenly mixed throughout the filling.
Whisk the lemon juice, zest, flour and baking powder into the egg mixture. Beat on high for about a minute, or until the filling is smooth and well mixed.
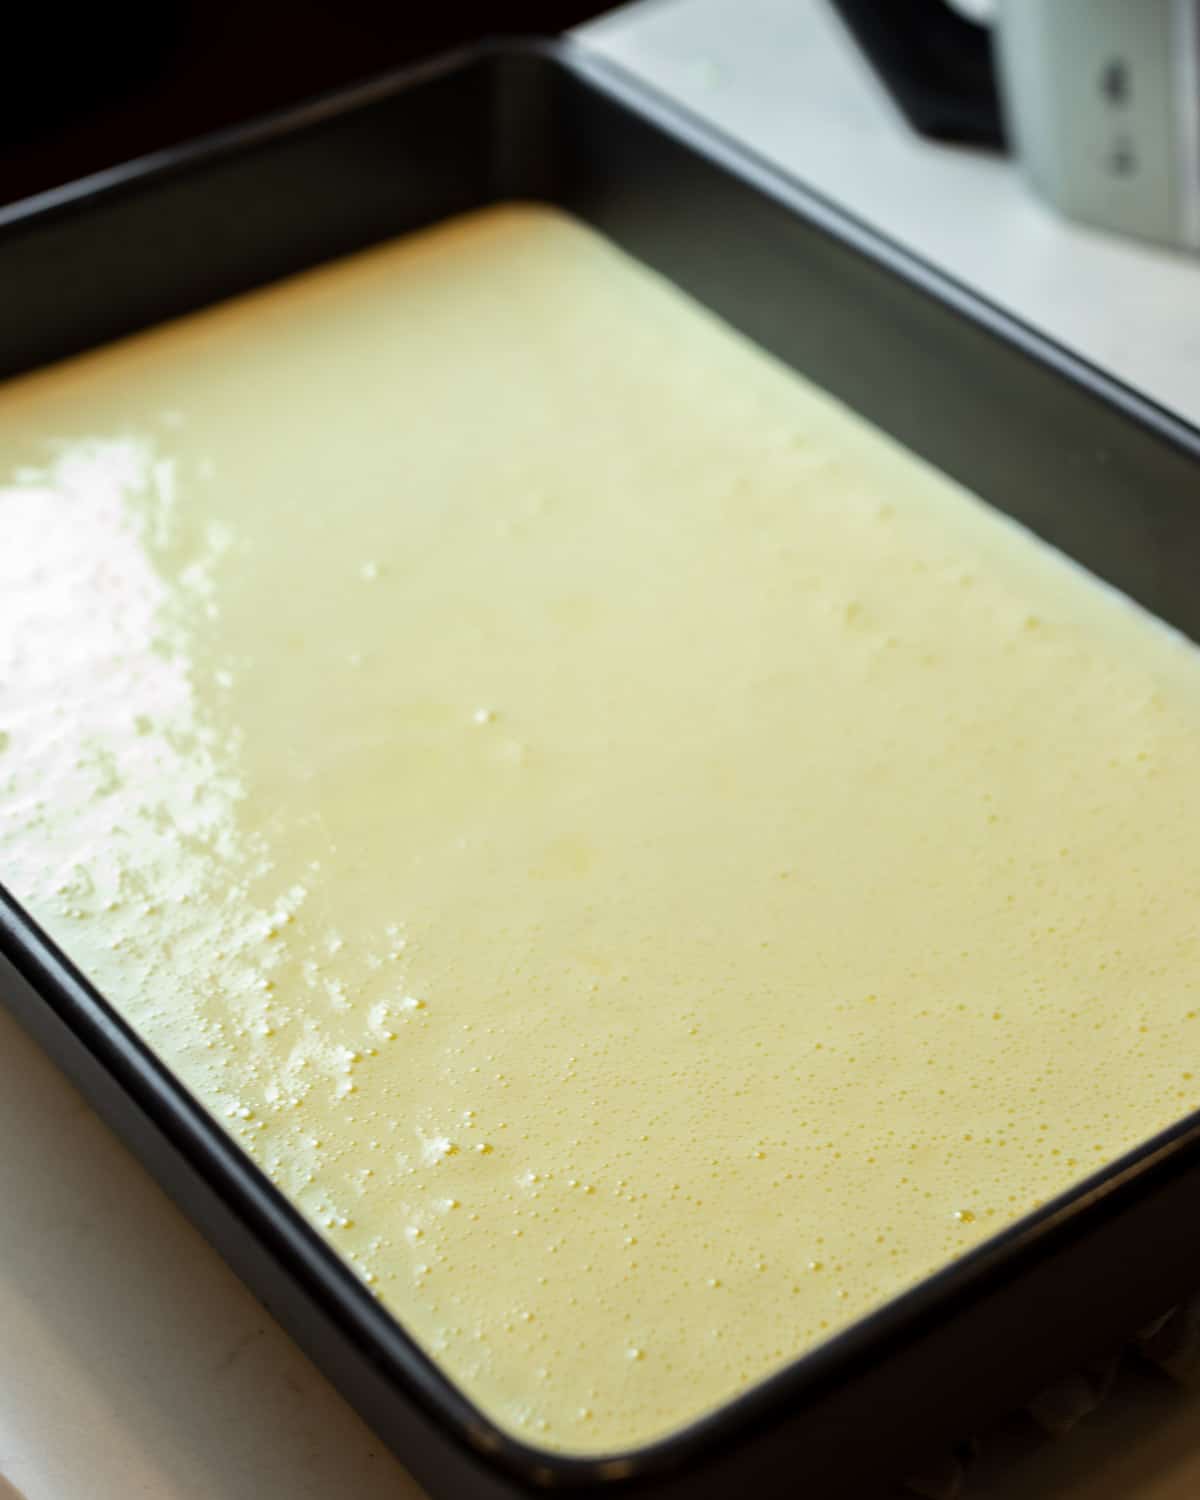
Once the shortbread crust has baked and is out of the oven, pour the lemon filling mixture over top of the cookie base.
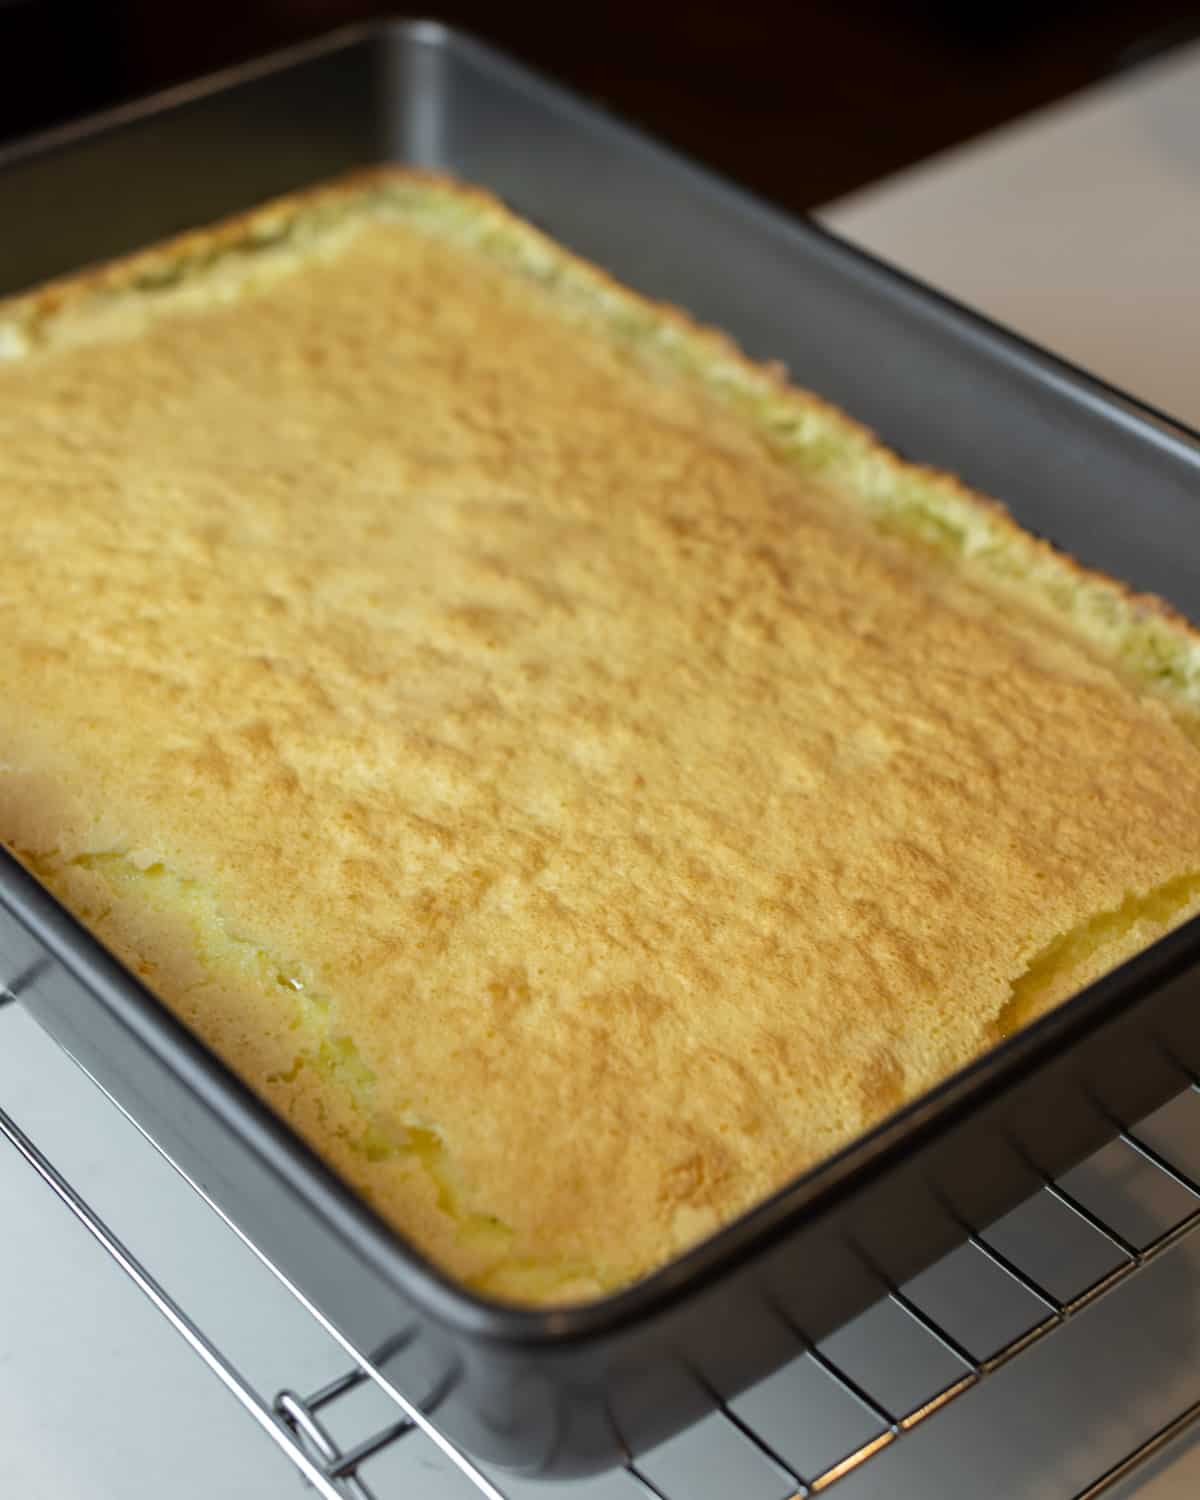
Second Bake Time!
Now it is time to go back in the oven. Bake for another 22-25 minutes at an oven temperature of 350F. The lemon filling should puff up slightly and create a browned crust on top. Remove from the oven and let the dessert cool to room temperature. Once cool, dust with icing sugar and cut into bars.
How To Store Lemon Bars
Once cut into bars, they can be served the day they are made and wow do they taste amazing. But, if you want to bake these ahead, they taste so good days later. Store them in a flat air tight container to retain freshness. I like to separate with parchment paper between layers. If you want to store longer, these can go in the freezer and still taste fresh weeks later. If you choose to freeze them, I would recommend dusting them with some fresh icing sugar the day they are served.

I find lemon bars to be absolutely irresistable. The shortbread base is the perfect crust and the tangy yet sweet lemon filling is to-die-for.
More Lemon Baking Recipes!
- Lemon Poppyseed Muffins – These muffins are moist and delicious. Perfect for a breakfast treat!
- Lemon Cranberry Scones – I love scones and this is one of my favourites. Great with a cup of coffee or tea!
- Raspberry Lemon Loaf – The combination of fresh raspberries and lemon are so good in this moist loaf.
- Lemon Meltaway Cookies – These a an icebox style cookie that are coated with icing sugar. They will melt in your mouth!
Lemon Bars

Ingredients
Shortbread Base
- 2 cups flour
- 2 1/4 cup sugar
- 1/4 cup icing sugar
- 1/2 tsp salt
- 1 cup cold butter
Lemon Filling
- 4 eggs
- 4 tsp lemon zest
- 1/3 cup lemon juice
- 1/2 tsp baking powder
- 4 tbsp flour
- Icing sugar for garnish
Instructions
- Mix the 2 cups flour, 1/4 cup icing sugar and 1/4 cup sugar together in a bowl. Using a pastry blender, cut in the butter until it forms a shortbread consistency.
- Press the crust in a 13×9 pan and bake in a 350F oven for 18-20 minutes.
- Using an electric mixer, beat the eggs with the 2 cups sugar until smooth. Add the lemon juice and zest. Separately mix the 4 tbsp flour with the baking powder. Beat that into the filling mixture.
- Pour the lemon filling over the crust and bake at 350F for 22-25 minutes. Cool on a wire rack.
- Chill in the fridge for at least an hour so that the squares cut easily.
- Dust with icing sugar and cut into squares.
Nutrition
Per serving:
Originally published in November 2011